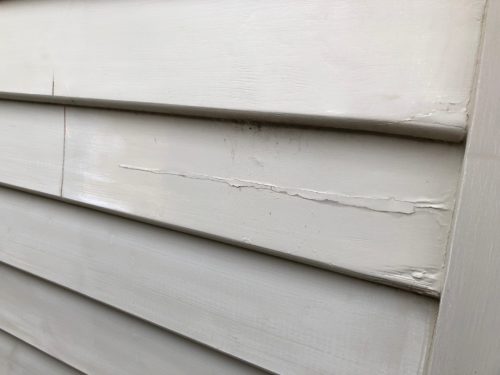
Picture this scenario; You are preparing your weatherboards for painting and you find a small amount of timber rot at one end of a particular board which has a length of 5.4 metres. What do you do? Do you need to replace the whole entire length of weatherboard? NO you don’t. Why? It is far more economical to only have to remove and replace a small section of damaged board rather than spending extra funds replacing good, sturdy boards. By using a similar process as outlined in my article ‘How to replace Weatherboards’, you can easily replace any small section of weatherboard but it comes with one catch. You need to introduce one important product and that is adding a PVC water barrier to your timber joints. Here’s how…
Contents
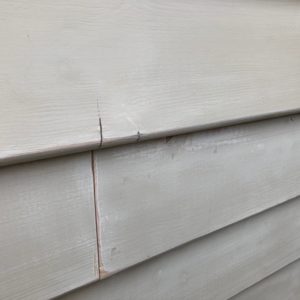
Determine length of section to remove
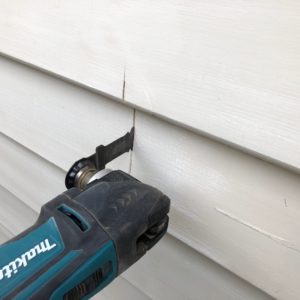
Once you have settled on the length of section to be removed, it’s important to find the nearest wall stud as this is where you will cut the weatherboard. Take note of where the nails are located on the board as this will help guide you to find the centre of the wall stud.
- Having found the nearest wall stud, find the nail and using a set square mark the board as this is now your centre
- Using a multi tool, cut into the board and along the line making sure you take into account the 20mm overlap
- If you don’t have a multi tool, you can use a small circular saw as well
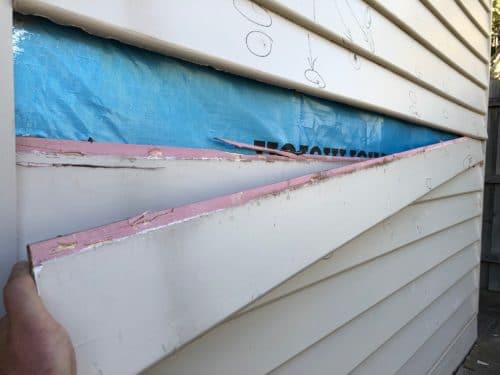
Removing the weatherboard
Now that the damaged board has been loosened you can remove it
- Checking to make sure the board is free from all nails, you can now slowly remove the weatherboard
- Remove all exposed nails that once held the board in position
- Using a scrapper or sharp blade clean all timber surfaces that exhibit high spots of paint or gap sealant
- Find the wall studs and place a mark on the existing bottom board
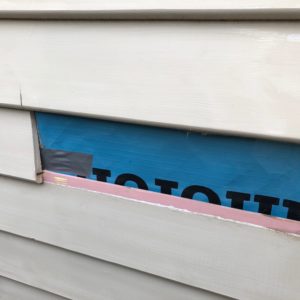
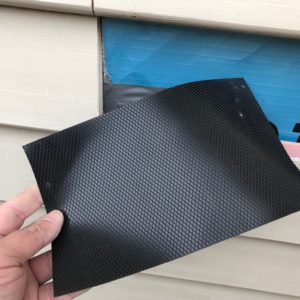
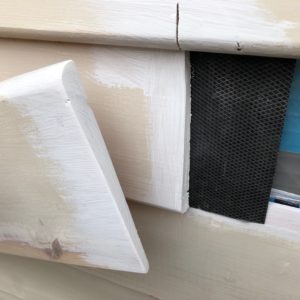
Adding a PVC water barrier
Installing a PVC water barrier is the key element in replacing any small section of weatherboard. Why? since you are creating a new timber joint, possibly two of them, you are going to expose the joint to water leakage and/or damage. Investing in this affordable water resistant and flexible PVC barrier allows for zero water pooling and immediate water run off that ensures maximum protection of your wall studs.
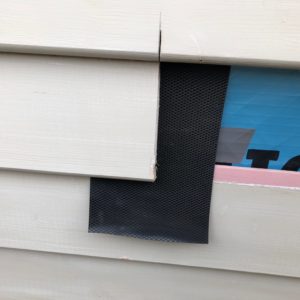
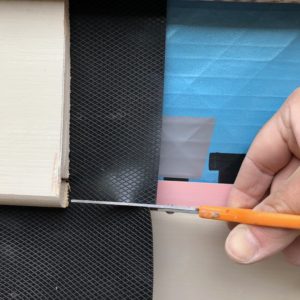
- Measure and cut a section of PVC and push under the joint making sure in covers the overlap
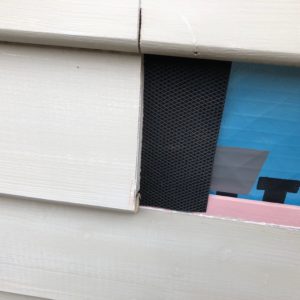
- Centre the PVC and cut the length with scissors to just above the bottom of the weatherboard edge
- the PVC will become fixed when nailing the new weatherboard
Here is an example of a PVC barrier called Protectadeck that is perfect for this type of situation.
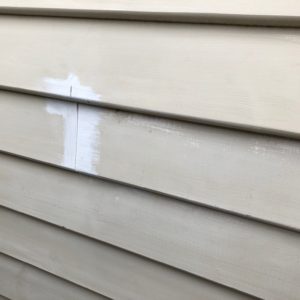
Installing a new weatherboard
- Measure the length required and cut the new weatherboard to size. Fit snugly into position
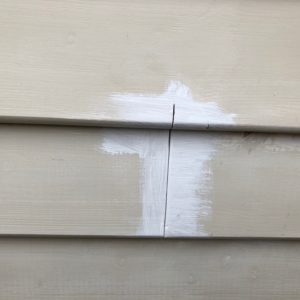
- Using a good quality exterior undercoat, paint edges of weatherboard to both ends to seal timber grains
- Place weatherboard into position with a 20mm overlap and nail the bottom edge where your stud marks are located
- The existing board directly above needs to be tapped gently back into position as it was slightly lifted to help remove the damaged board
- Re-nail the adjacent board where you made the original cut along the centre mark
- Fill all joints and nail holes with timber putty and now you are ready for preparation and painting
Handy Tip: With a 20mm overlap, place your nails at least 25mm from the bottom of the board. Doing this means the nail will go directly into the wall stud and will avoid the overlap weatherboard behind it
Final thoughts
Using this step by step process of replacing a small section of weatherboard to any part of your weatherboard home, eliminates the need for any additional cost incurred by having to replace sound and strong boards. Replacing small sections of damaged or rotten timber is perfectly acceptable and with the additional protection of installing a PVC barrier to all joints, as I have outlined, will give you further confidence in protecting the integrity and strength of your walls and your home. Good Luck with your maintenance!