When it comes to repainting rendered walls, the choice of colour a home owner makes can have a long term impact on a homes appearance. Environmental conditions like UV sunlight, wind, salt and sea air can alter the durability of the paint colour and thus its life cycle.
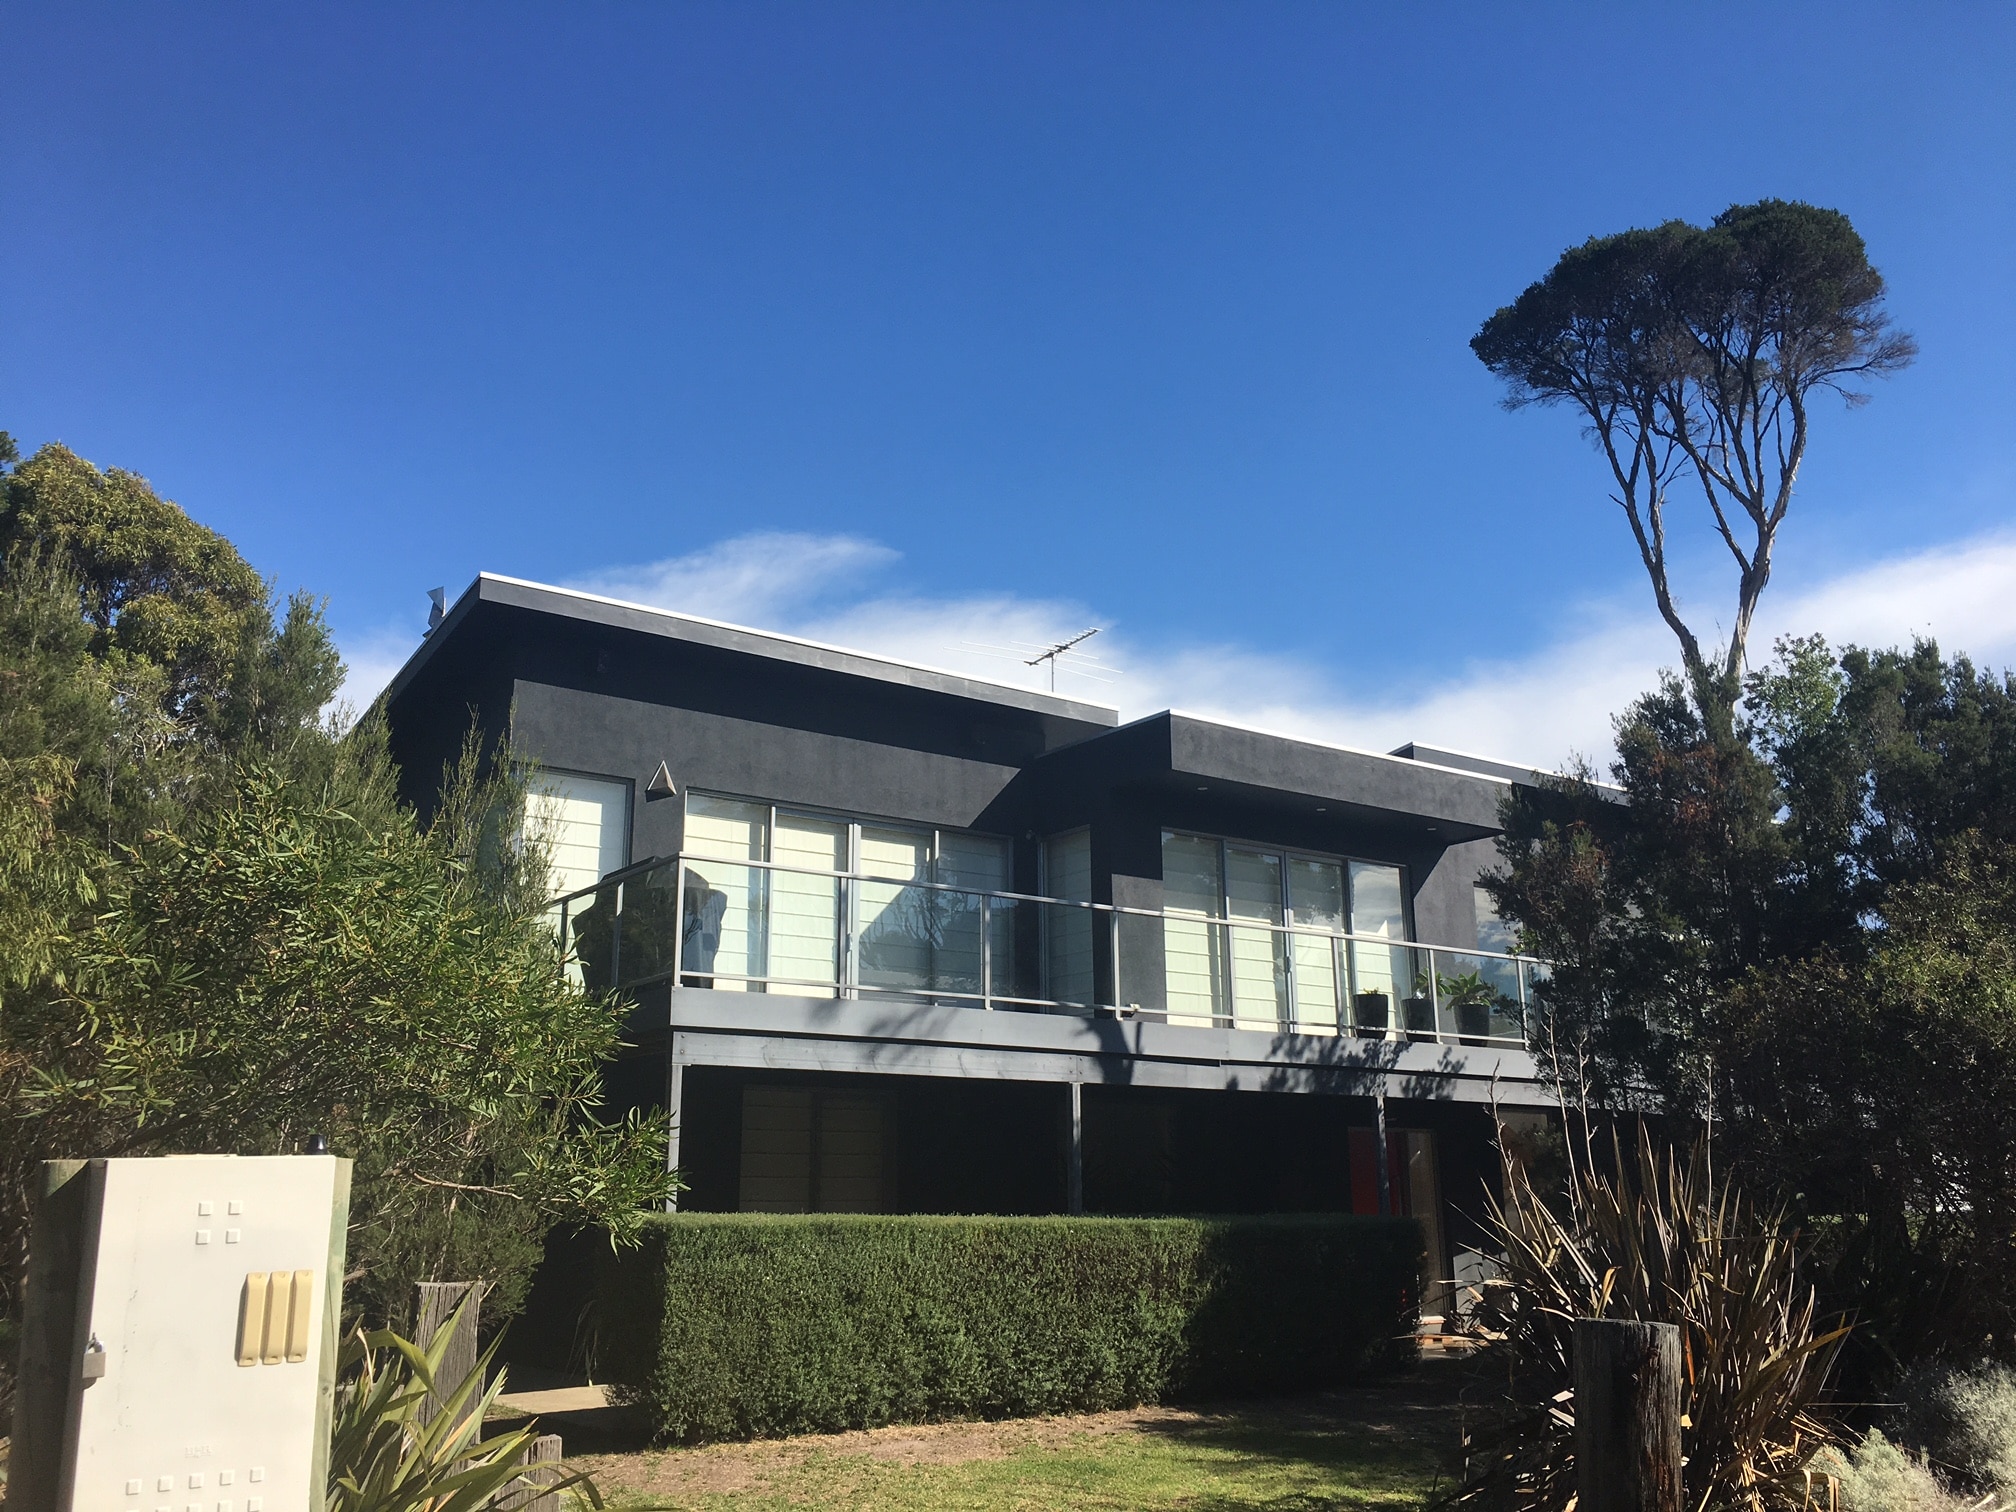
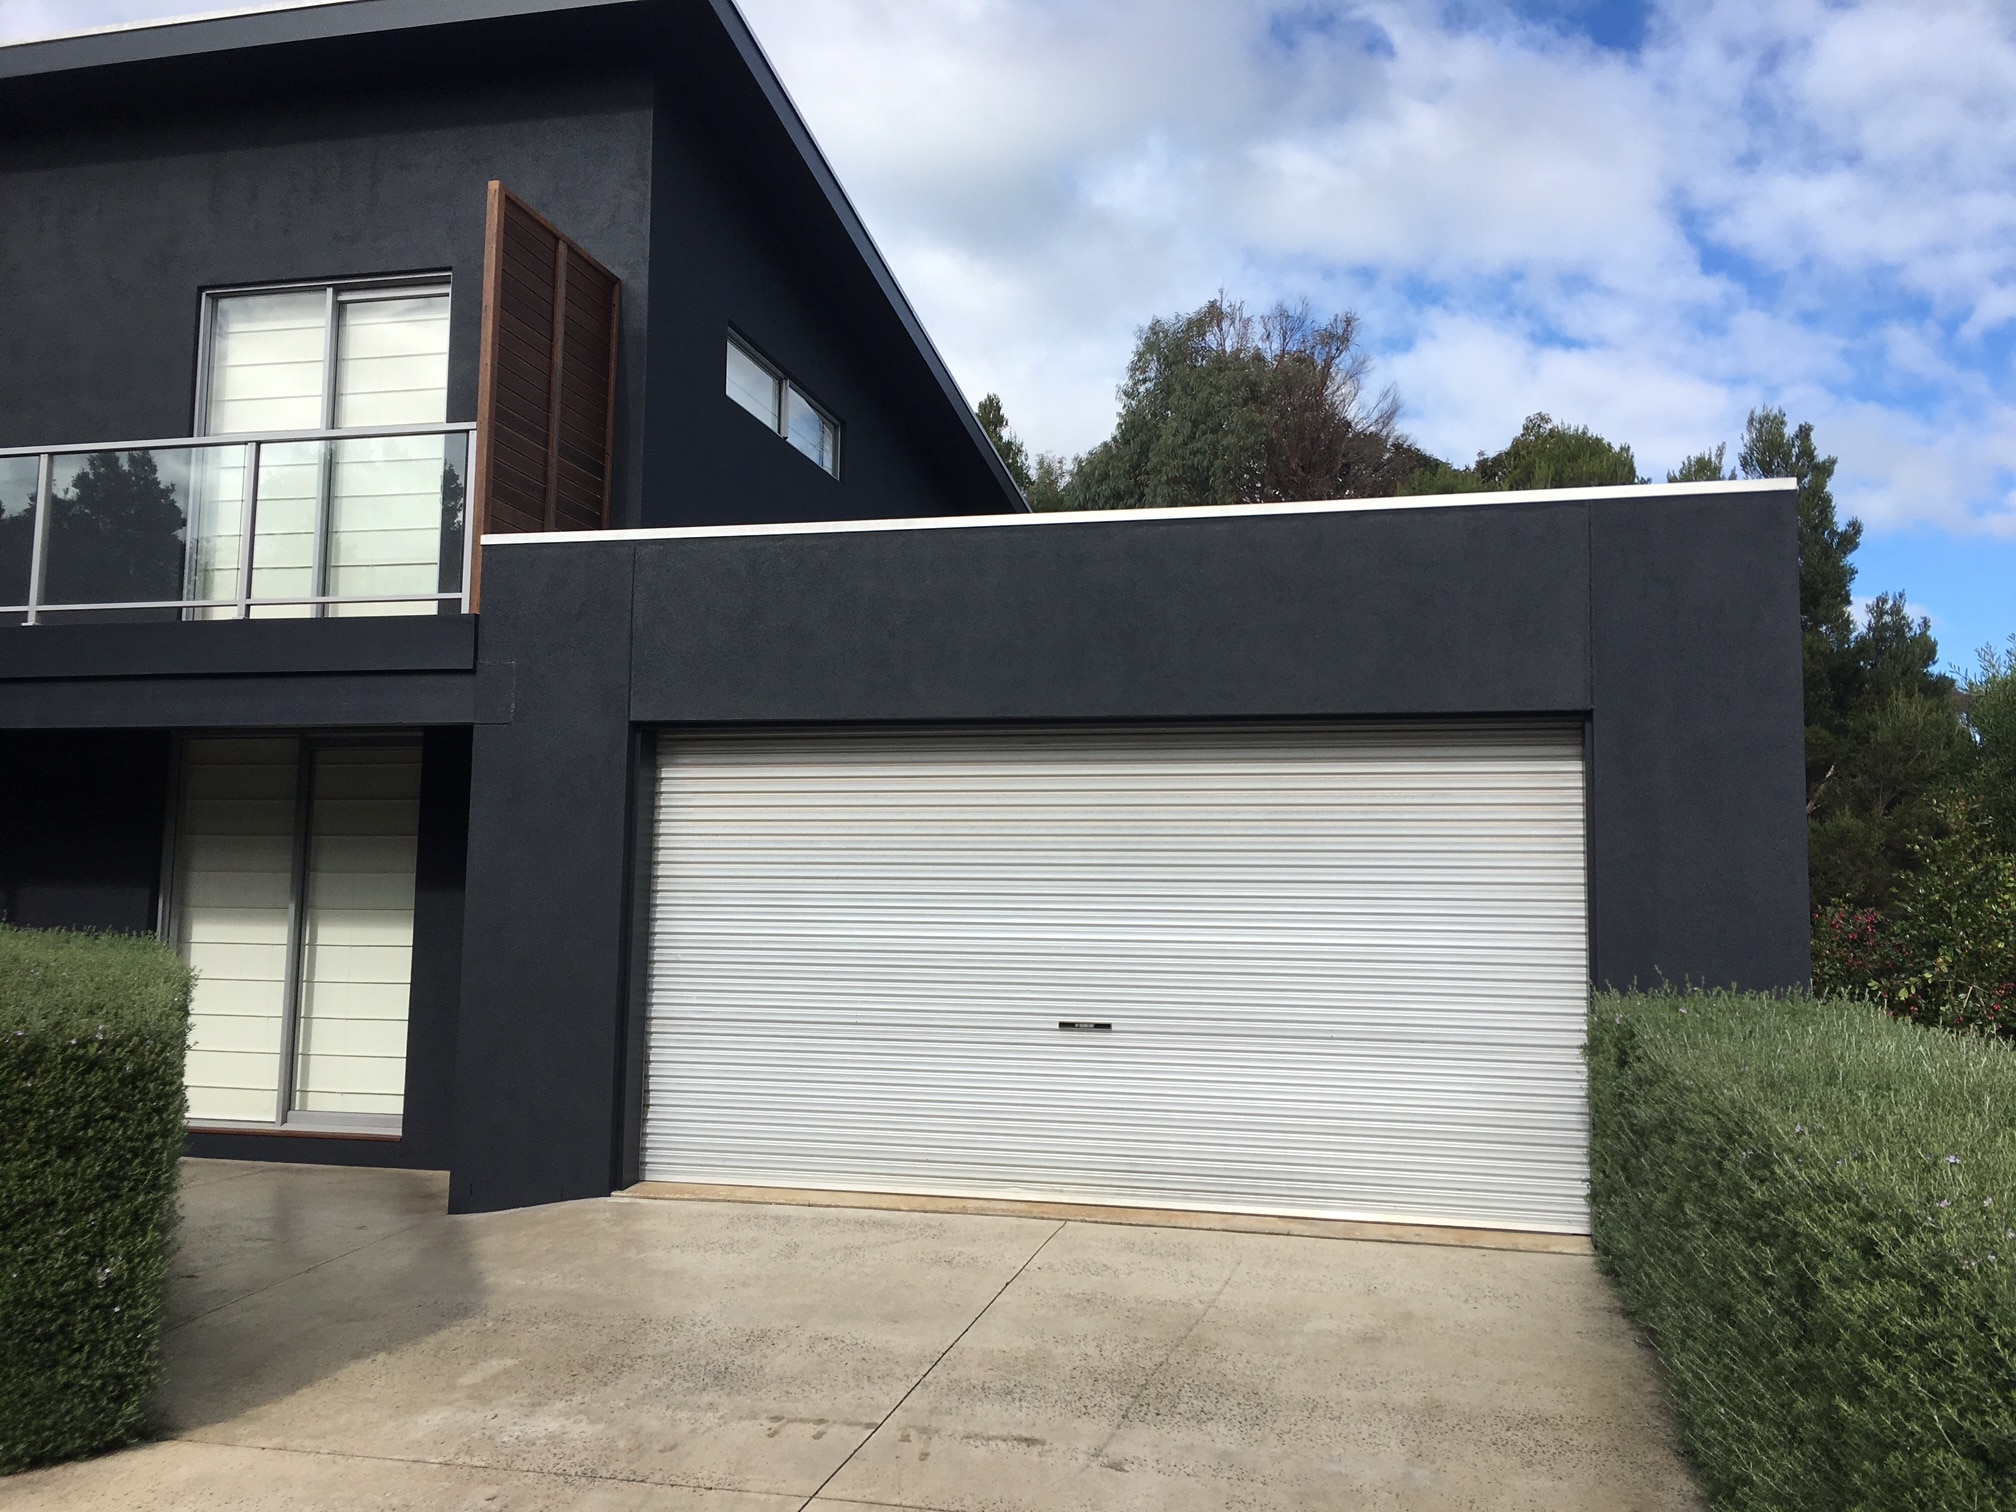
This beautiful home close to the beach and set in an idyllic location on Phillip Island, perfectly illustrates how the environmental conditions can change the aesthetics of a home within a few years.
The breakdown of the render colour begins straight away and it was almost 8 years after the render was applied that the owners requested the repainting of rendered walls.
To give you and idea of how much the initial render colour had faded, the picture below highlights the difference in contrast between the new paint and old render. It’s incredible to think how much the colour had faded so gradually over time.
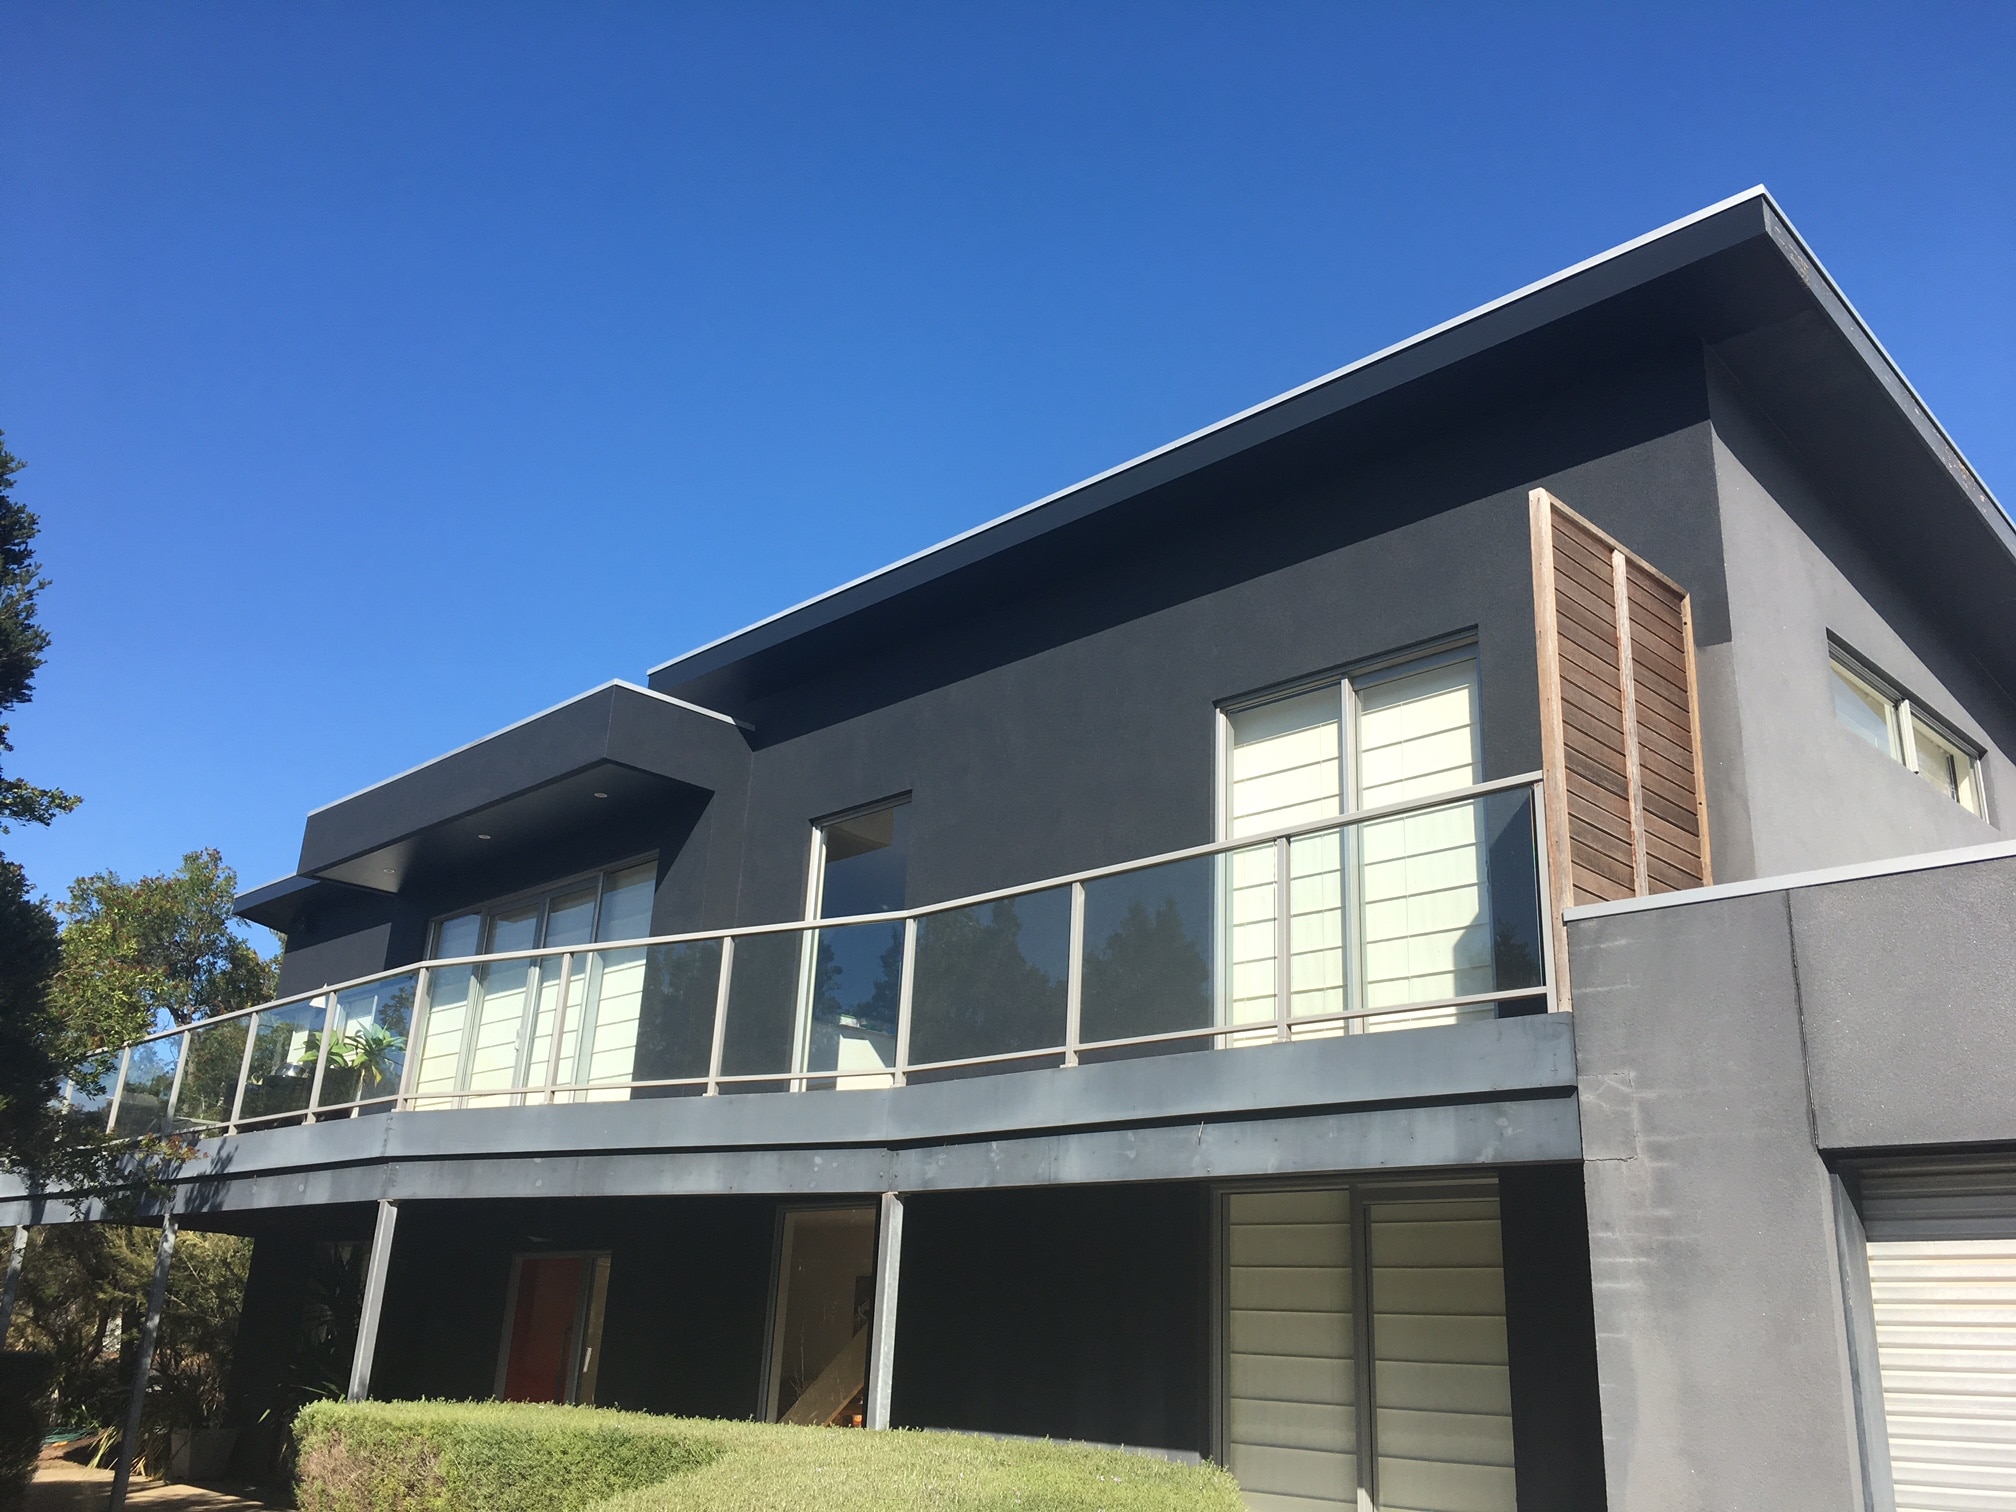
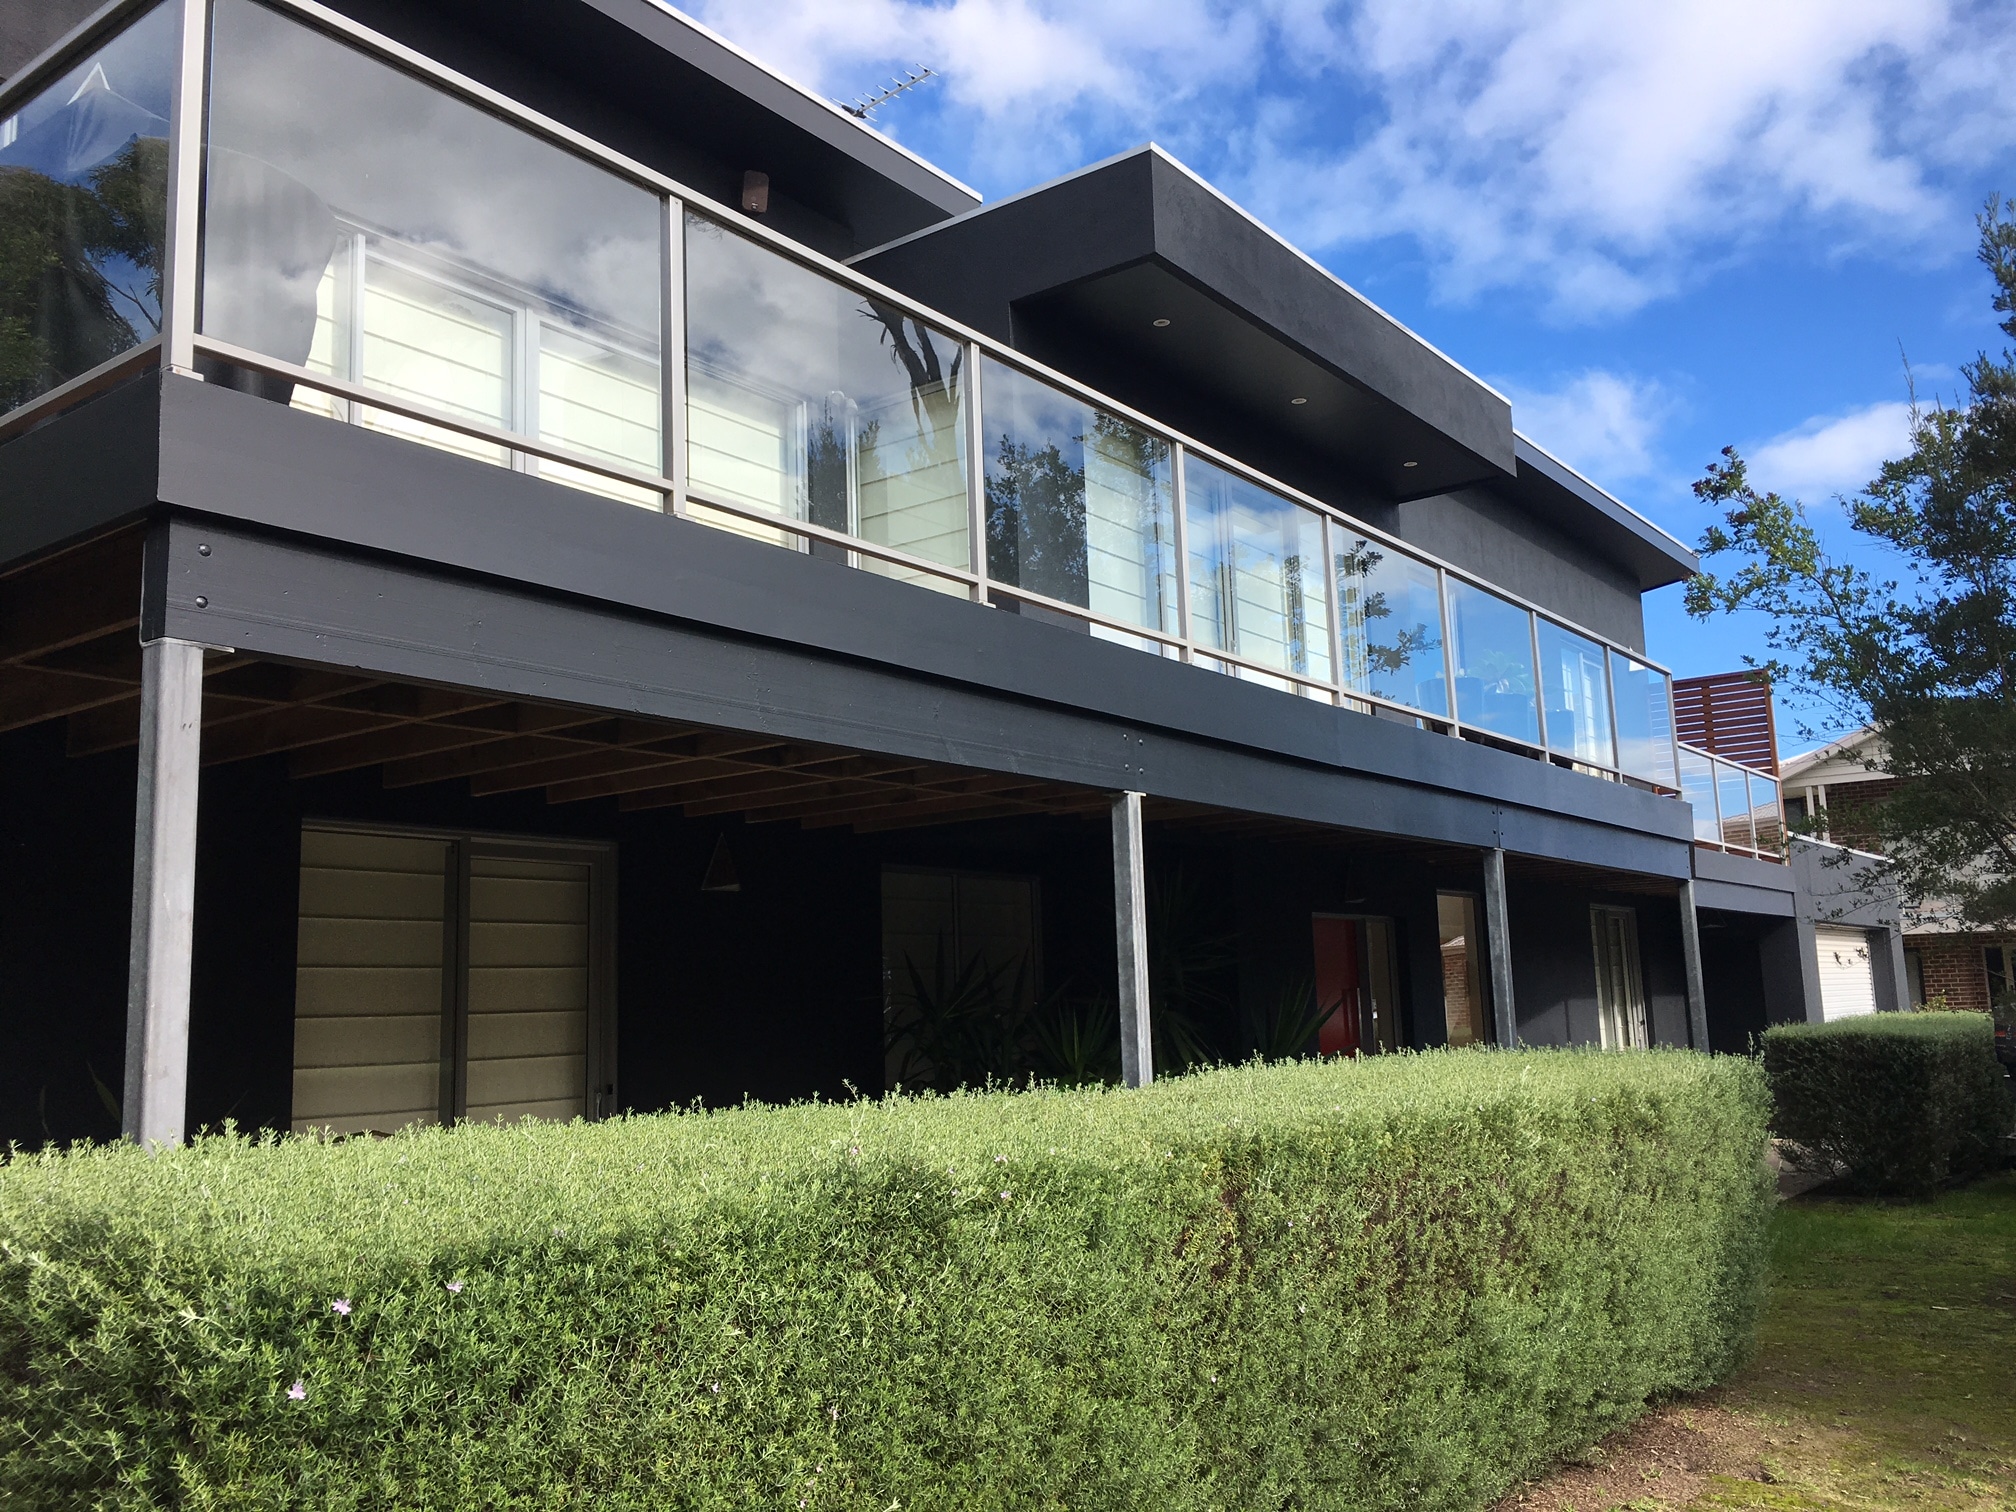
The areas that had the most colour deterioration were the North and West facing sides of the house. These two sides were exposed to direct UV Sunlight and the Coastal conditions.
I should point out that the South and East sides of the house were not affected by the Sun and still showed the original render colour. There was though a film of dust and dirt scattered over the walls which could easily be washed.
The second storey and the garage exhibited consistent fading along the entire height of the walls. However, the ground floor which had partial shading from the decking and some medium height trees and shrubs only had minor colour degradation of the render along the bottom of the walls.
Why is there Colour Variation?
As mentioned earlier, the primary reason for colour fading is the consistent, harsh and frequent exposure to sunlight and environmental conditions like salt and air moisture. Other factors include temperature — in a location like Phillip Island where there are varying differences in temperature between Summer and Winter, this too can lead to stresses on the coating system.
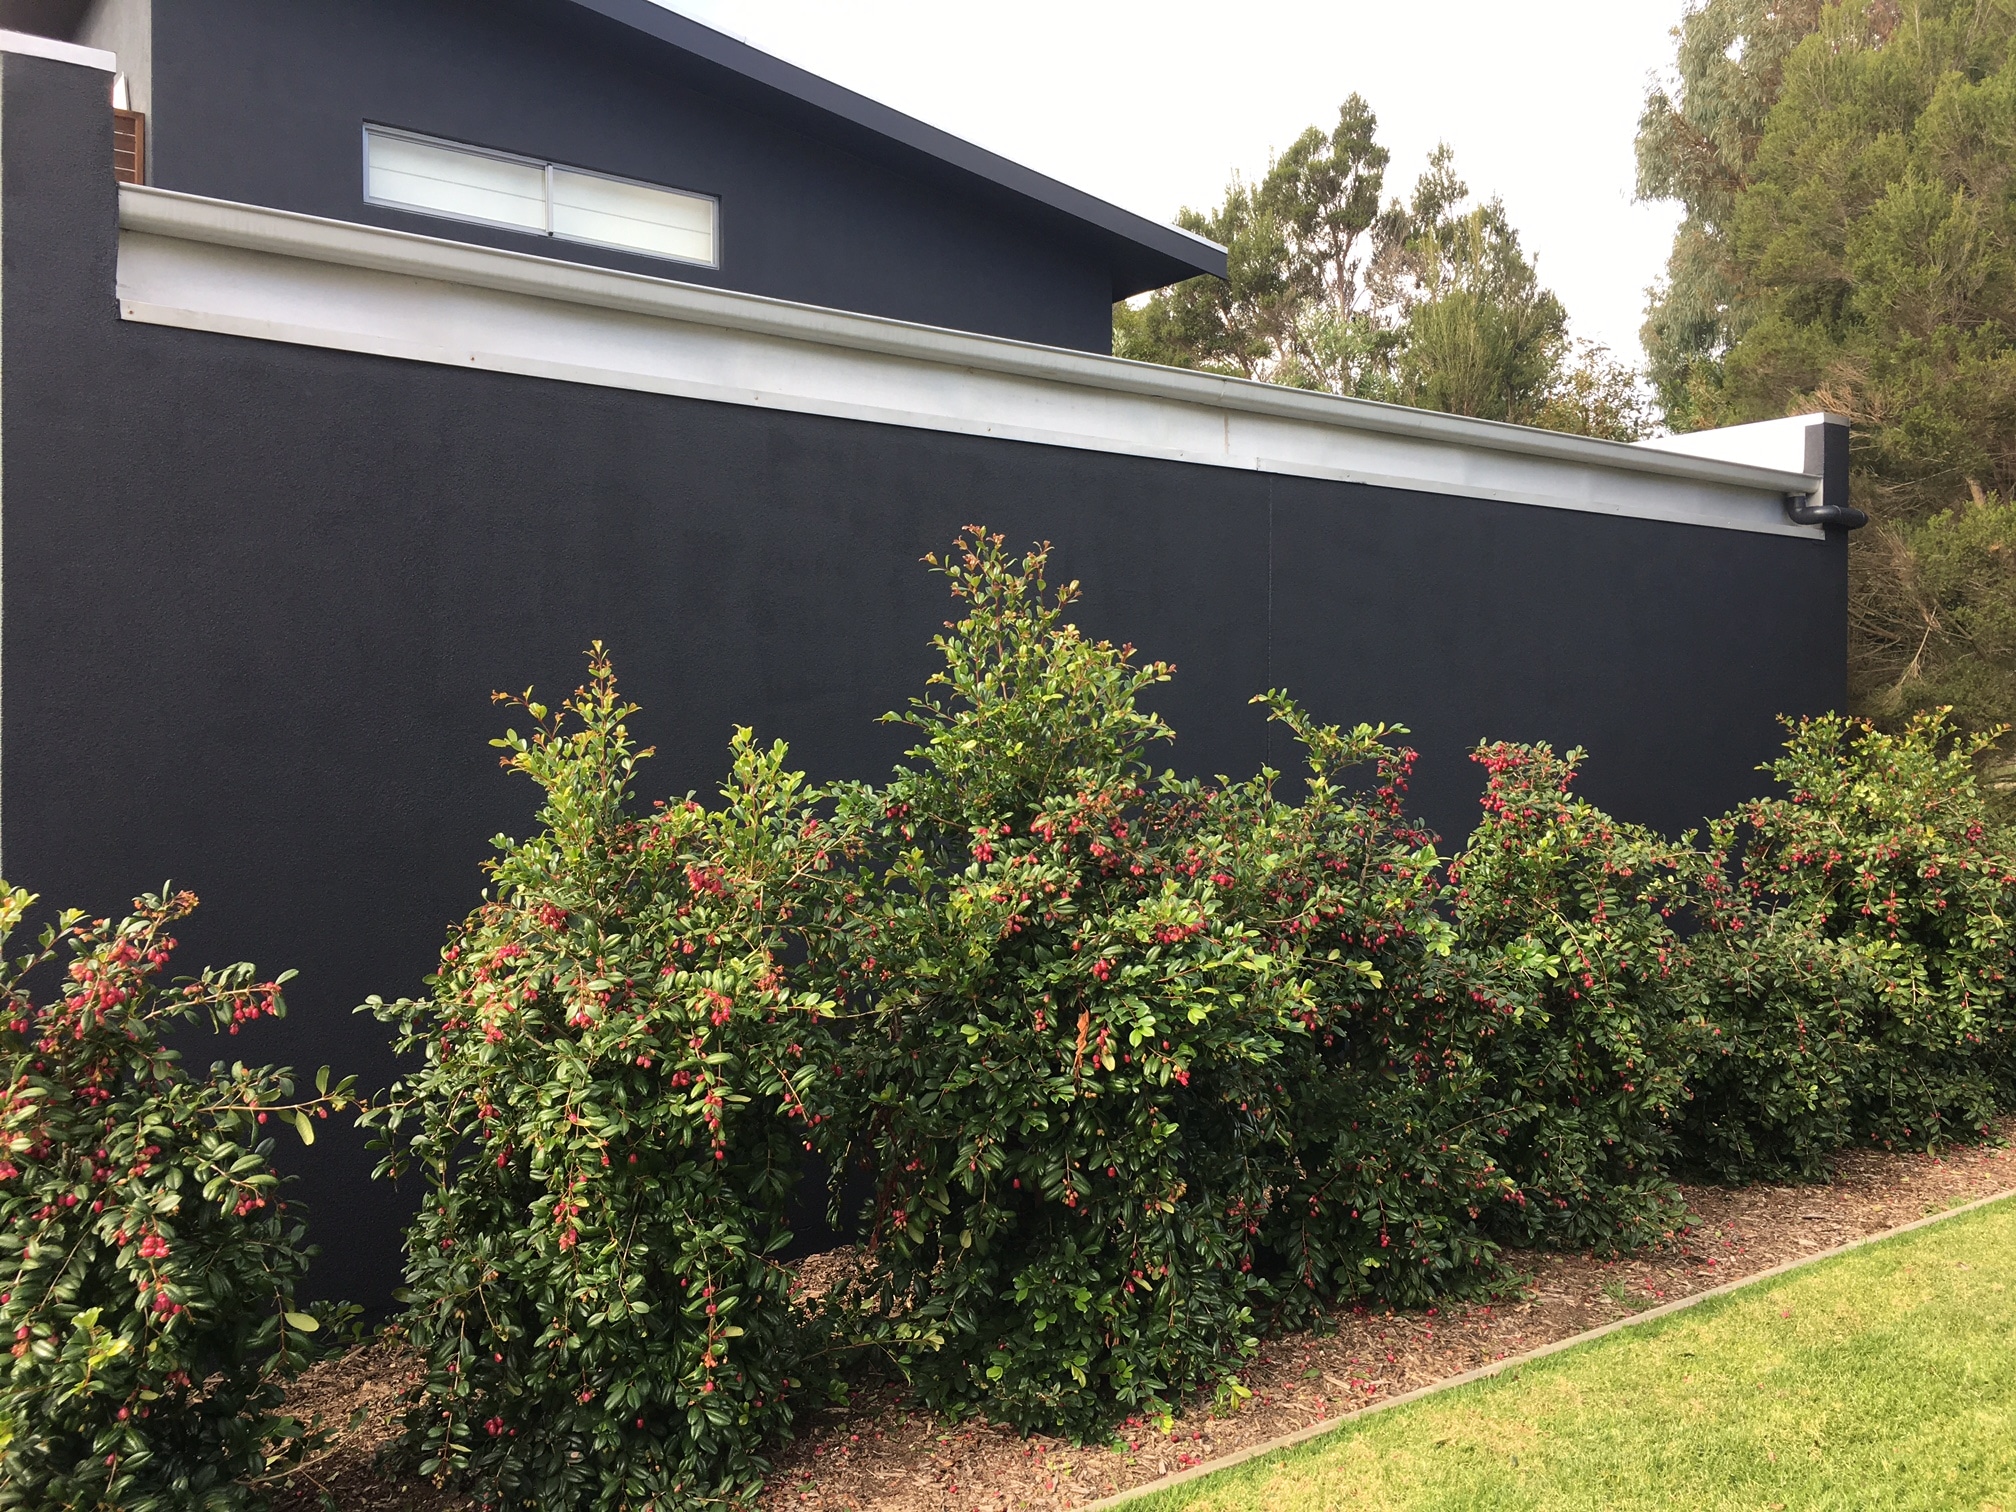
Dark colours like the one on this project, absorb more heat and UV radiation which begins to affect the paint pigments and thus leads to paint degradation.
On the flip side, lighter colours also deteriorate and fade but because they are lighter by nature it is not so evident.
It is important to note that the application of the original textured render requires the adequate thickness of the material to be applied correctly and evenly to the wall and that it is always important to use quality materials for a longer finish.
Scope of works: Repainting Render Walls, Door and Decking
Part 1: Render Walls and Front Door
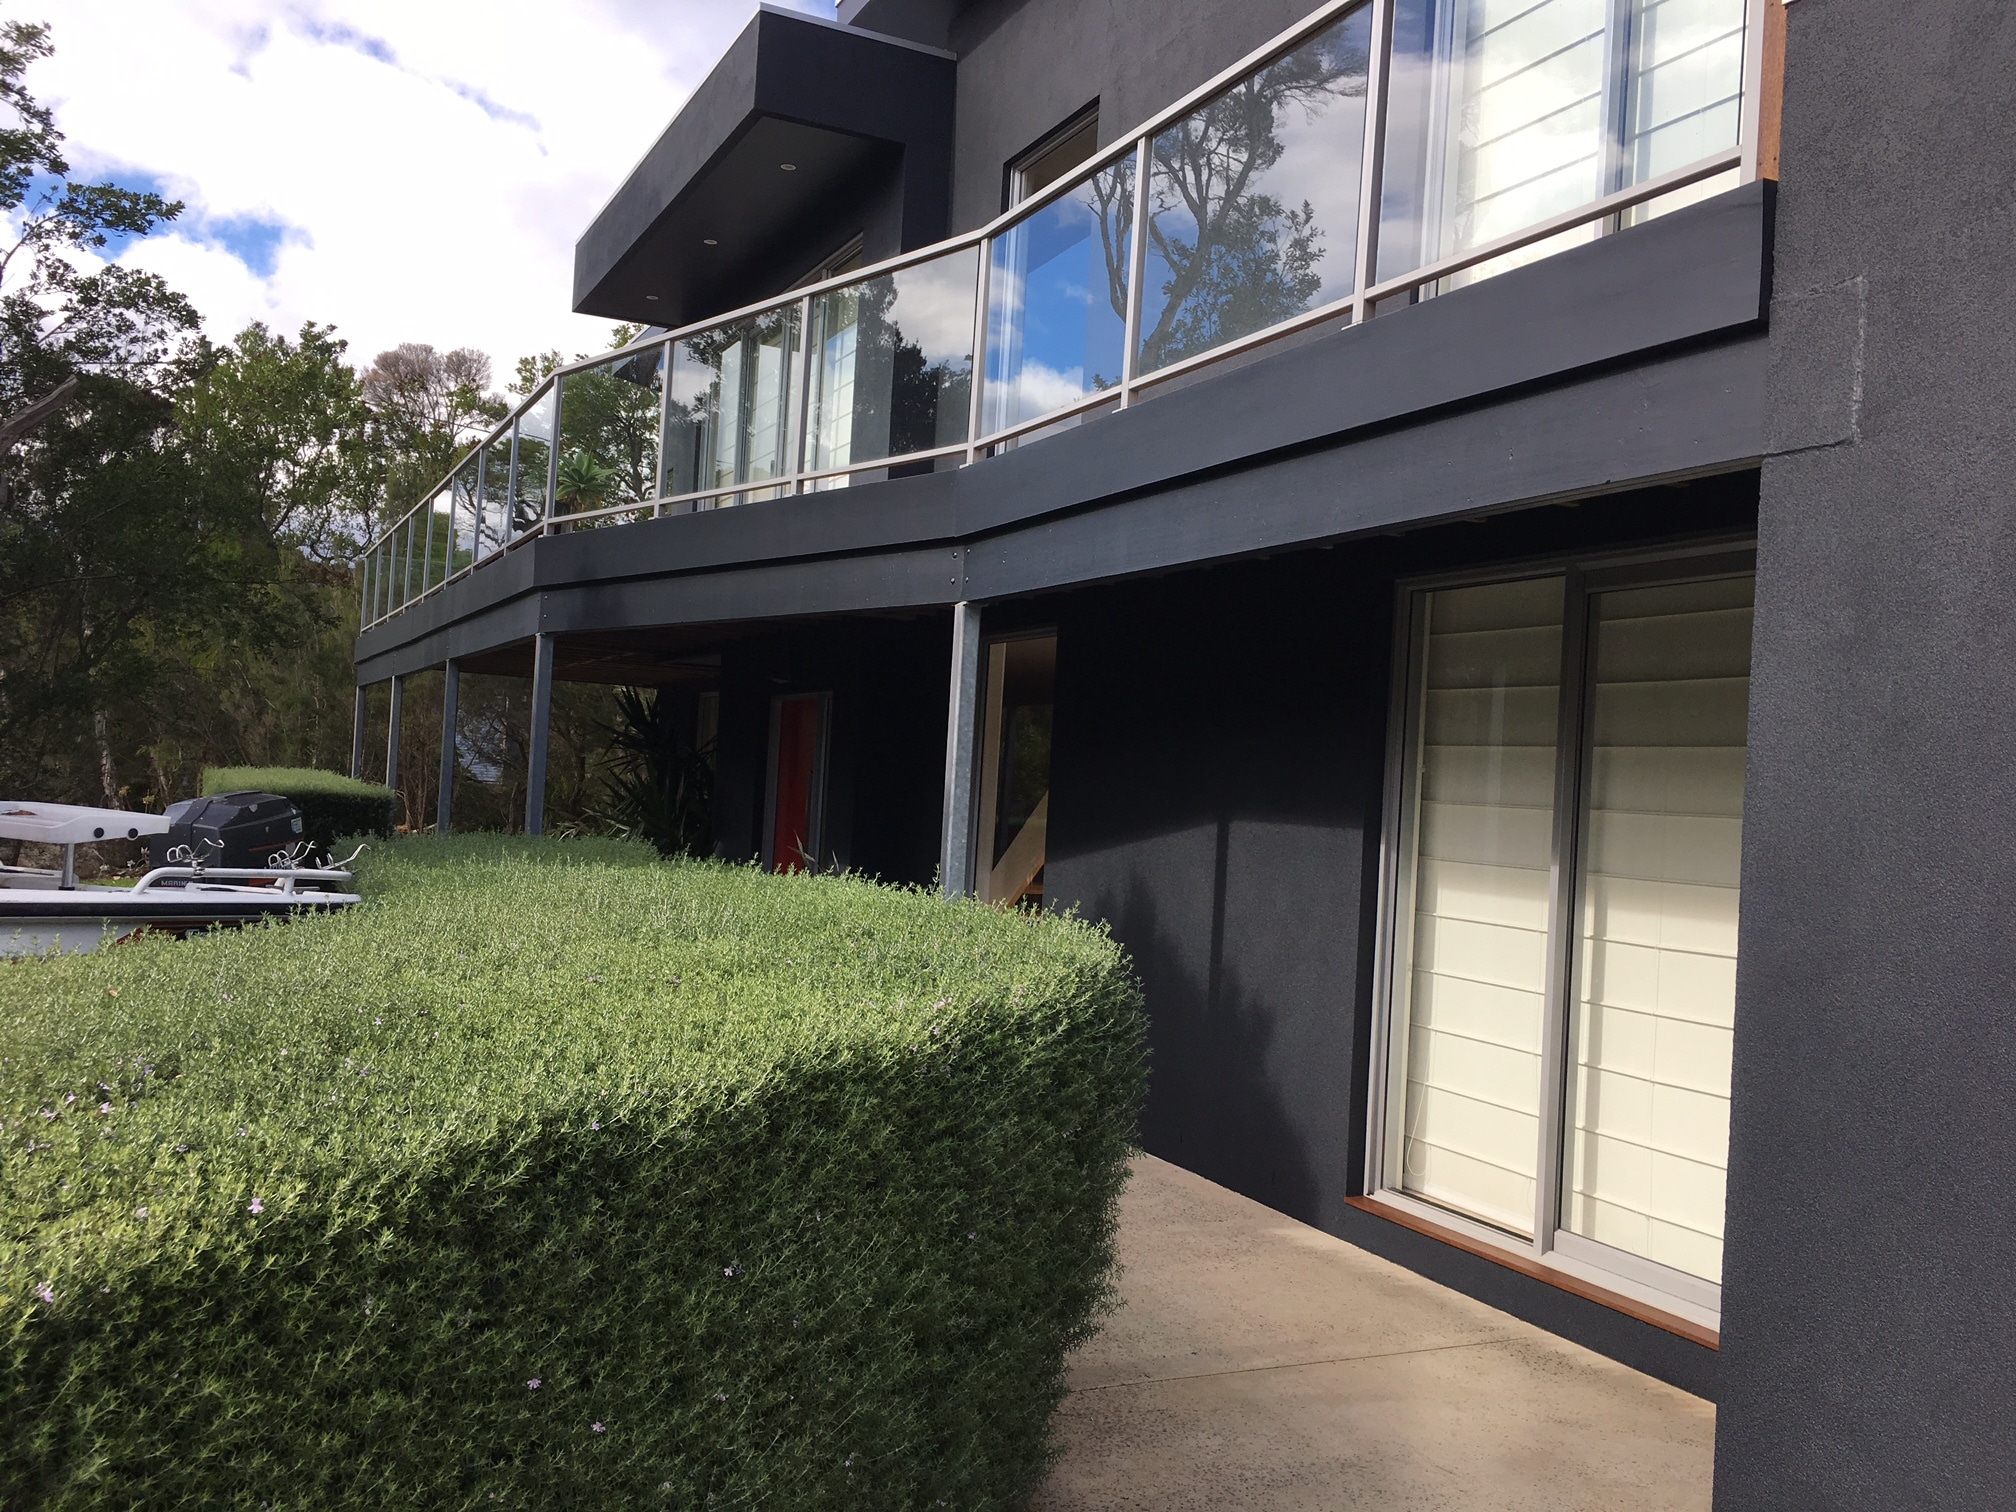
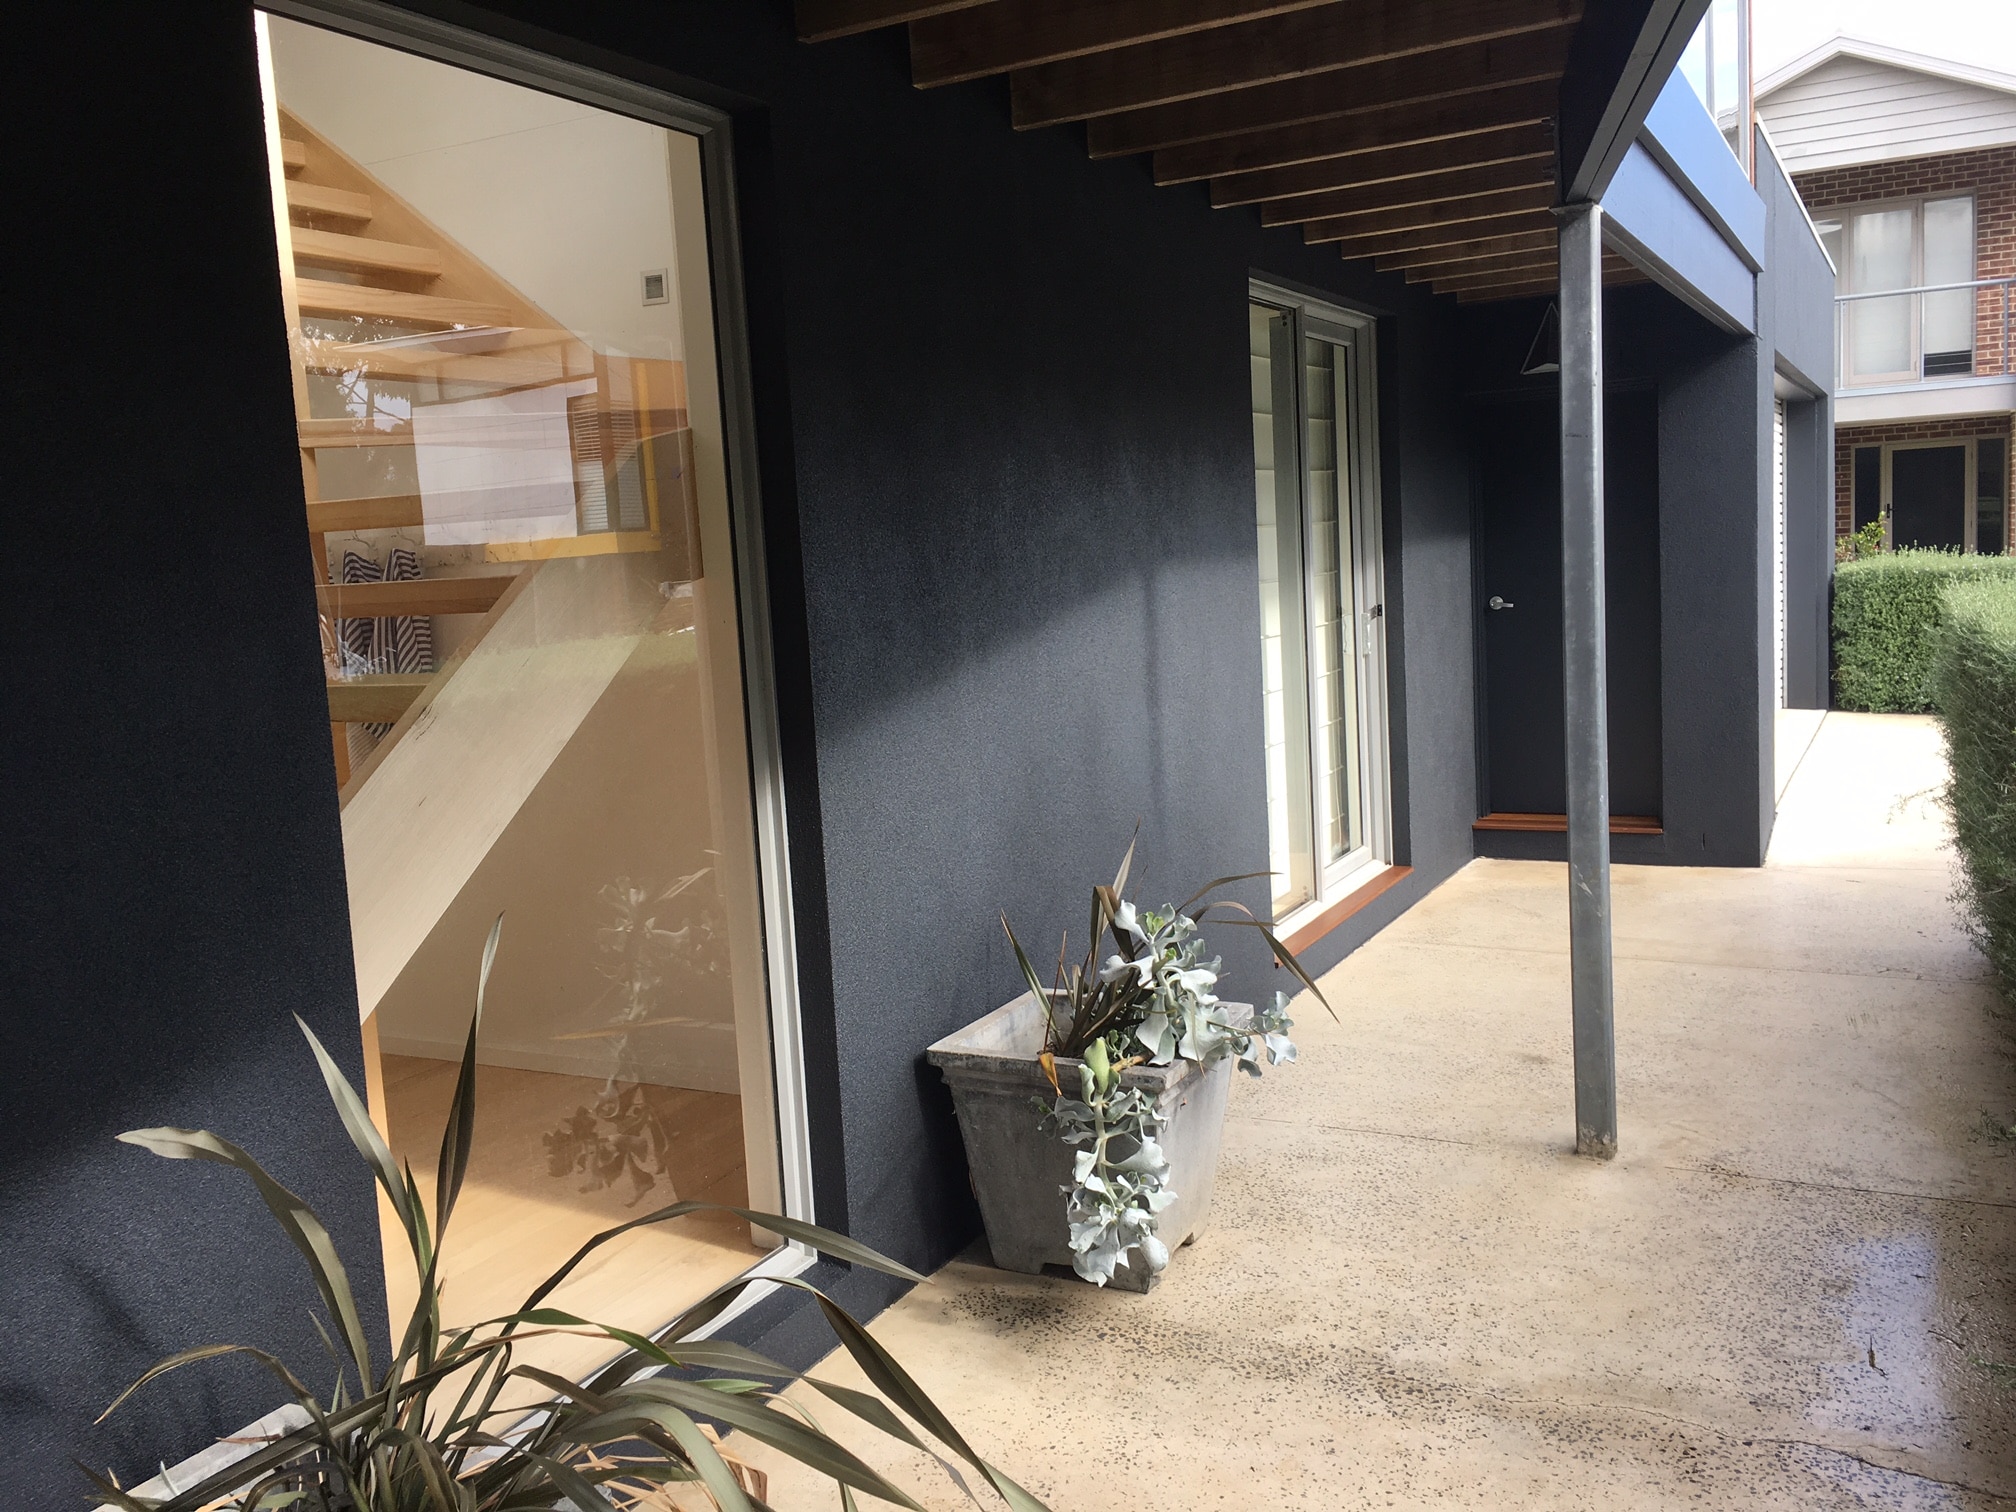
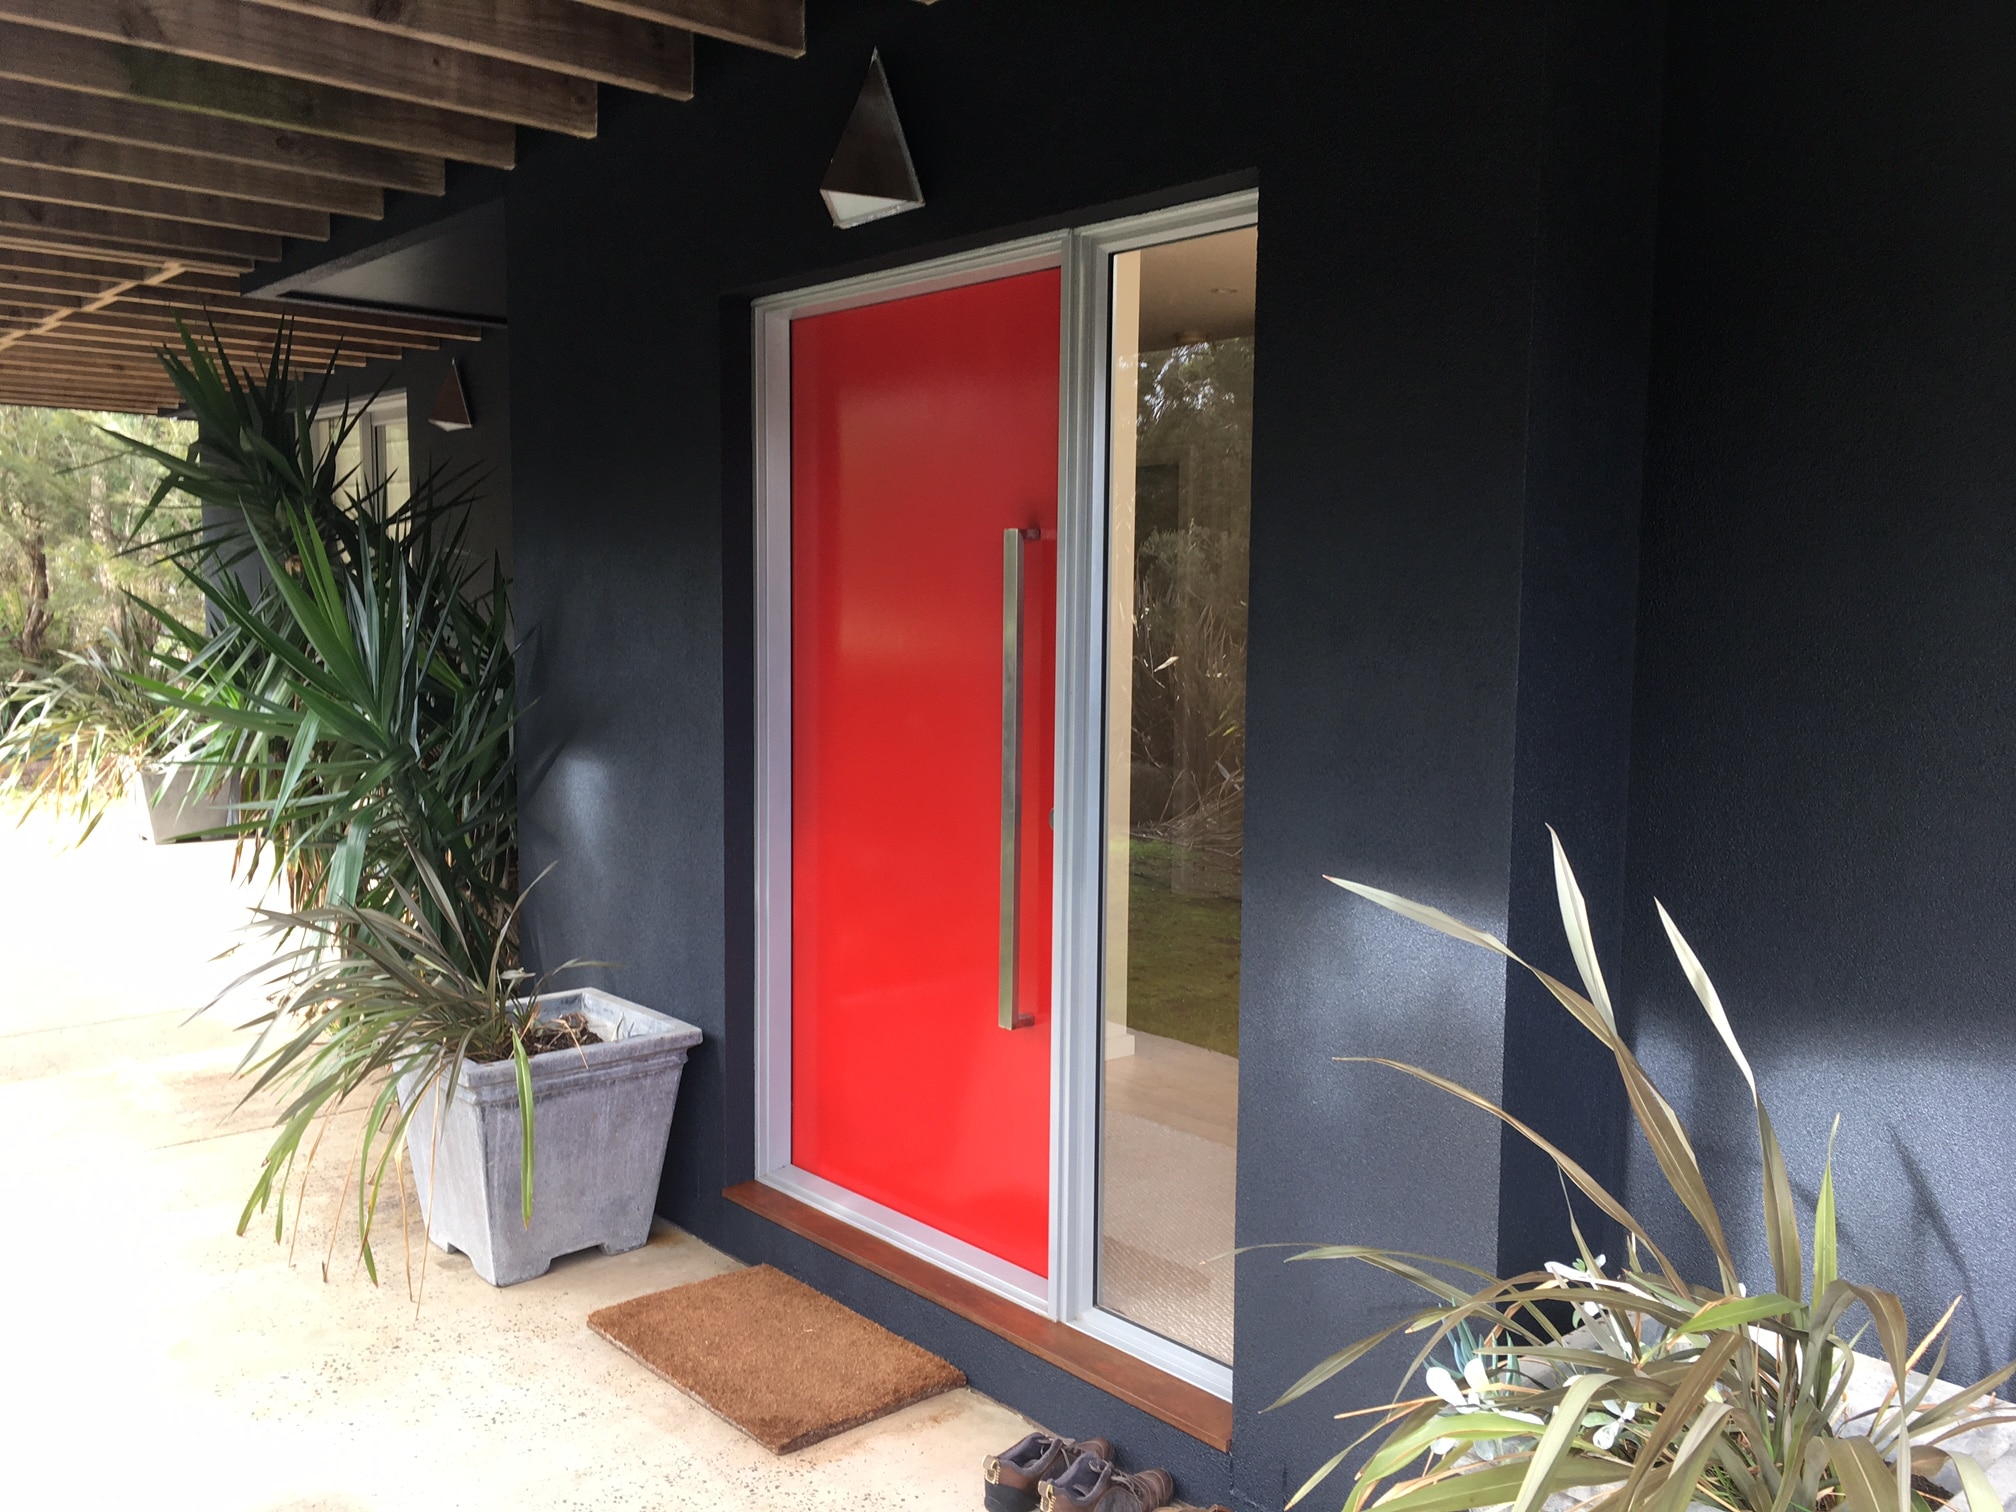
Here the scope of works required the repainting of rendered walls to the North and West facing sides of the house. This included the ground floor, second storey as well as the garage walls and all eave lining and fascia boards to both those sides. Also requiring attention was the main front door entrance which also began to show signs of fading.
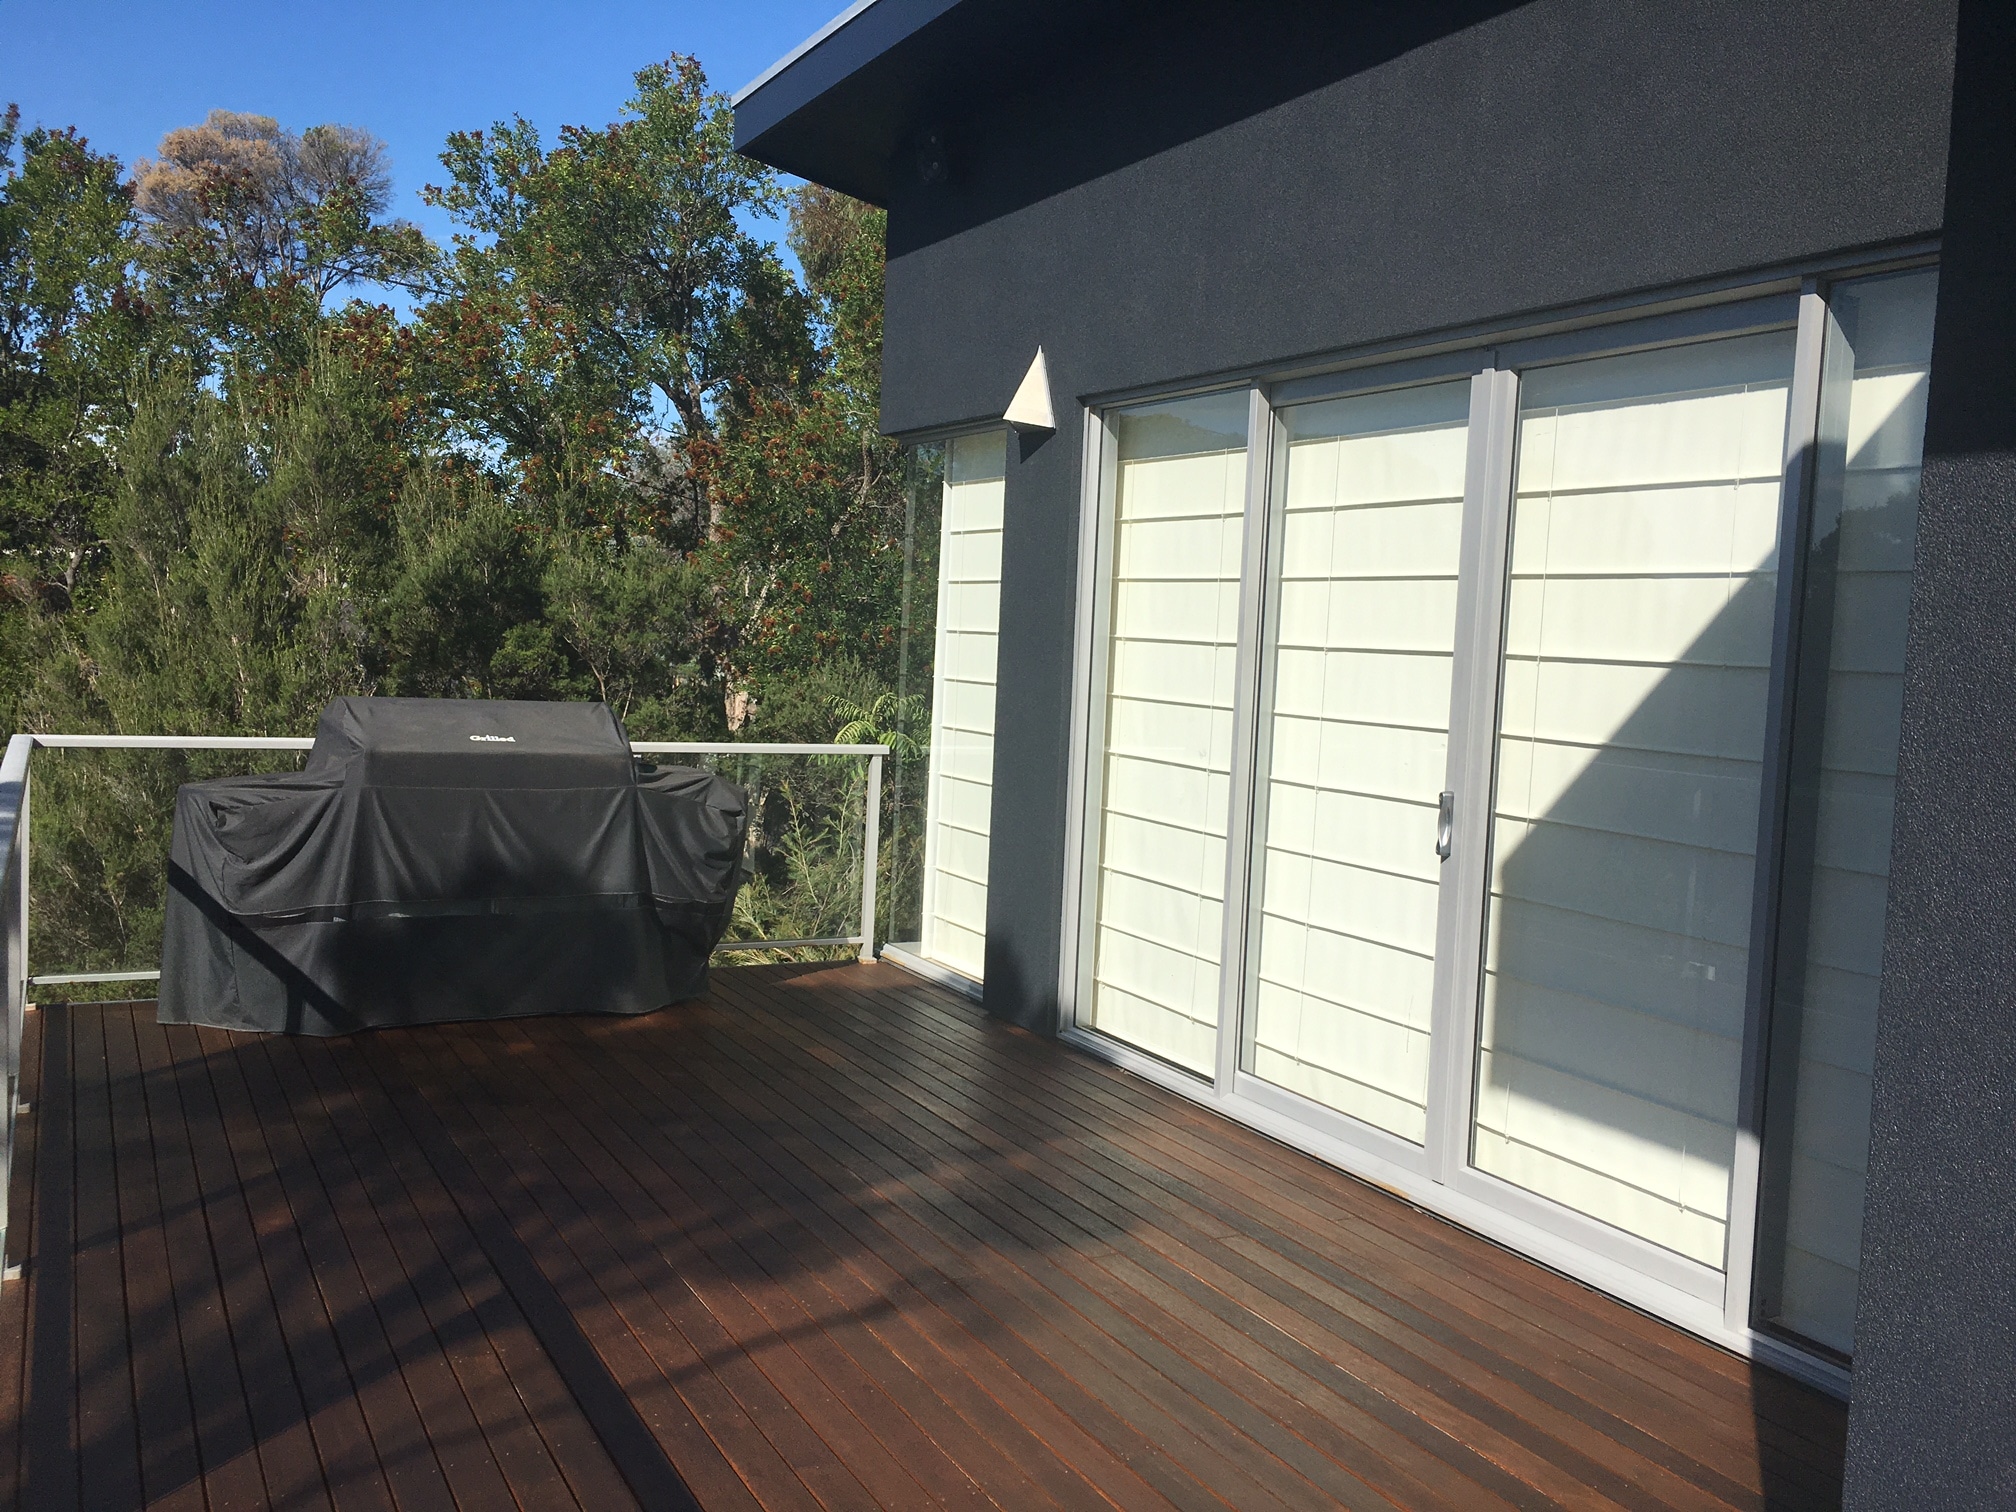
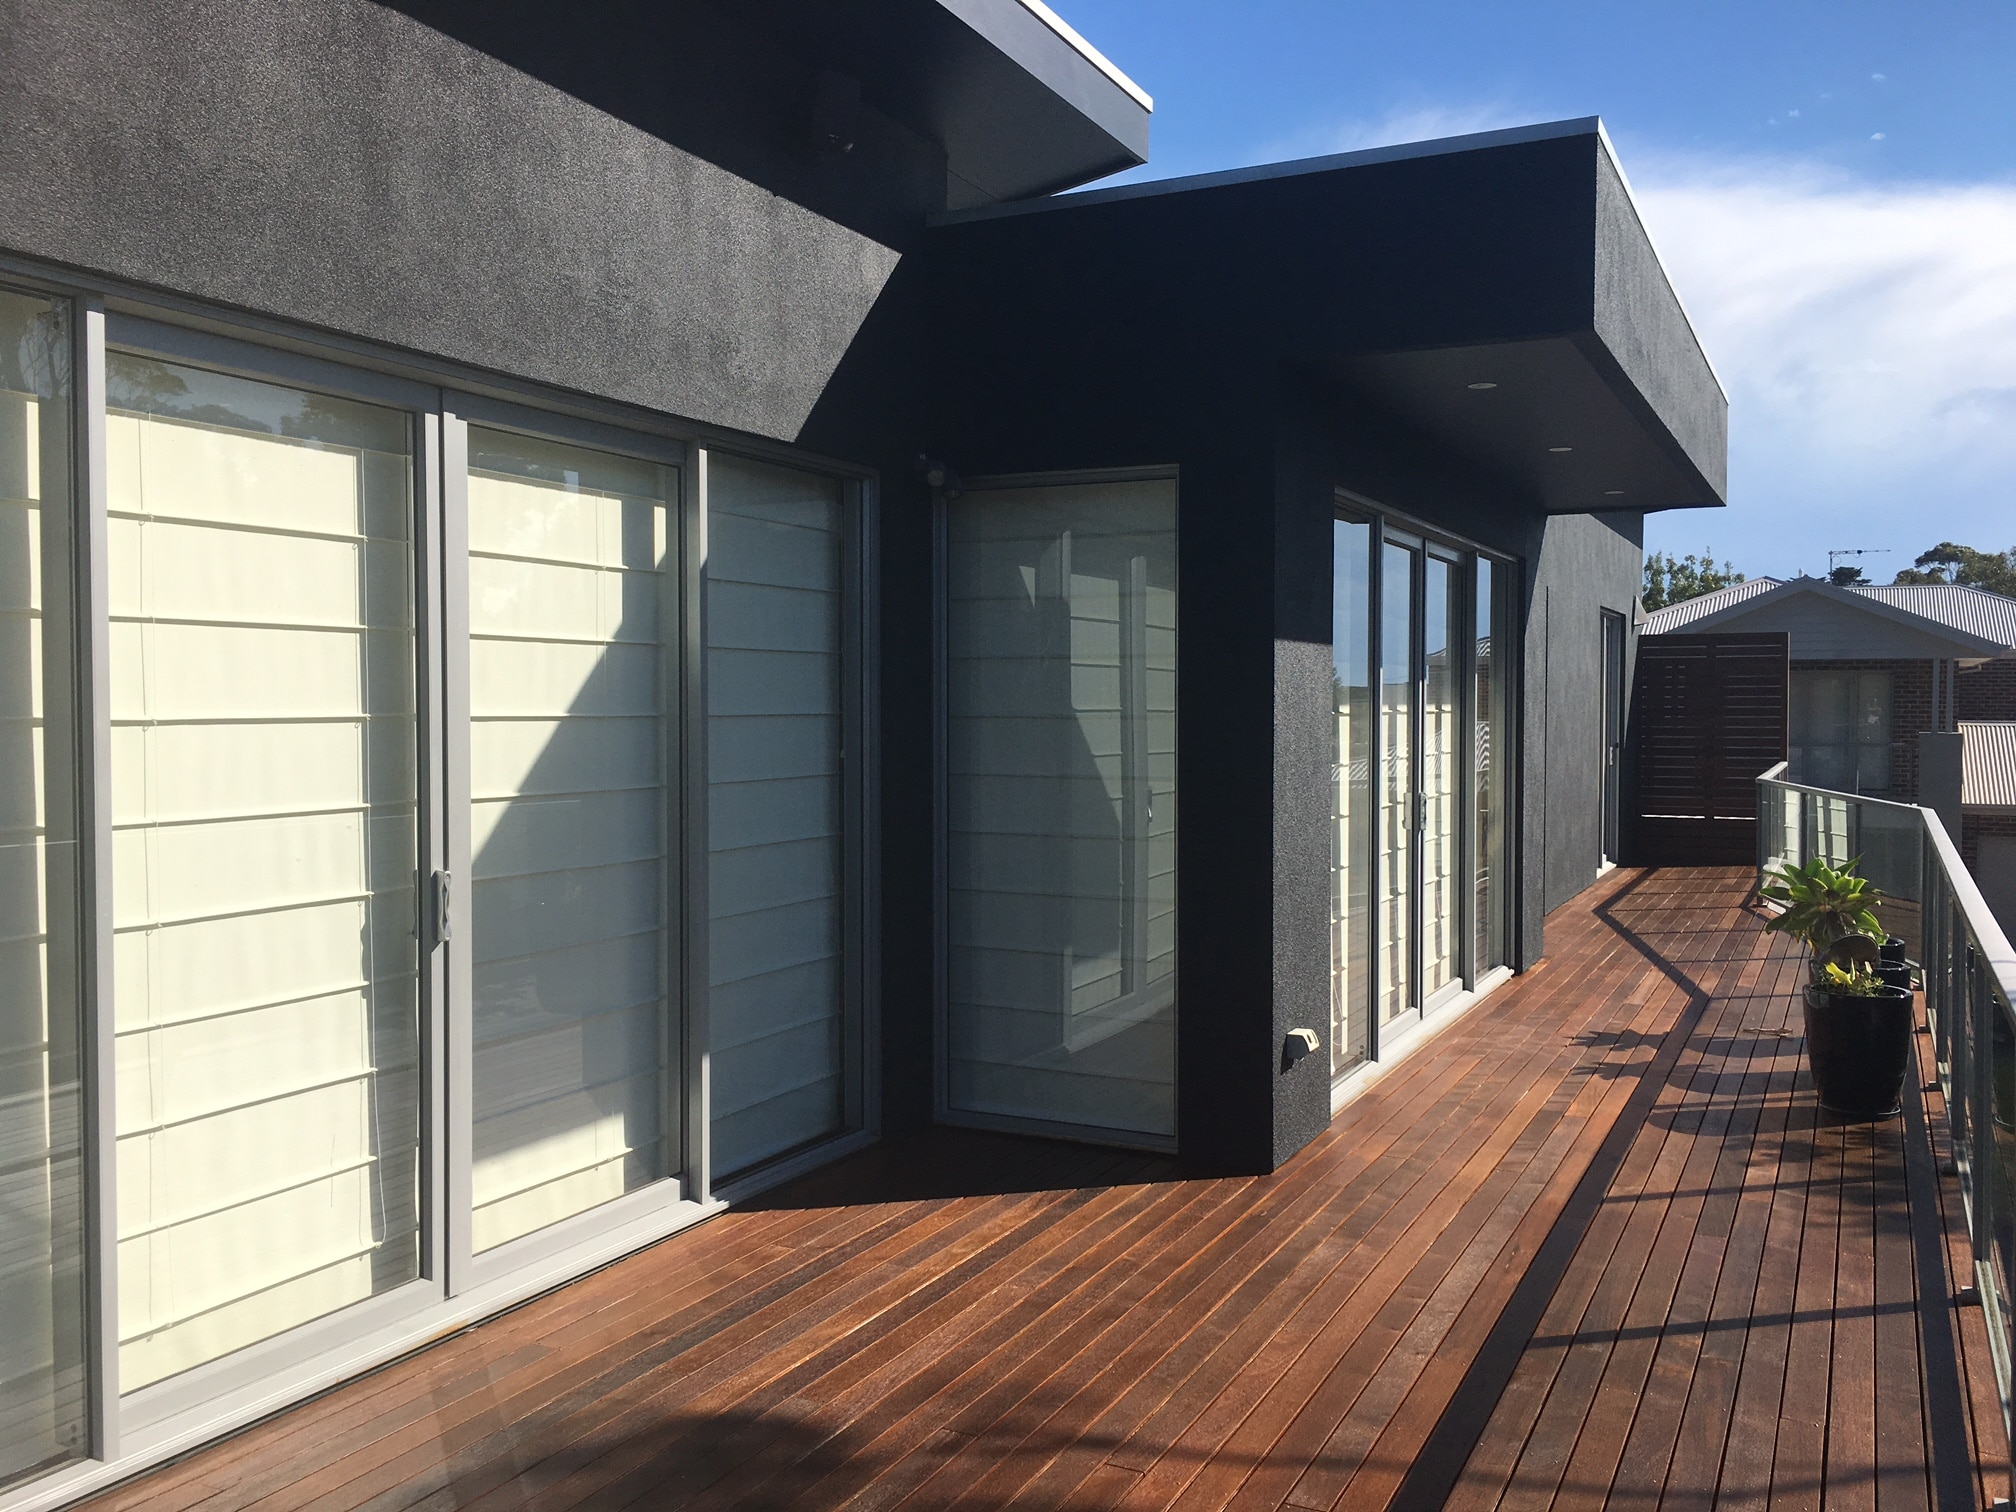
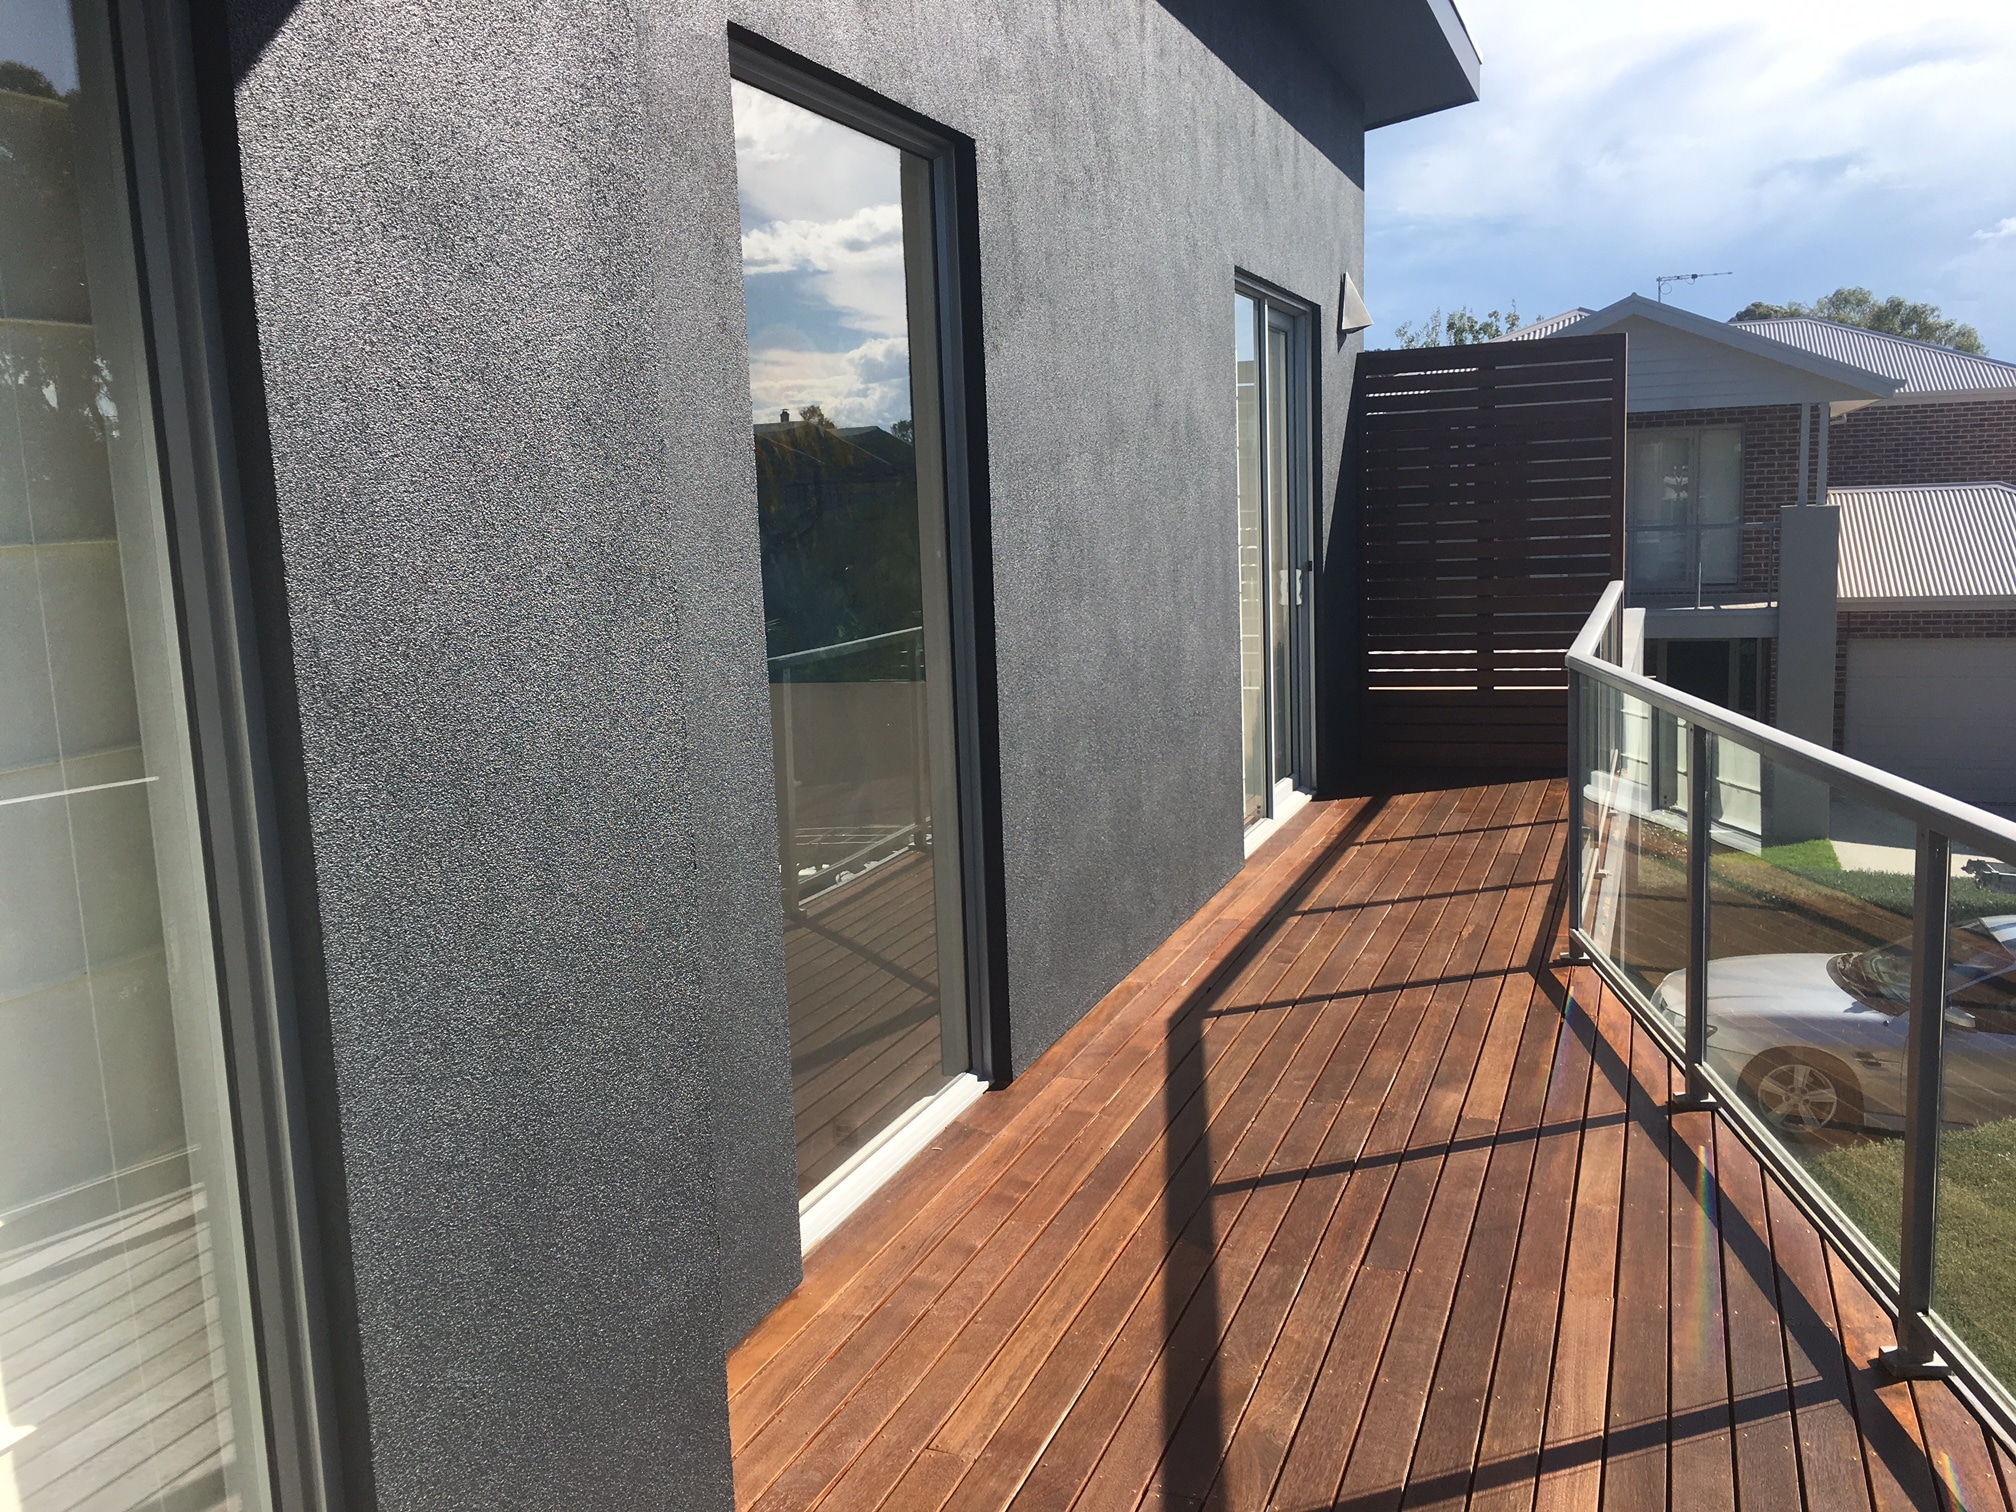
Part 2: Recoating Merbau Decking and Screen
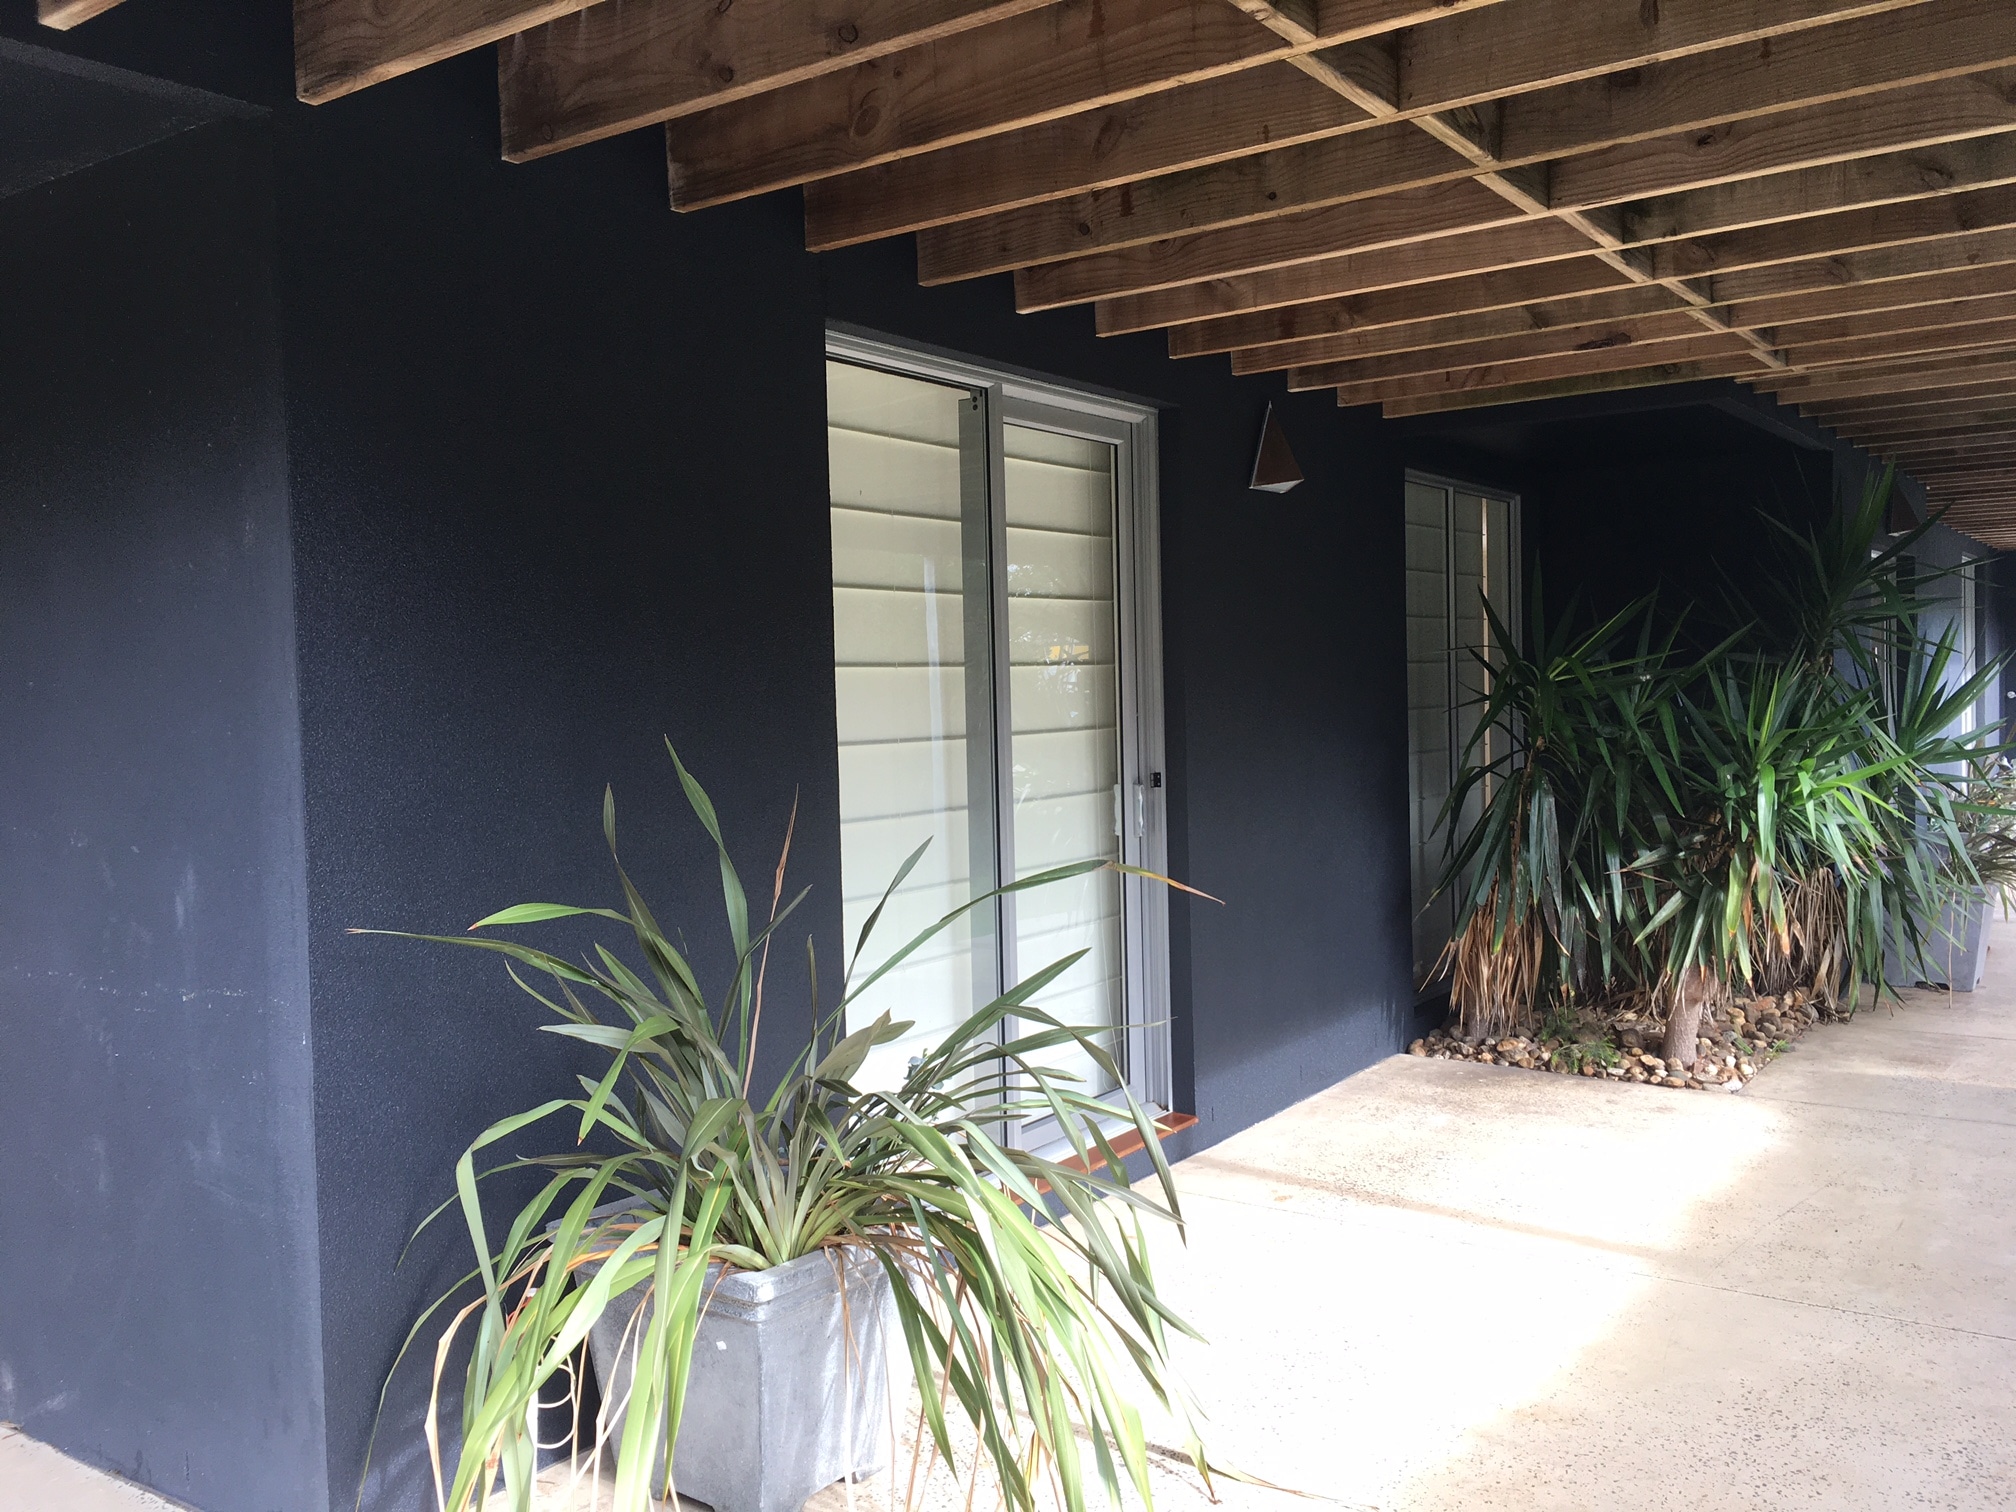
The merbau decking that runs the entire length of the house also required the recoating of decking oil as it too was exposed to the harsh UV Sunlight and had faded considerably and was peeling in most areas. At the end of the decking was a small merbau privacy screen that had peeled away and showed signs of grey weathering in the timber.
Colour Schemes and Sheen Levels
When it came to matching the existing render colour for this project, we were lucky that there was a small can of paint used previously on some minor repair on the rear of the house. This meant that we could use the formula from that can and put it into any paint cans we needed.
We basically ordered 15 litre cans of exterior paint and used that colour for all rendered walls, fascia, eaves and decking beams.
If there was no previous paint sample left behind, it makes it harder to match the colour correctly.
A good tip is to find something that you could remove from any of the surfaces to be painted and take it with you to the paint shop for matching.
That could be some small broken piece of render, fascia board, weather board or architrave. On this project, I only had access to the downpipes so I would have unclipped the pipe holder and taken that to get colour matched.
The sheen level chosen for the render walls, fascia and eaves was low sheen. The reason for this was that over time when the owners could see that the sheen level was diminishing or disappearing, then it was a good indicator that another coat on those surfaces would be needed. It is better to be proactive rather than reactive and the financial cost would also be kept to a minimum.
Since the colour for the render was a colour match, there is no colour swab that I can show you. However, the following two colours are an indication of what the colour roughly resembled.
They are:
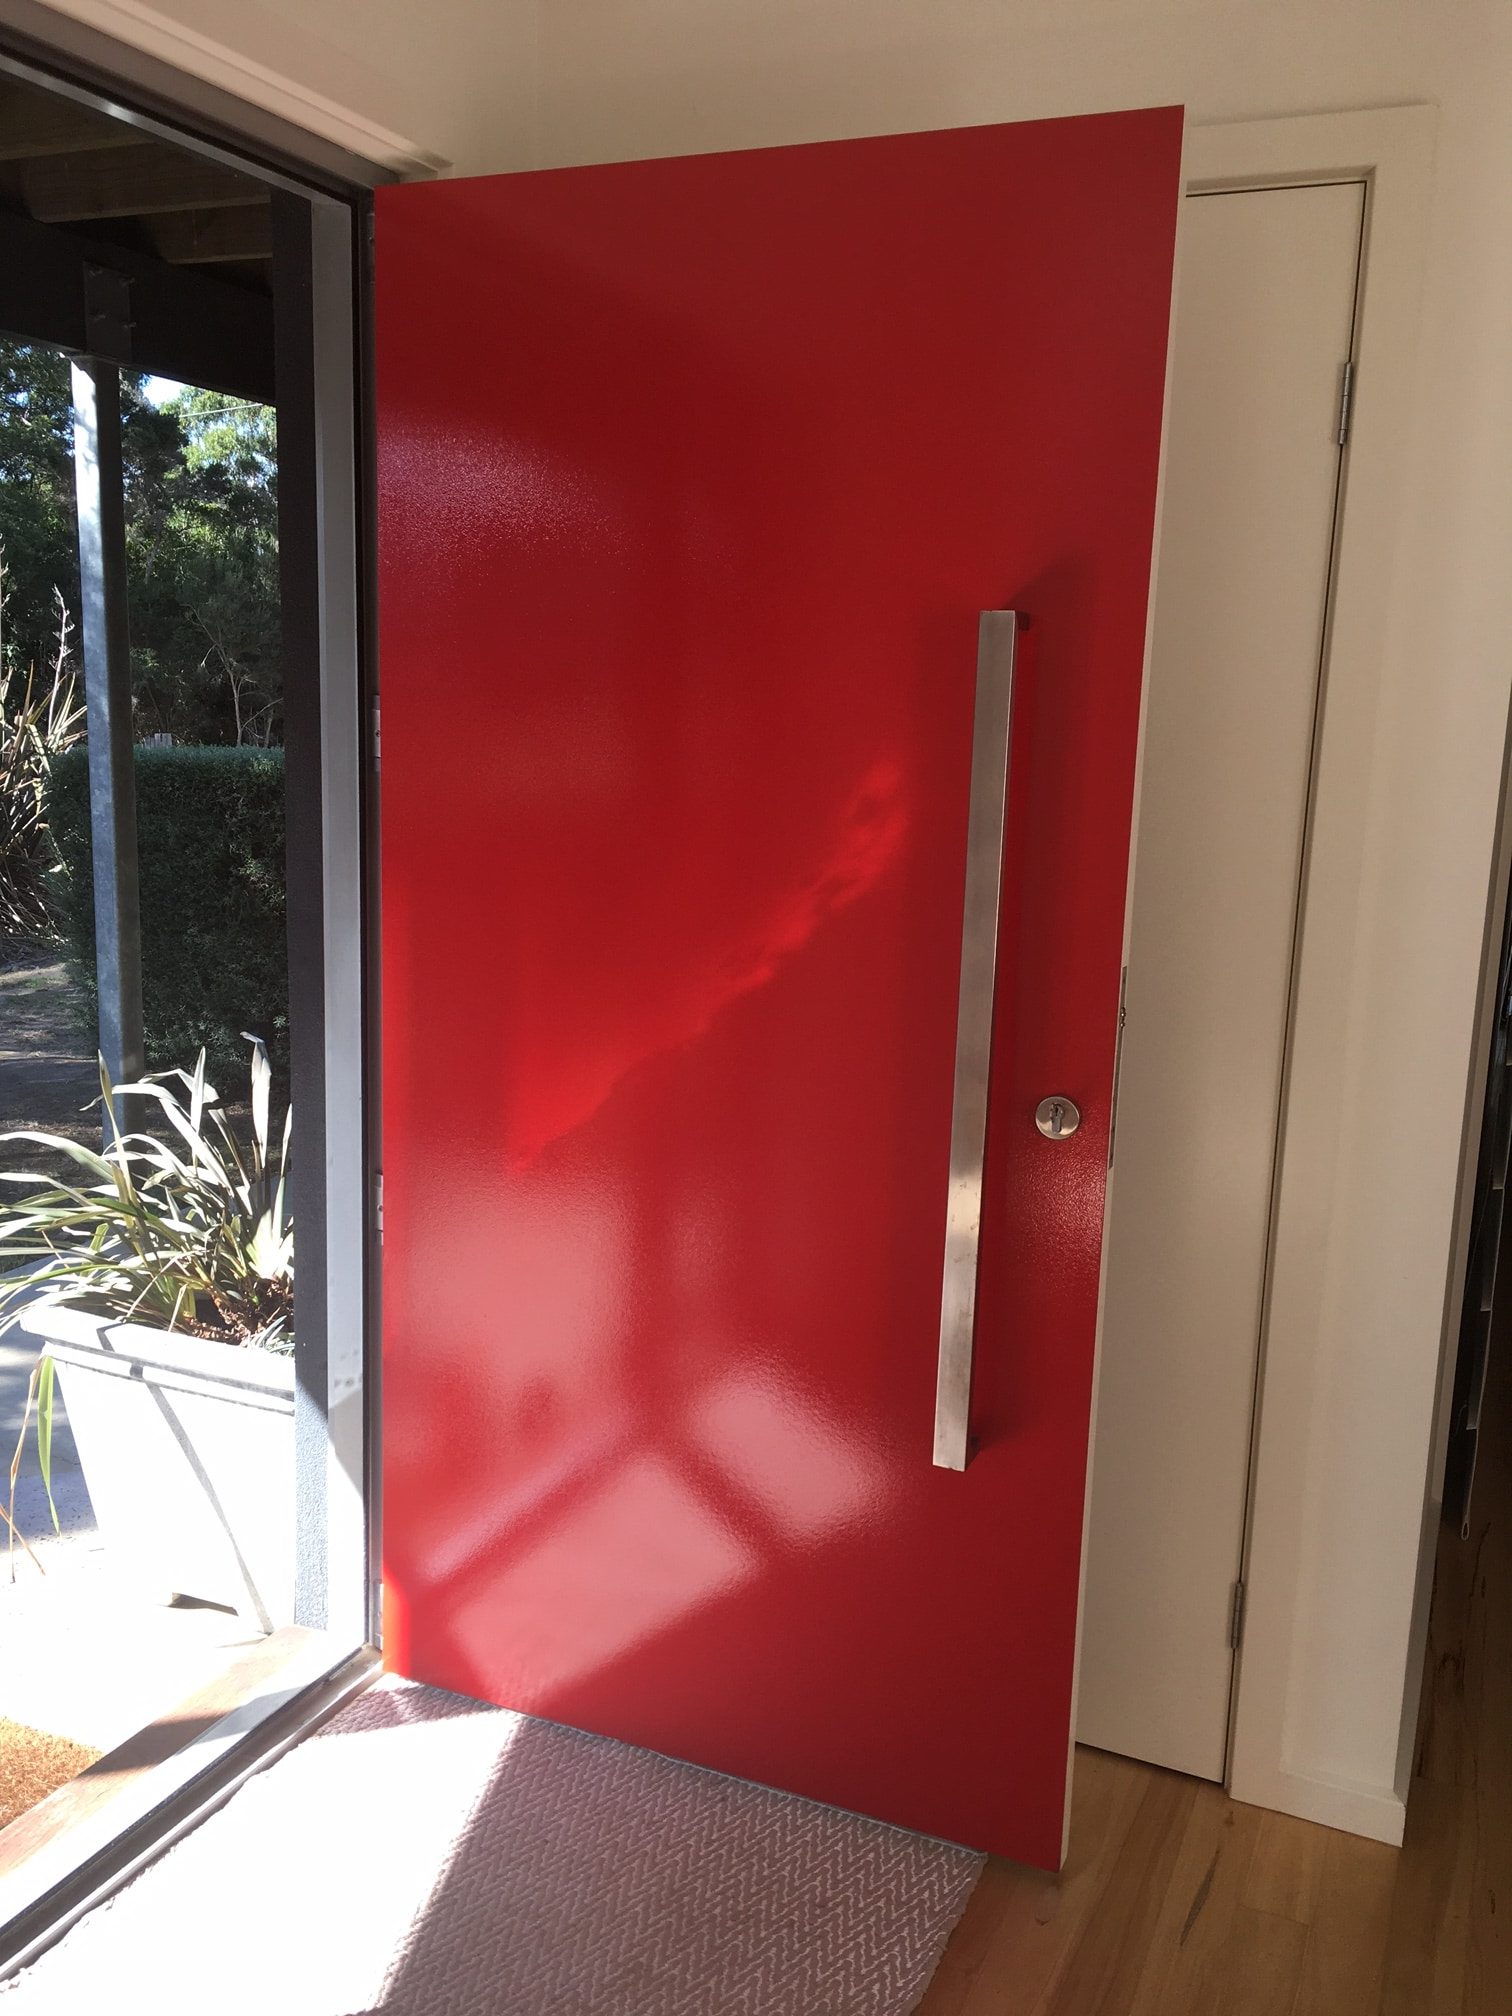
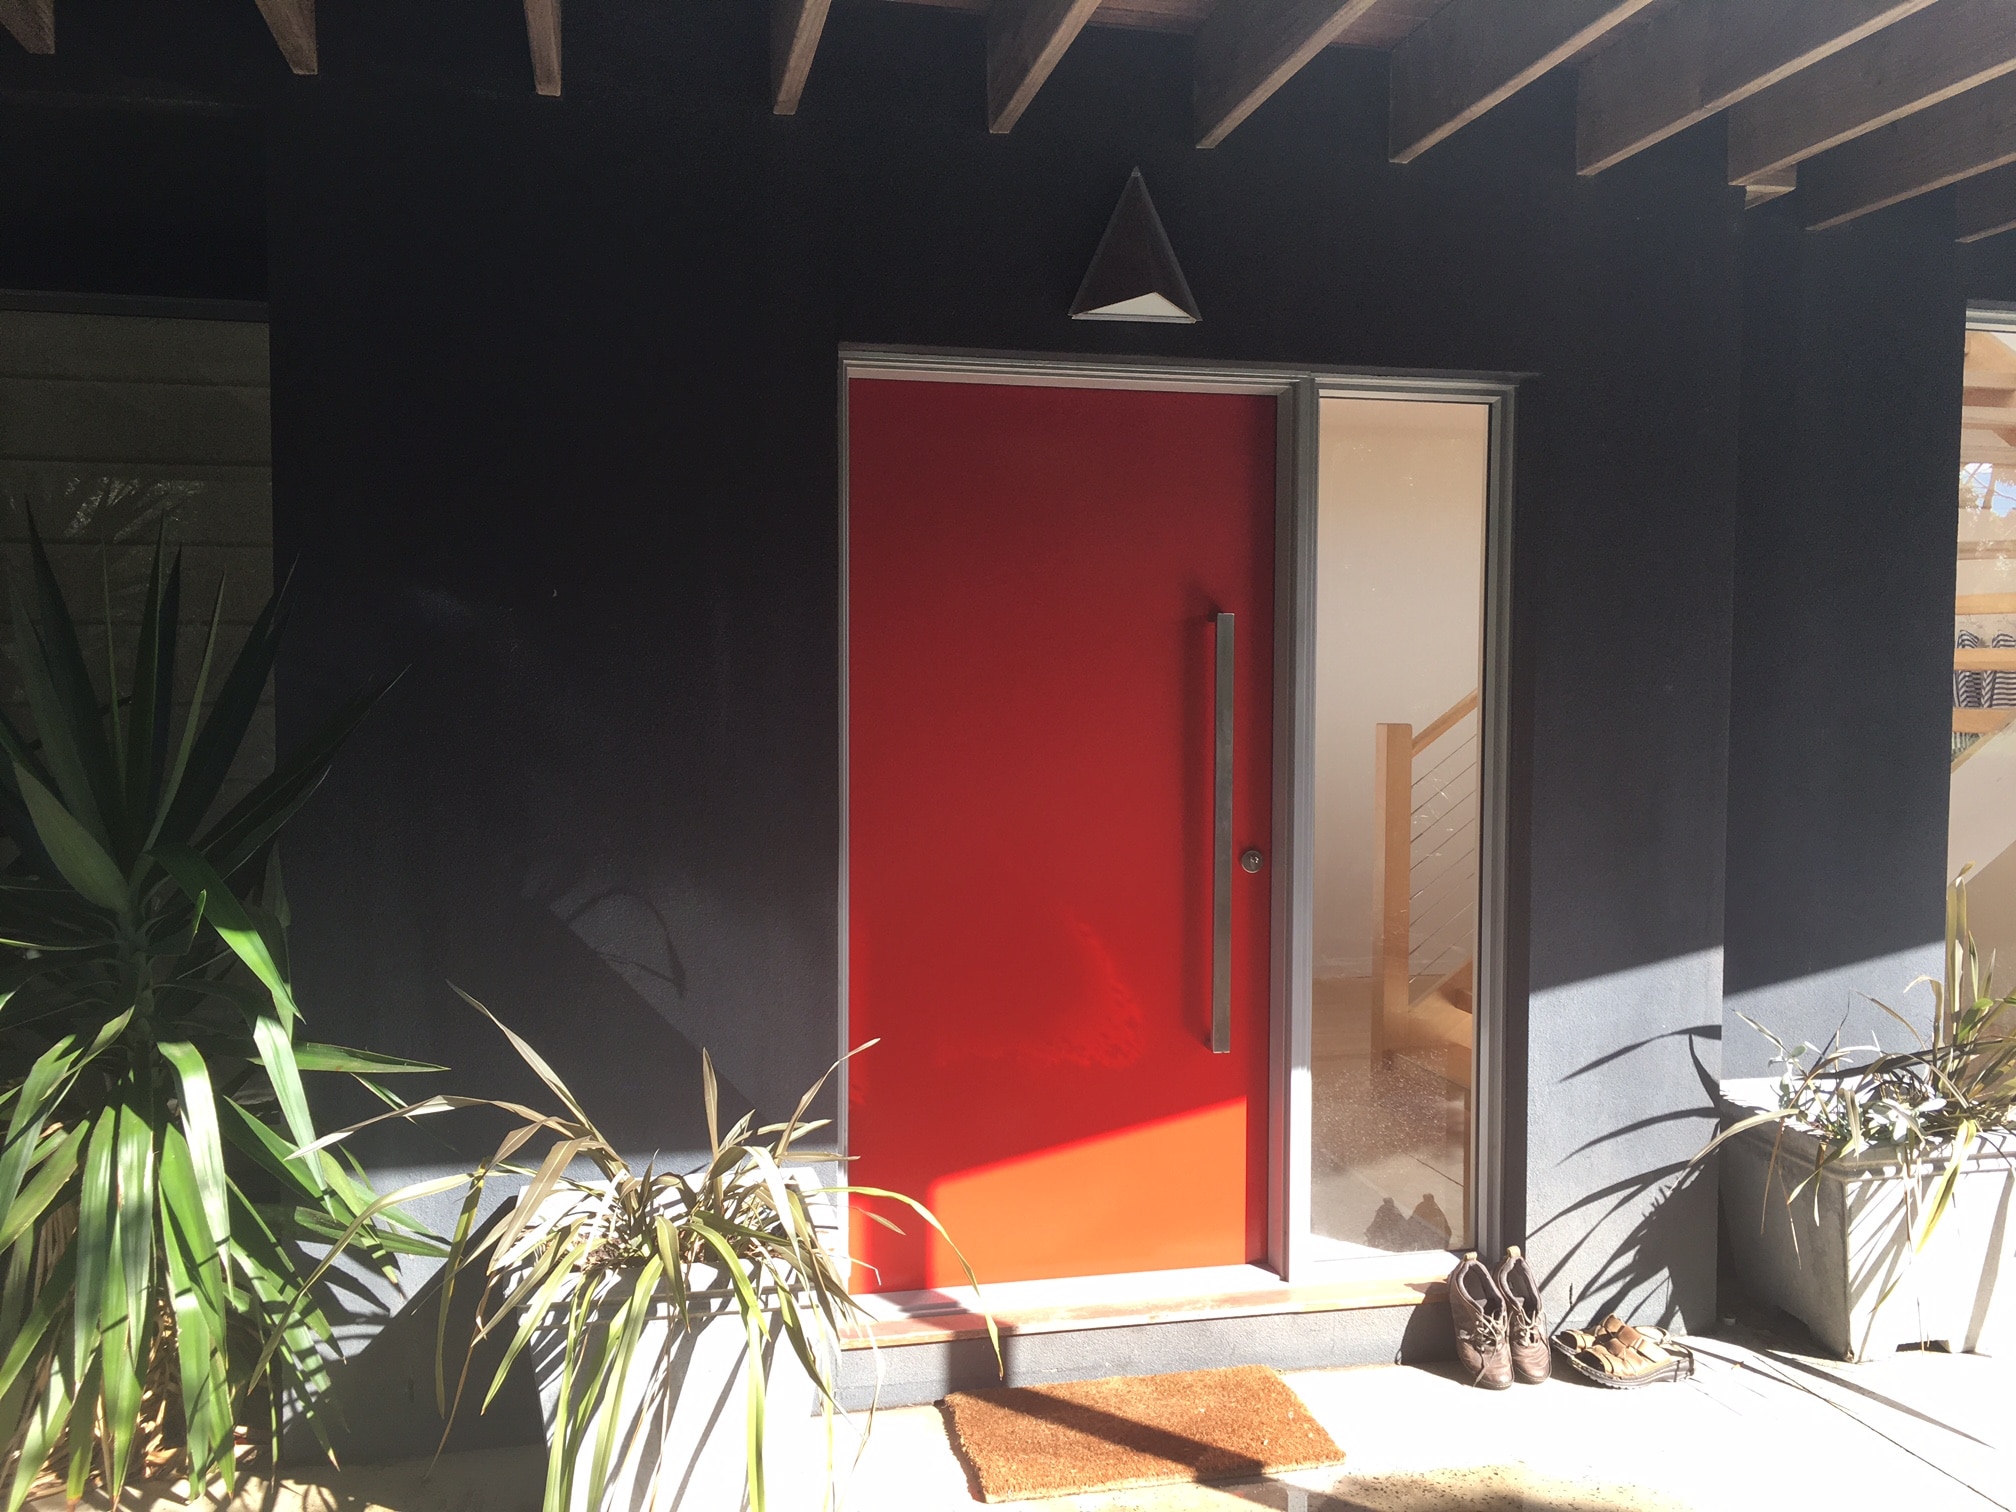
For the front door, I was given some liberty to match the Red as close as possible and selected a colour called Dulux Hot Lips.
Preparation
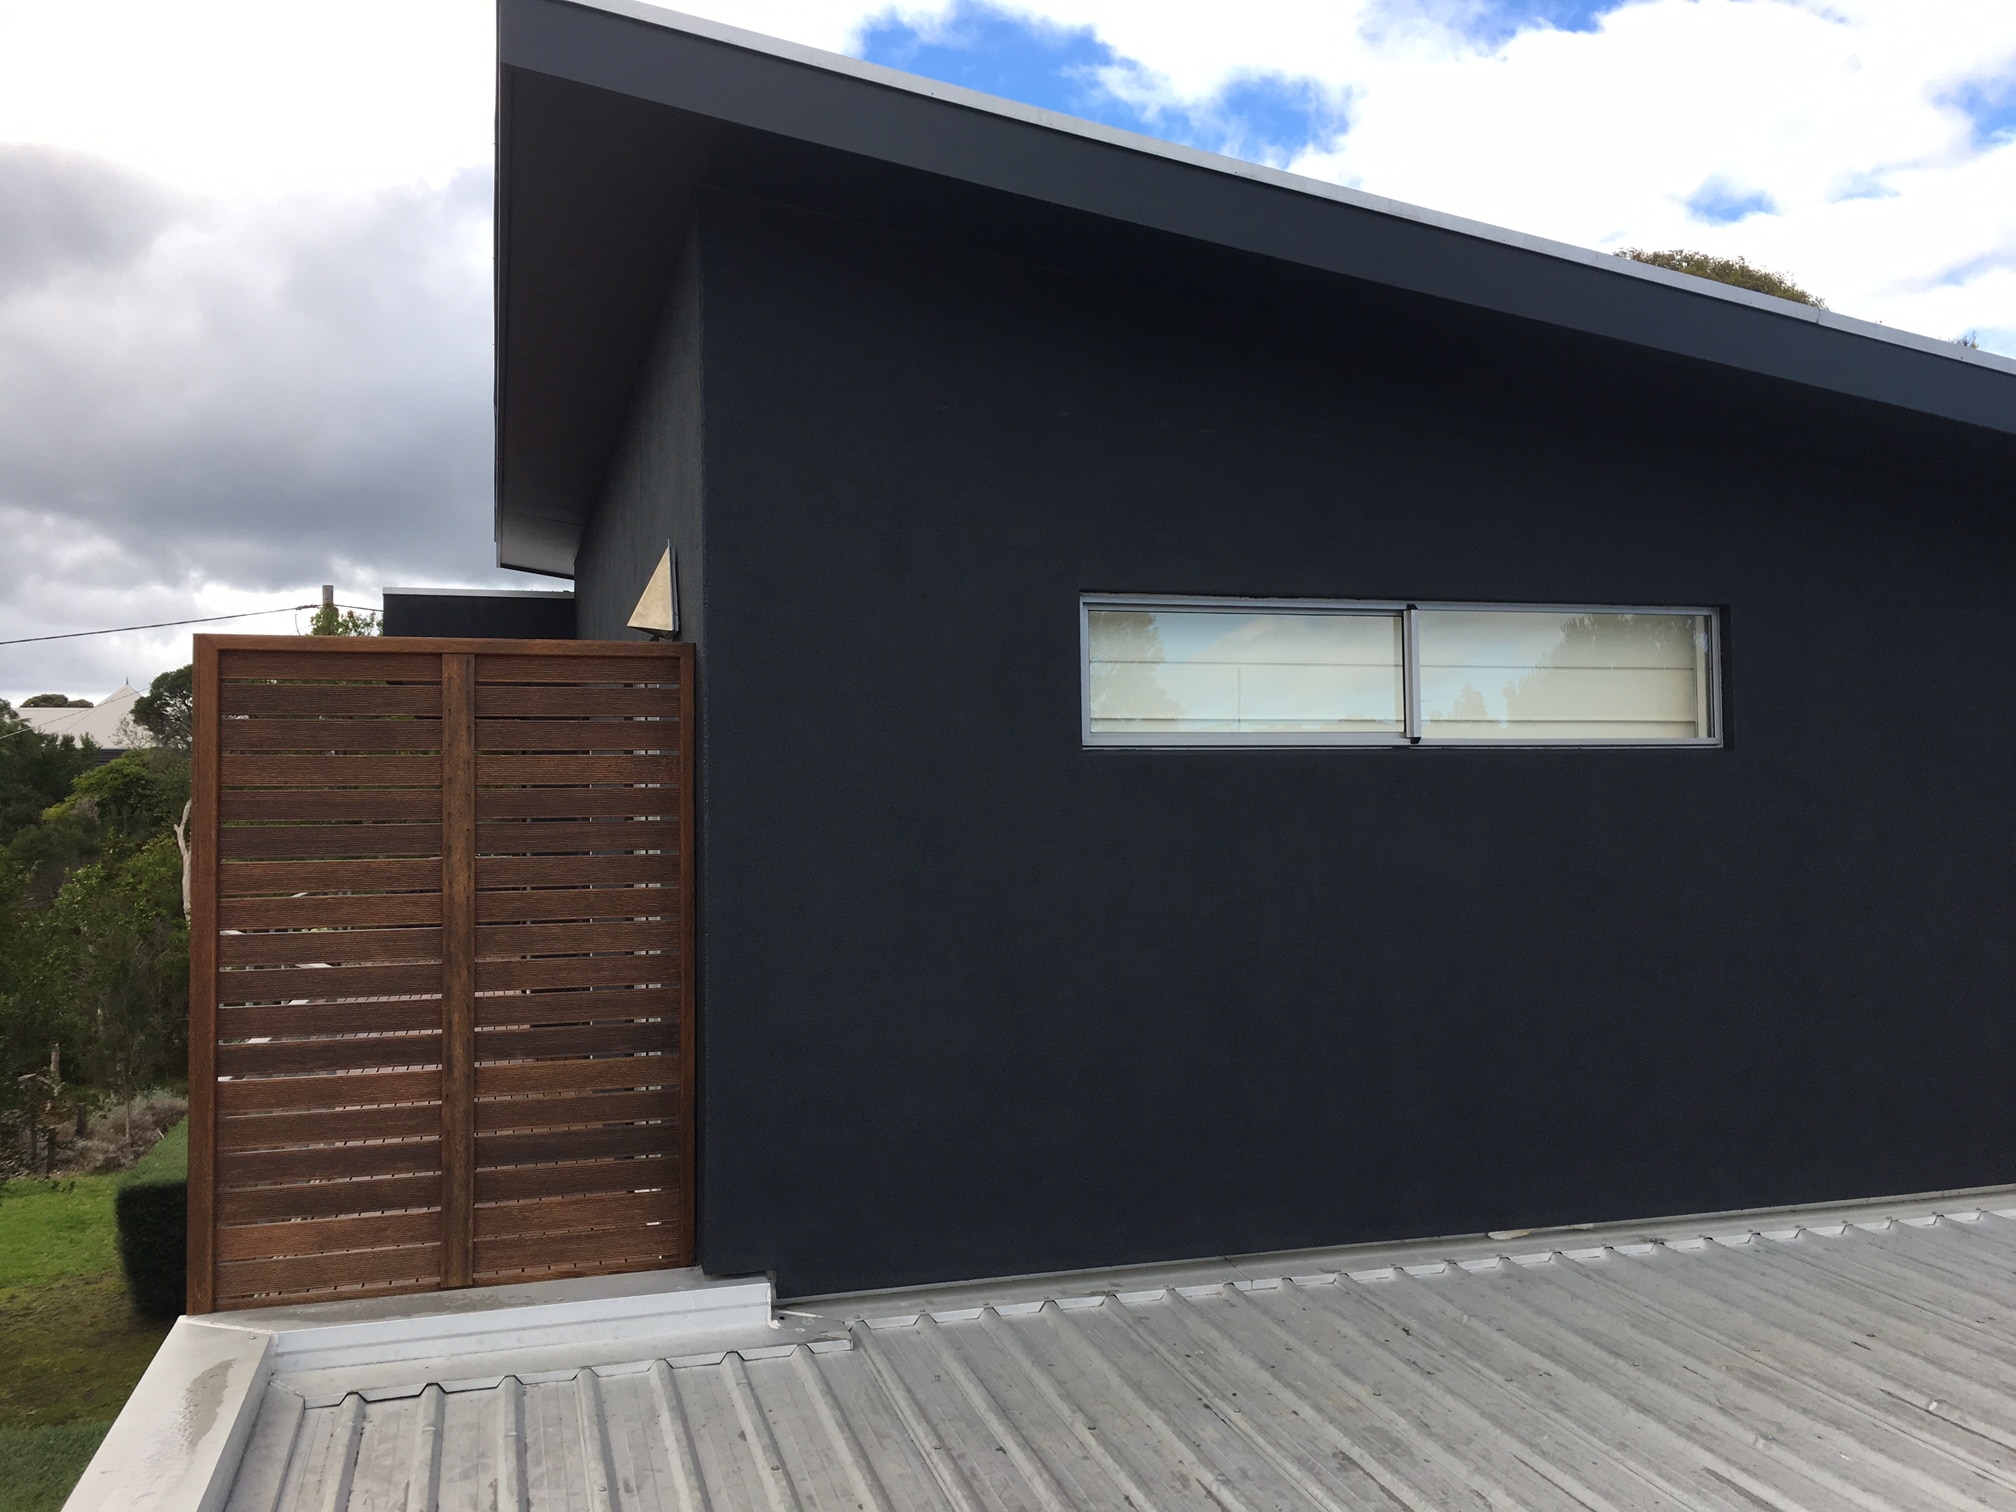
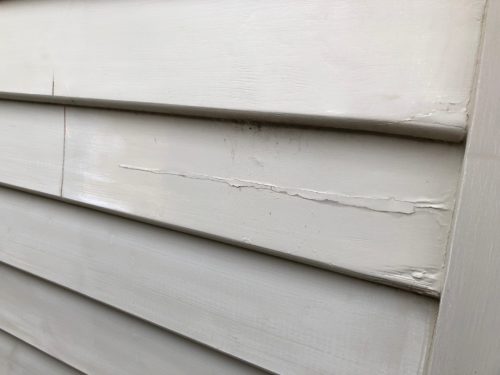
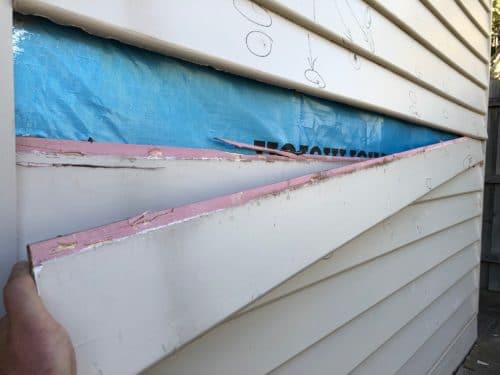
Fascia: On the fascia there were some areas of paint peeling as well as seeping sap. Fortunately the fascia was dry and in the eight years since installation, the sap had stopped seeping. On removing the sap, the entire fascia was sanded to remove flaking paint and timber fillers were used to fill nail holes, timber knots and cracks. After a light sand, undercoats were applied and 3 coats of top coat paint were applied to the fascia.
Eaves: The eaves were the easy part of the painting. After removing the dust and cobwebs, the eaves were in very good condition and so 2 coats of top coat paint was applied to them.
Render Walls and Decking Beams: All the faded areas of render and timber beams were washed to remove any traces of left over paint chalking. This is a fine film of powdered chalk found on the surface. There was minor repair done to ground floor render walls, especially around where the decking beams are joined to the house. The main timber beam along the front of the house required some sections to be reattached to the joists as the nails had rusted. All repaired render and timber putty were undercoated before 3 top coats were applied to all surfaces.
Front Door: The original colour of the front door was Red and the owner requested to match the colour as close as possible. After a light sand and wash of the surface, the door was painted with 2 top coats of exterior gloss enamel.
Decking and Screen: The timber decking and screen were washed with high pressure water and scrubbed with a solution to remove any dirt, mould, grease and flaking paint. Once dried, a light sand of the decking was applied to smooth out any rough edges or timber fur that appeared as a result of using the high pressure Gerni. A final wash and clean with a timber Reviva helped to restore the original colour of the merbau. The deck was left to dry for 2 days before 4 coats of Cabots Aquadeck was applied to the entire deck and privacy screen.
Materials Used
For the decking, the product used was Cabots Aquadeck Merbau.
All render, fascia and eaves, the product used was Wattyl Solagaurd.
The front door required an exterior gloss and the paint used was Dulux Super Enamel.
Conclusion
On the whole, this exterior painting project was completed over two weeks.
With minor preparation required to the fascia boards and rendered walls, the paint application flowed smoothly and the result was a uniform coating to all surfaces.
The decking too, looks rich and uniform in colour with four coats being applied.
The main thing to consider and realise is that there is nothing wrong with choosing a dark colour for your surfaces. Just keep in mind that dark colours will fade a lot quicker and will require more maintenance and upkeep in order to sustain a quality finish.
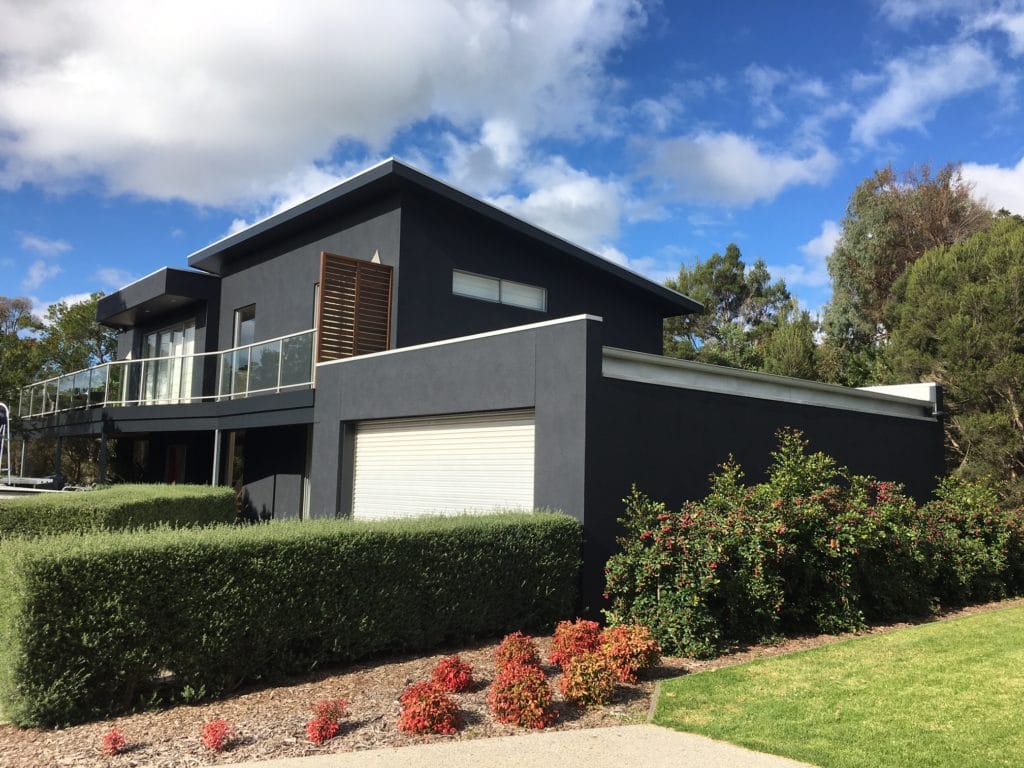
Below are pictures of the house after the repainting of rendered walls, decking and front door.