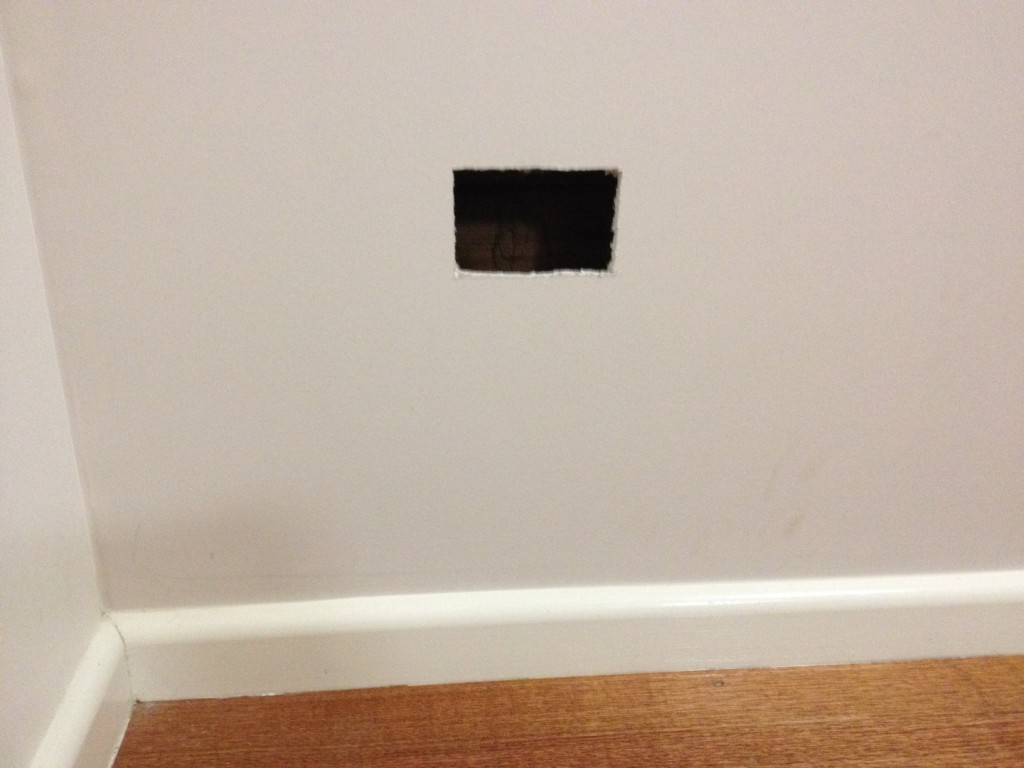
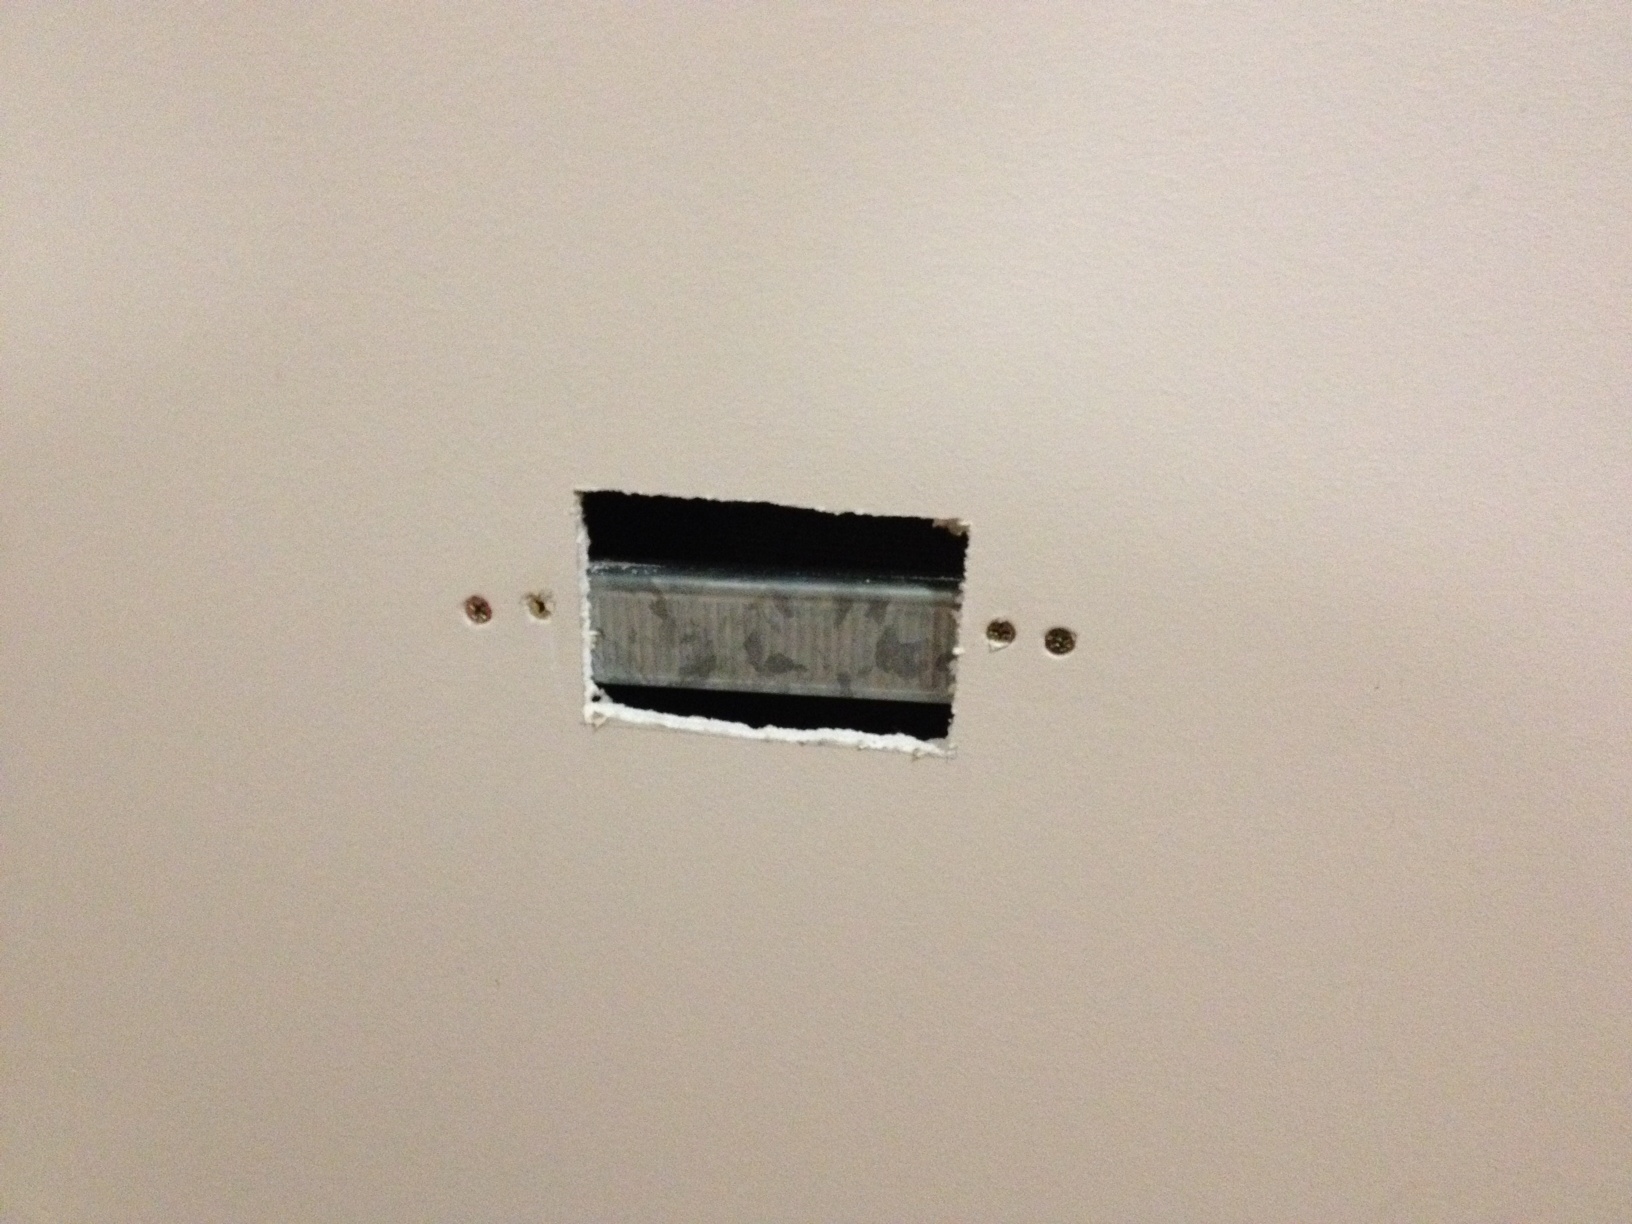
The process outlined is easy to follow and can be applied to any plaster repair in your home and it follows a similar method which I outlined in my article titled ‘How to repair a plaster crack before painting‘. To begin with, you will need to make sure the hole is square to allow for the plaster fill to fit into the hole nice and evenly. If you have a situation were you have a hole that was created by a ball hitting it or moving furniture and accidentally damaging the wall imperfectly, then you will have to cut a square hole evenly around the damaged area in both situations and follow the procedure outlined below.
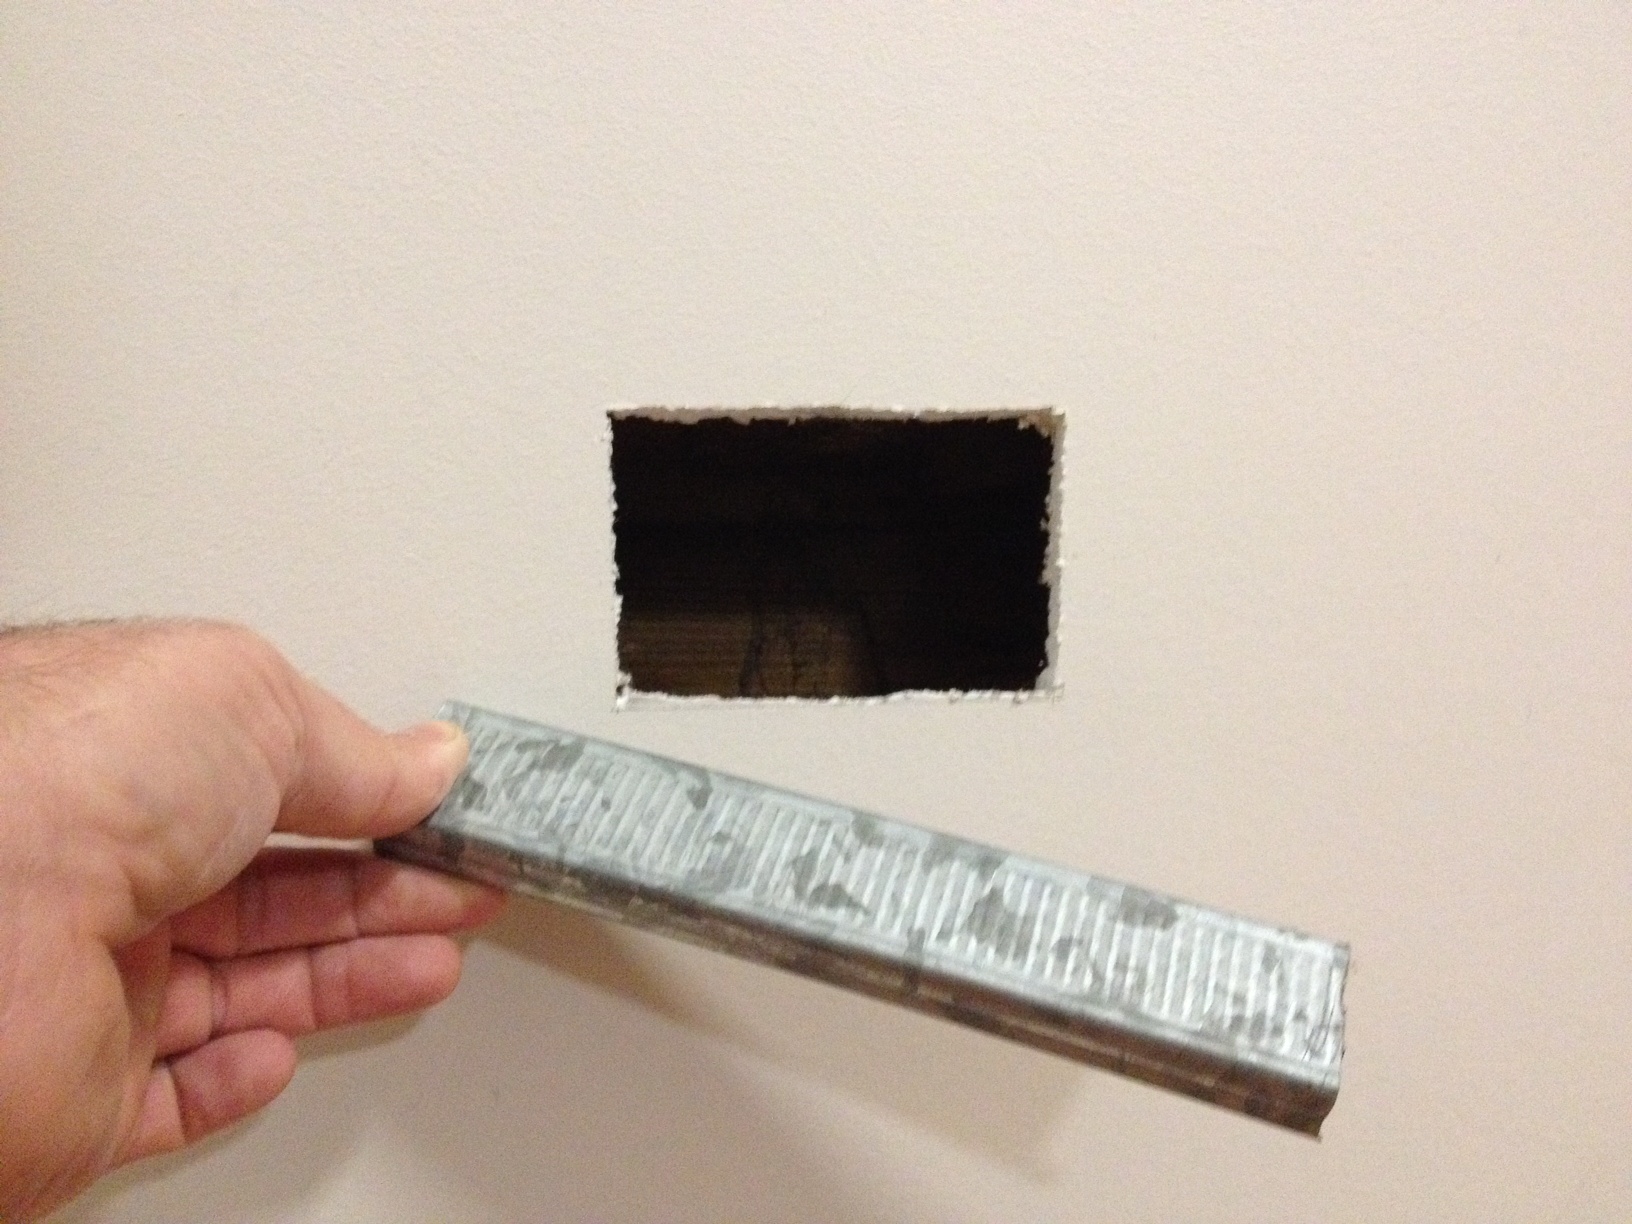
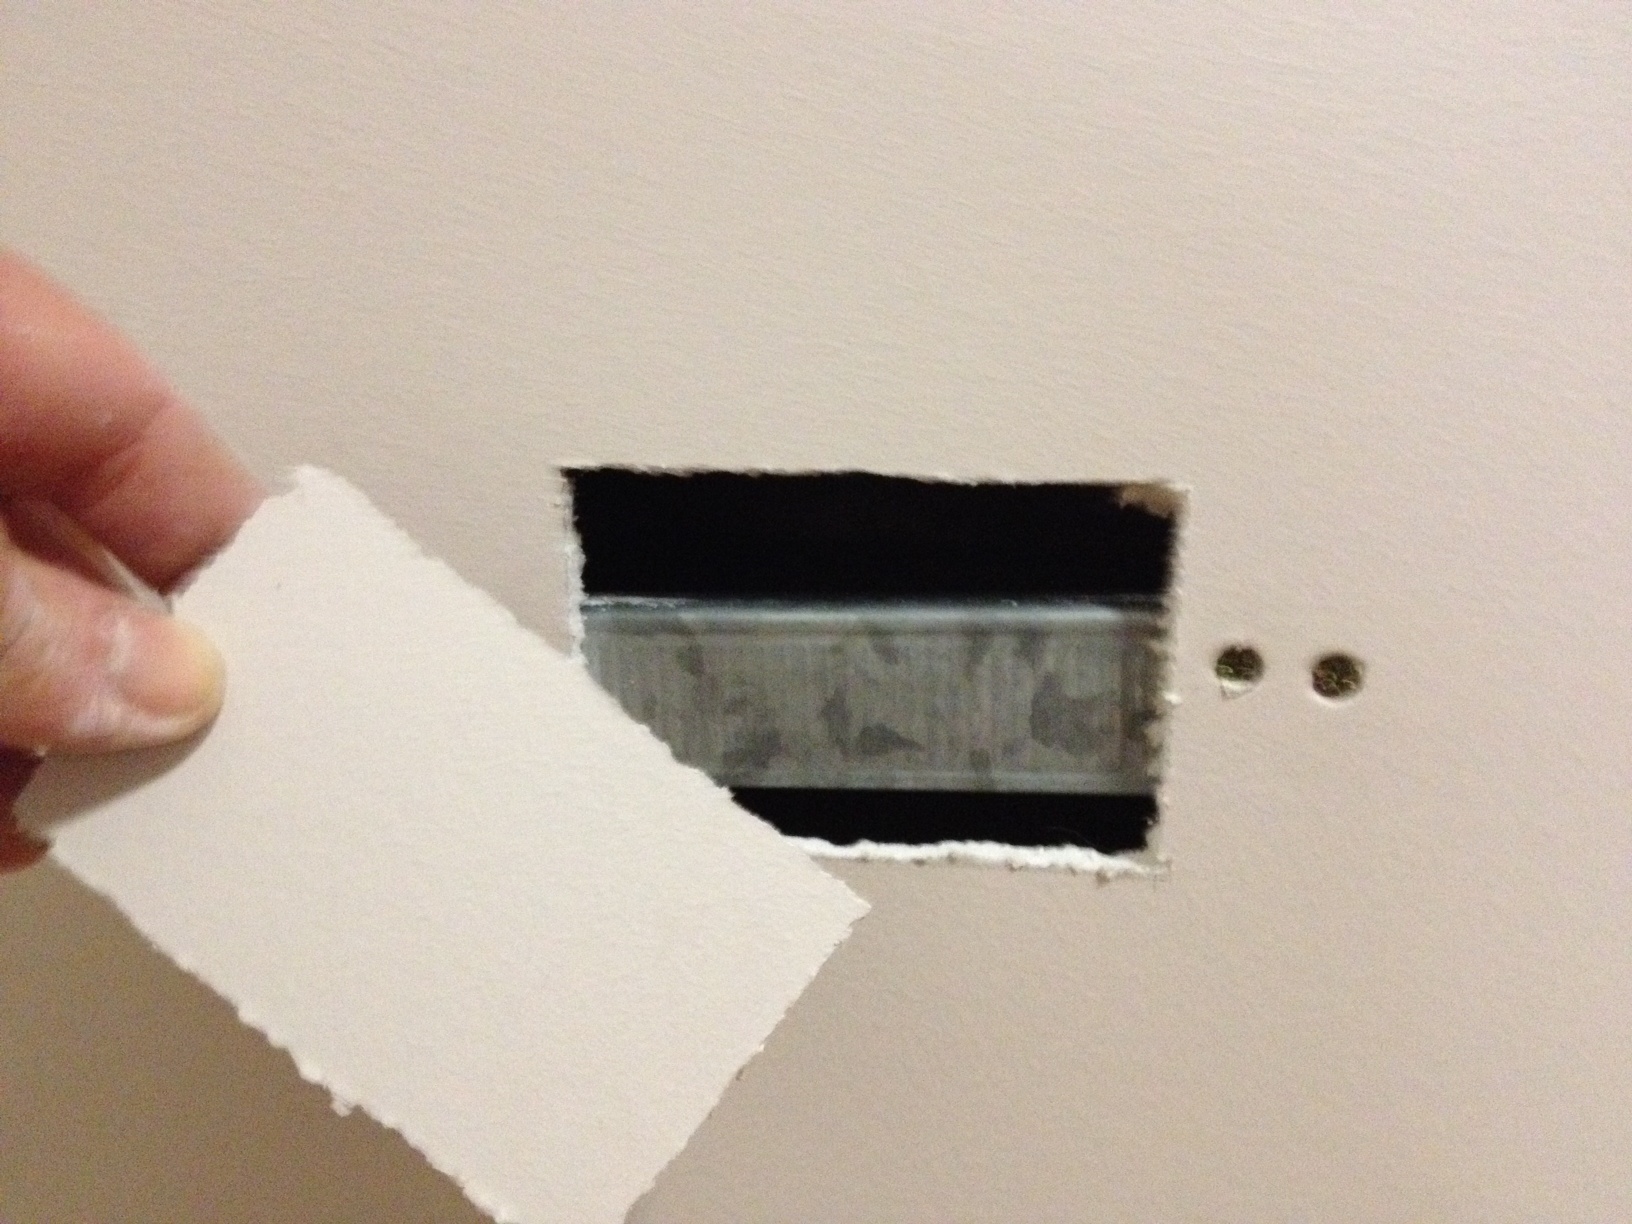
Firstly you will need to measure and cut to length a piece of aluminum baton as shown in Pic 1, or you can use a timber pine baton of similar size. Allow for an extra 50mm either side of the hole so as to allow for added strength and better grip when the plaster screws are attached. Secure the baton to the back of the wall with two plaster screws on either side of the hole as shown in Pic 2. Then measure the hole and cut a piece of plaster board to suit as illustrated in Pic 3. This will really strengthen the plaster in fill and help hide the plaster repair when painted.
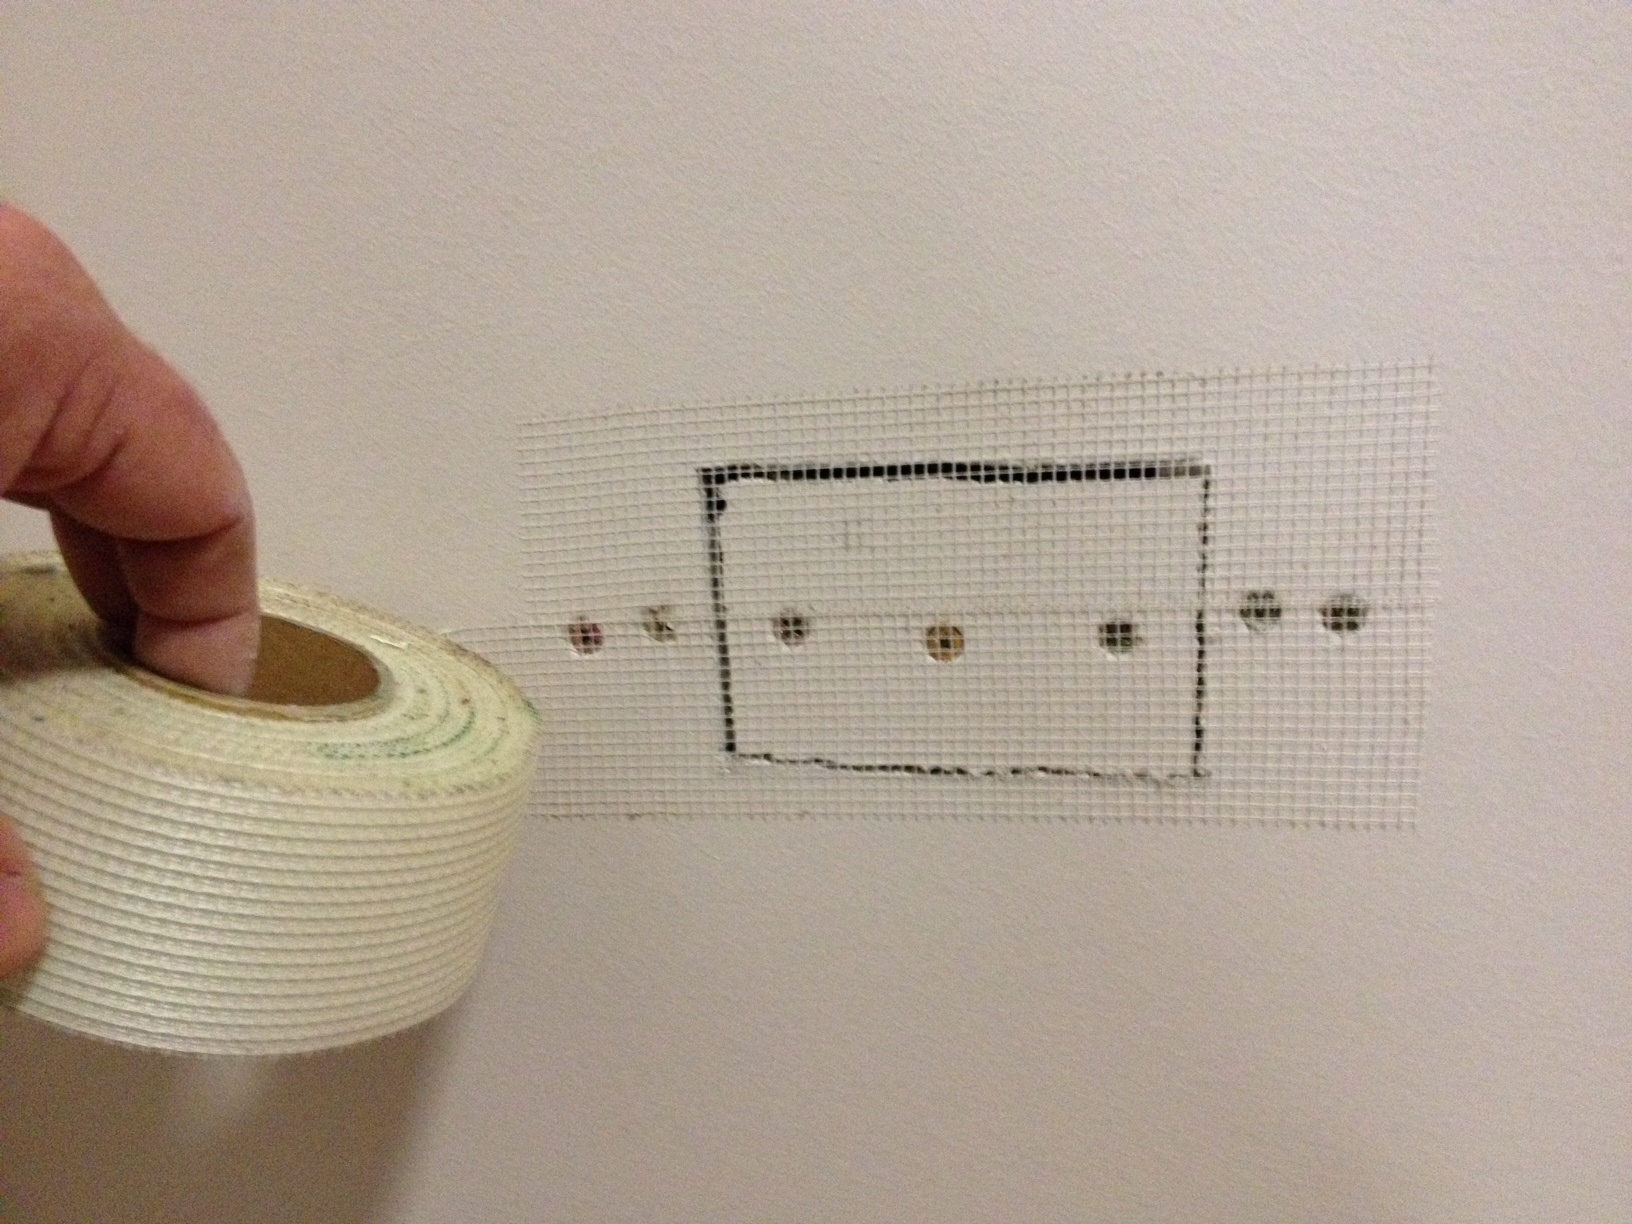
When you have screwed the off-cut of plaster to the baton, place a mesh tape over the joint as displayed in Pic 4. If you feel comfortable in using a paper tape then that will work just as good, but in this case as the joint is not considered to be an area were the plaster is susceptible to movement and cracking, the mesh will work fine. Again, I used a plaster mix consisting of Cornice cement and a little water. I mixed the two together into an even plaster mix and applied it to the mesh making sure that the plaster mix went into the joint as illustrated in Pic 5. Finish covering the joint with the remainder of the plaster mix in a smooth and even spread like Pic 6. You could also use Base coat as the first coat of plaster instead of Cornice cement, the only difference being that the Base coat will take longer to dry.
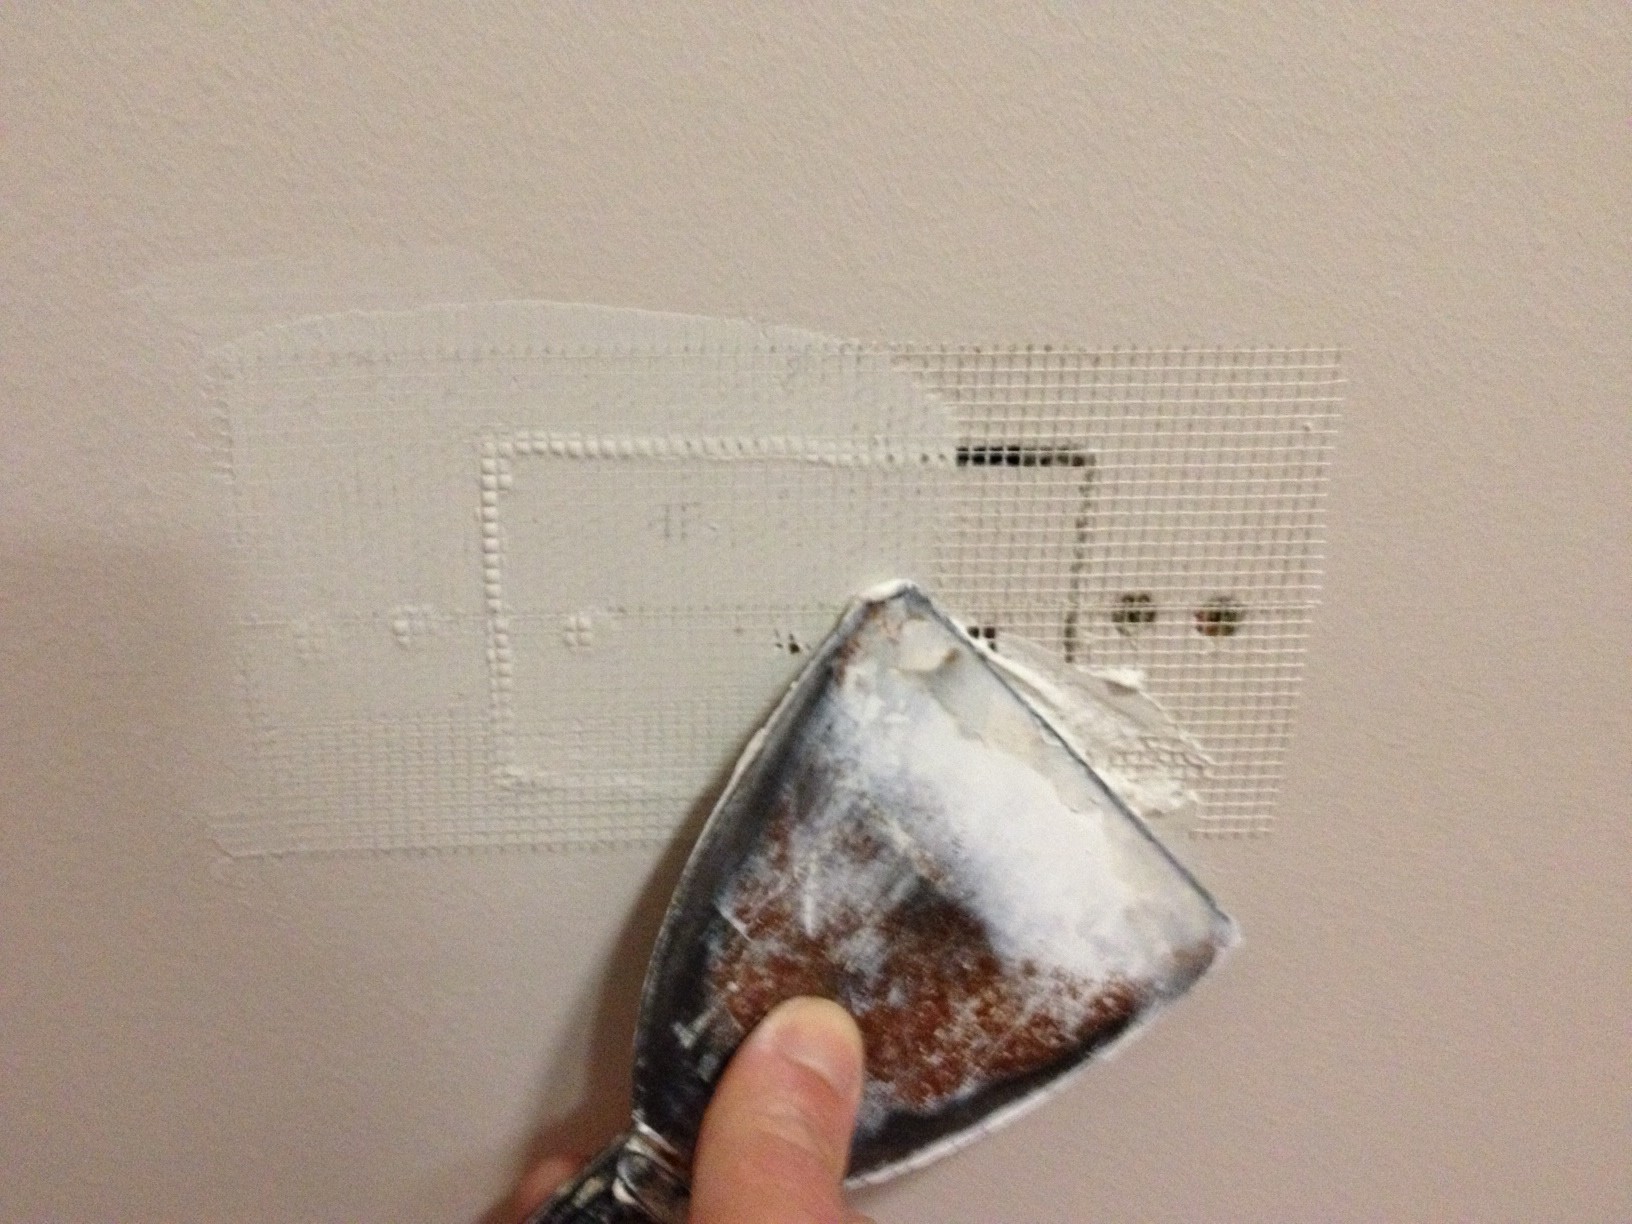
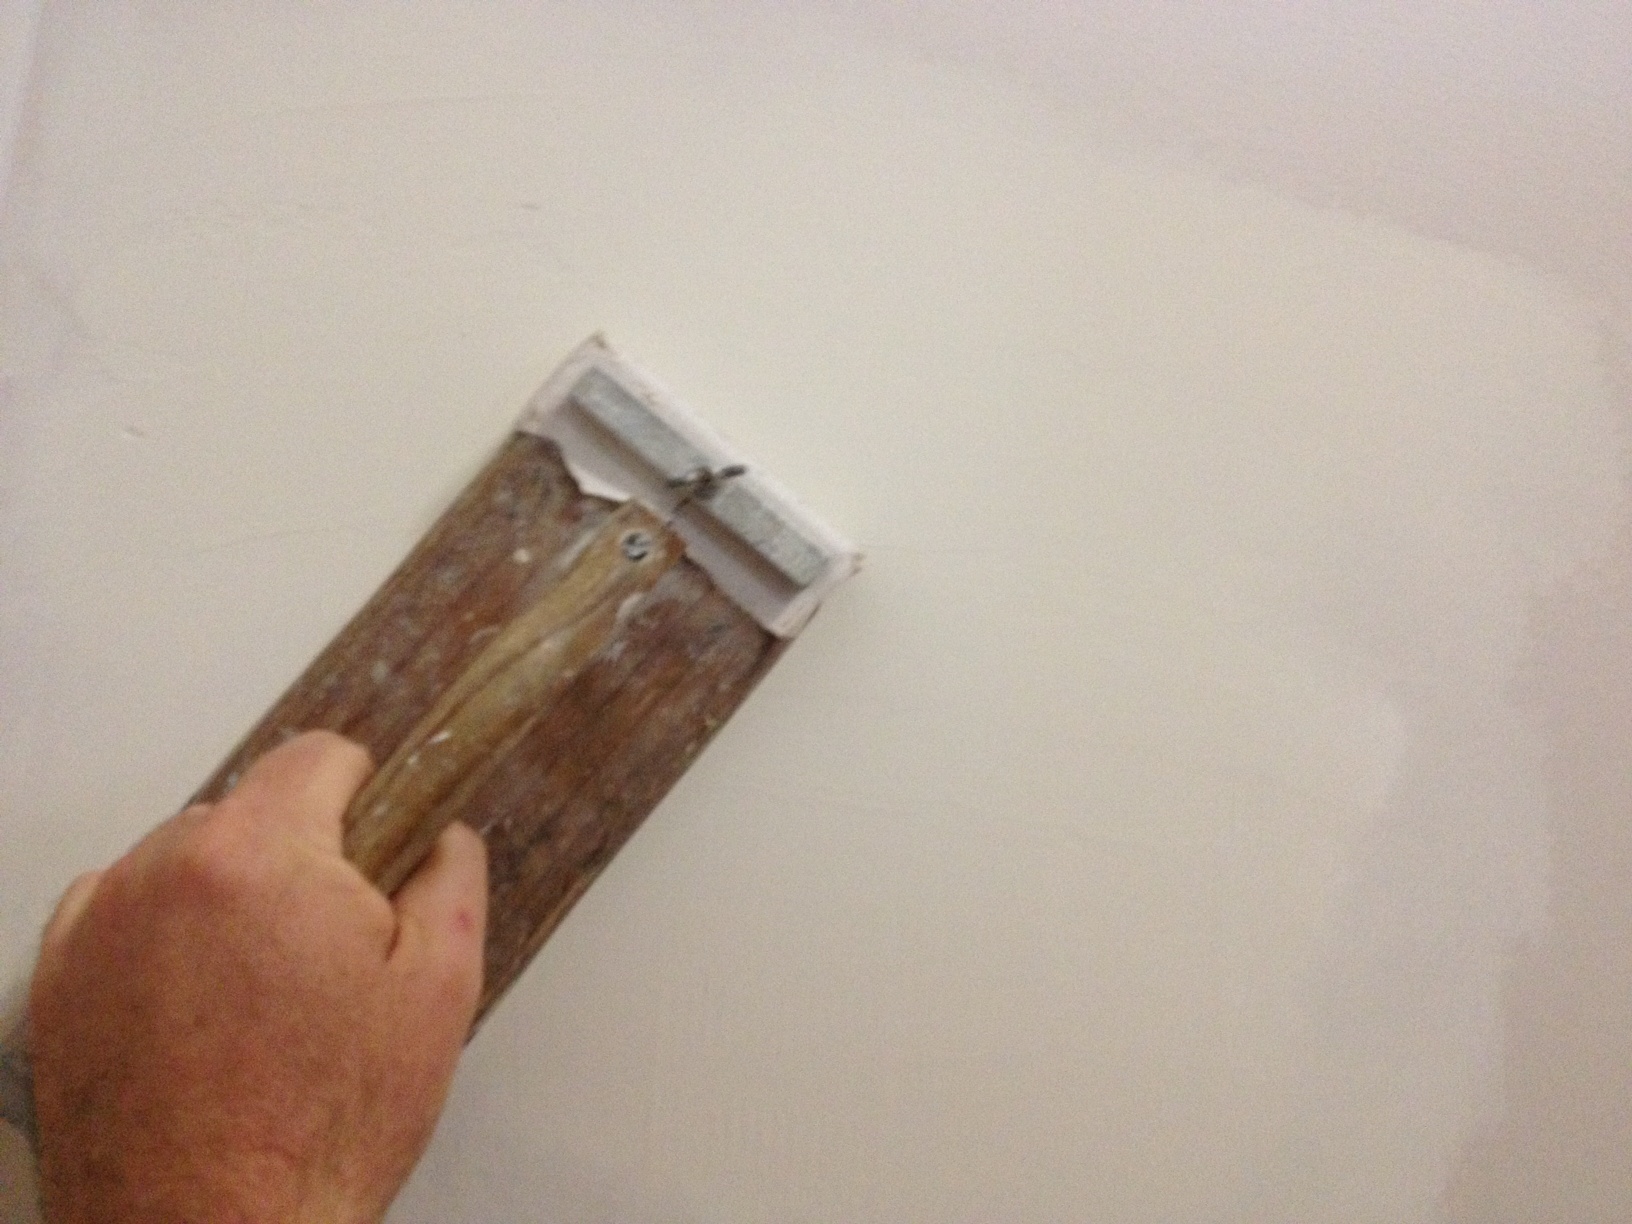
When the plaster has dried, scrape any high patches or edges with a spatula and if necessary you may have to apply a second coat of cornice cement to even out the joint. If not and your happy with the result, then you can apply a coat of Final finishing plaster over the joint as highlighted in Pic 7. Once dried give the joint a light sand using a hand sanding block or a sanding paddle with 240 grit sandpaper as shown in Pic 8. Run you hand over the joint and again if there are some inconsistencies in the spread or evenness of the Final Coat then apply another coat of Finishing Top coat. If you are happy with the final result, your plaster repair is complete and then your are ready to paint the joint with one coat of undercoat and two Top coats of the matching colour you need.
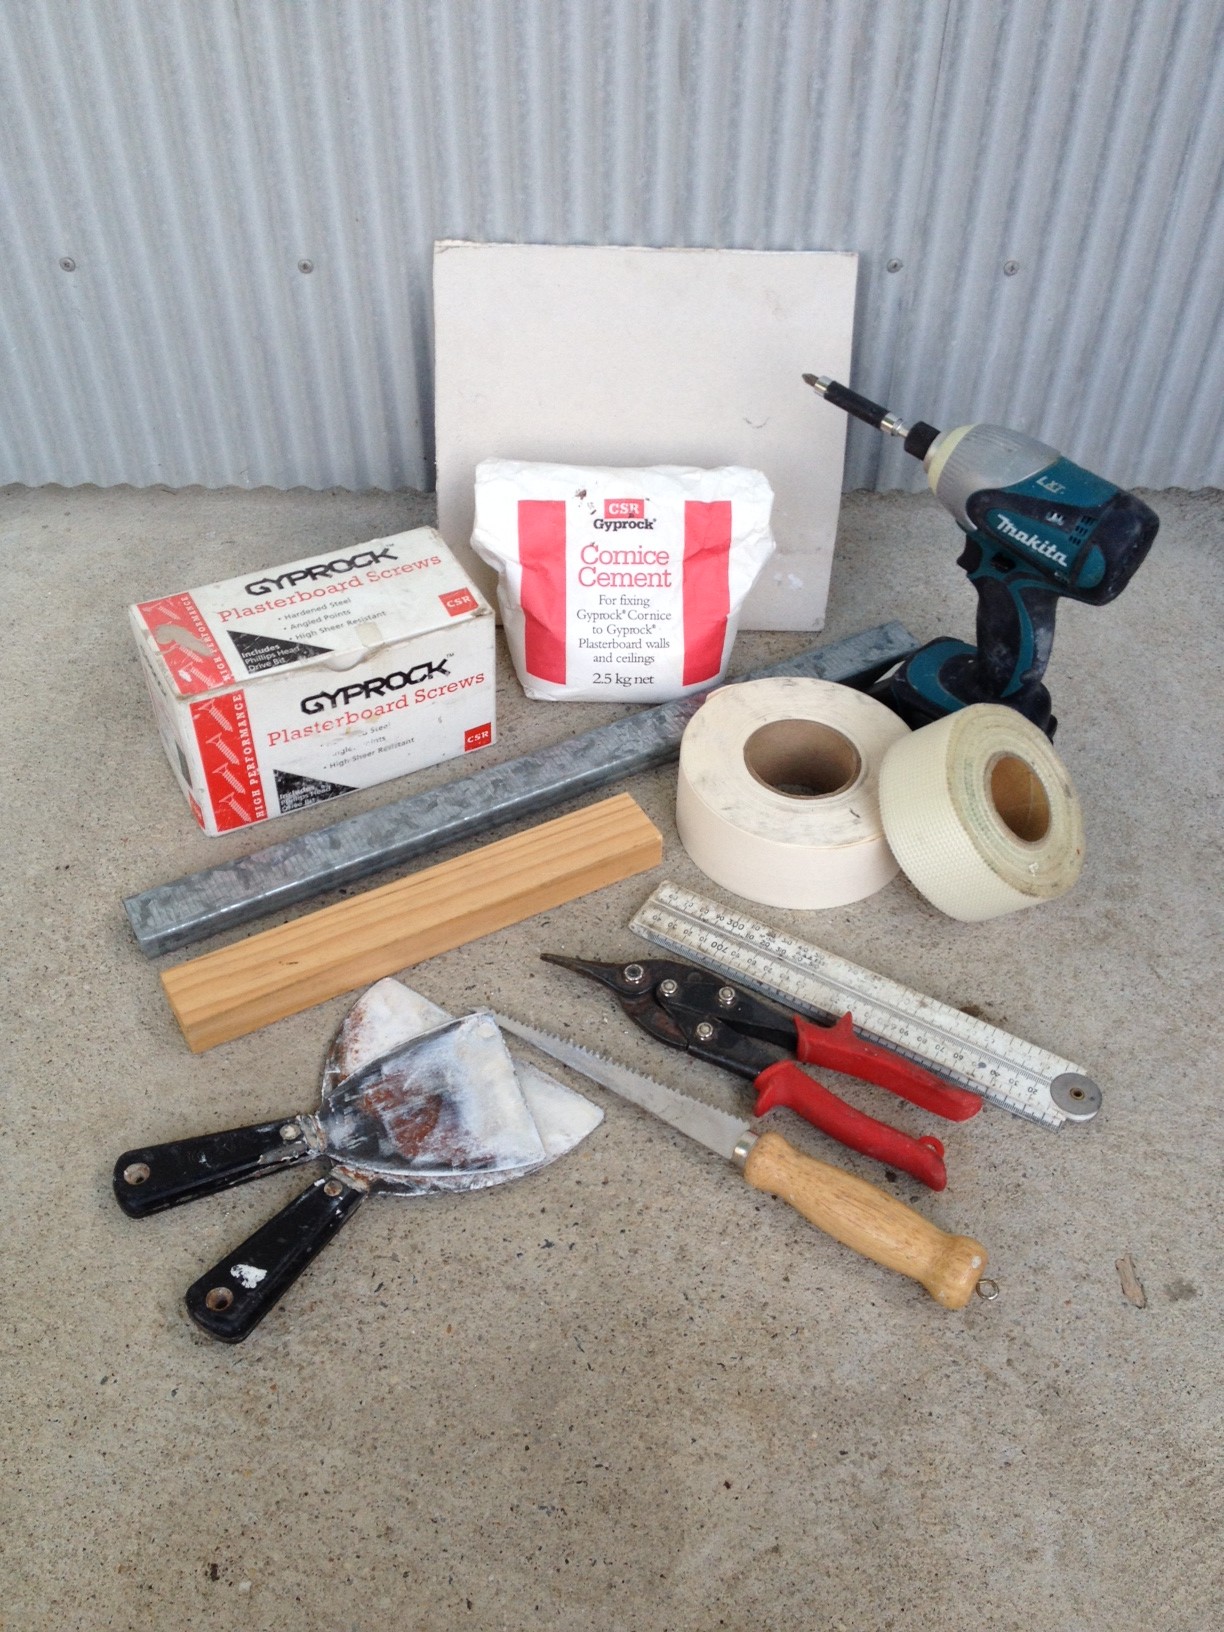
To complete this small project, Pic 9 illustrates the materials and equipment you will need.
- Aluminum or Timber baton
- Plaster screws and a Cordless drill
- Plaster saw and Stanley knife
- Plaster board
- Mesh or Paper tape
- Cornice cement
- Finishing Top coat
- Spatulas