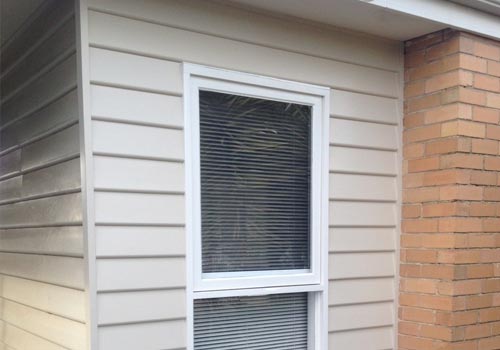
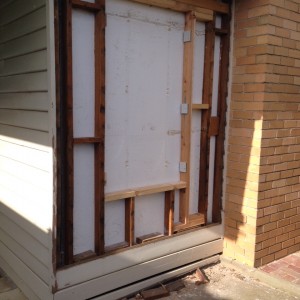
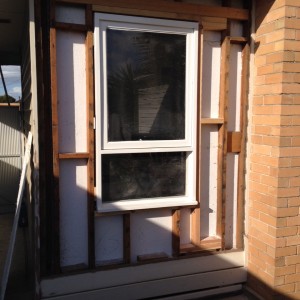
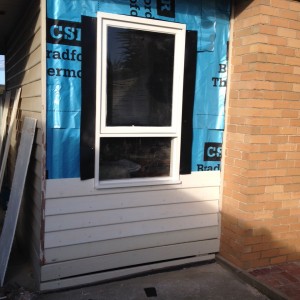
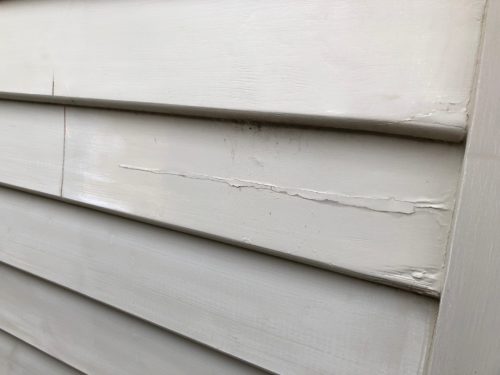
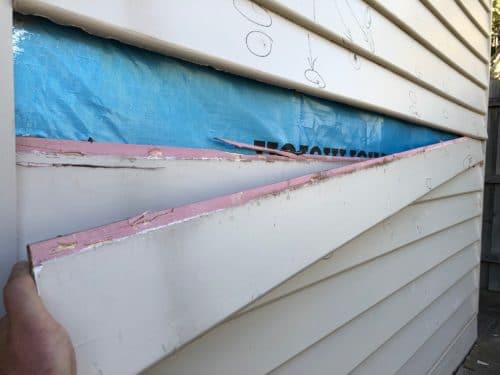
We began by removing the existing weatherboards, which were split and rotten in some areas and began to remove the existing framing so as to reapply a new timber frame with a lintel that would accommodate a new window. As it was the middle of winter, the window was prepared, undercoated and the top coats applied undercover in the preceding weeks so there was ample time for it to dry. Once the frame was adjusted to the size of the new window, the plaster was cut to suit the size of the opening and the window was installed as shown below.
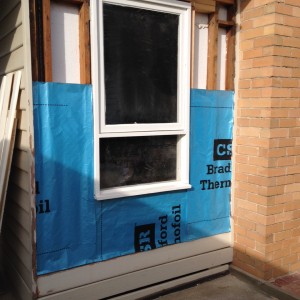
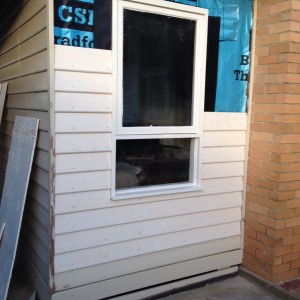
The sisalation was then applied to the frame and the flashing was added to the edges of the window. Once that was completed the weatherboards were nailed to the frame as shown in the pictures below. Again all the weatherboards were sanded and undercoated prior to installation so there was ample time for them to dry.
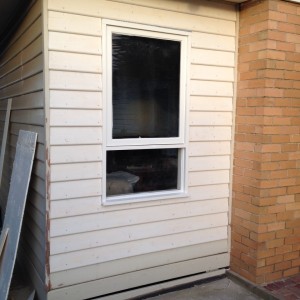
The remainder of the weatherboards were cut to size and nailed accordingly to complete the wall. All the nails holes were filled with body filler, sanded and the corners of the weatherboards were filled with no-more gap filler and the entire wall was once again undercoated before two top coats were applied over the next few days, as the pictures below show.
The weatherboards were painted in a X10 Weathershield semi gloss acrylic paint and the window was painted in a full gloss oil based paint to match the existing colour scheme of the house. The window also had a new window lock installed.
