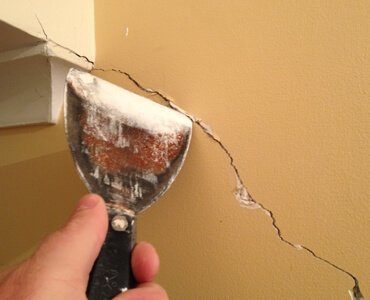
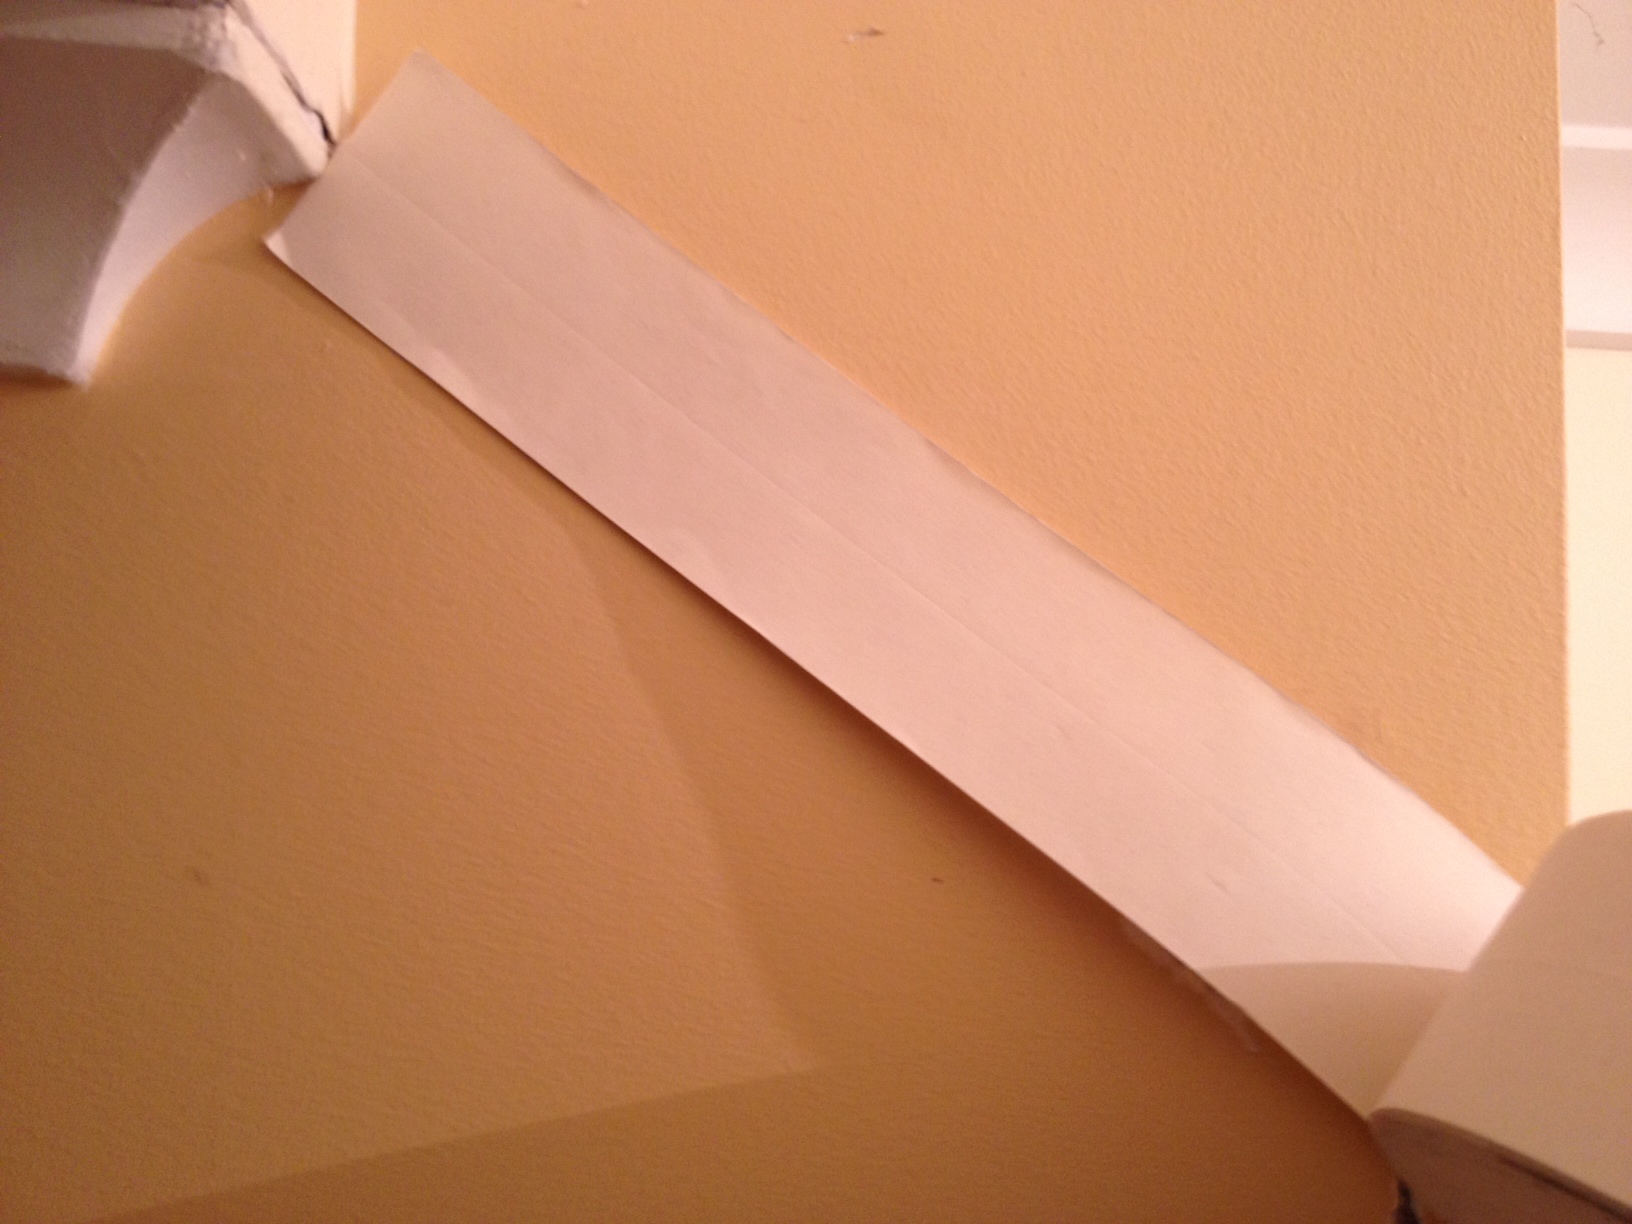
Firstly, we need to gouge out the crack with a spatula or stanely knife as shown below in Pic 1. The reason for this is that we want to remove any overlapping of the plaster sheets and to clean out the crack so there is no loose plaster or paper. Ideally we want to produce a join that is in the shape of a V. Next measure and cut the paper to length so as to cover the join as shown in Pic 2 below. It is important to use a paper tape as opposed to a mesh tape, because the crack will always be susceptible to movement in the join, having a paper tape will strengthen the join. A mesh tape will gradually tear and the plaster will shear again with movement in the join resulting in more repair.
Make a mixture of plaster, in this case I used Cornice cement, by adding water progressively to the powder and mixing until you have a smooth paste. I prefer to use Cornice cement because it is fast drying and dries very solidly. If you are not familiar with Cornice cement, there are a couple of things you should know. One, it sets very quickly, so don’t take to long to put the mixture together and two, always apply the mixture smoothly and thinly to the plaster join because when it is dry it may be difficult to sand evenly. You can always add more plaster mix a second time. Also, you can use Base Coat which takes longer to dry but gives you more time to evenly spread and work with the mixture.
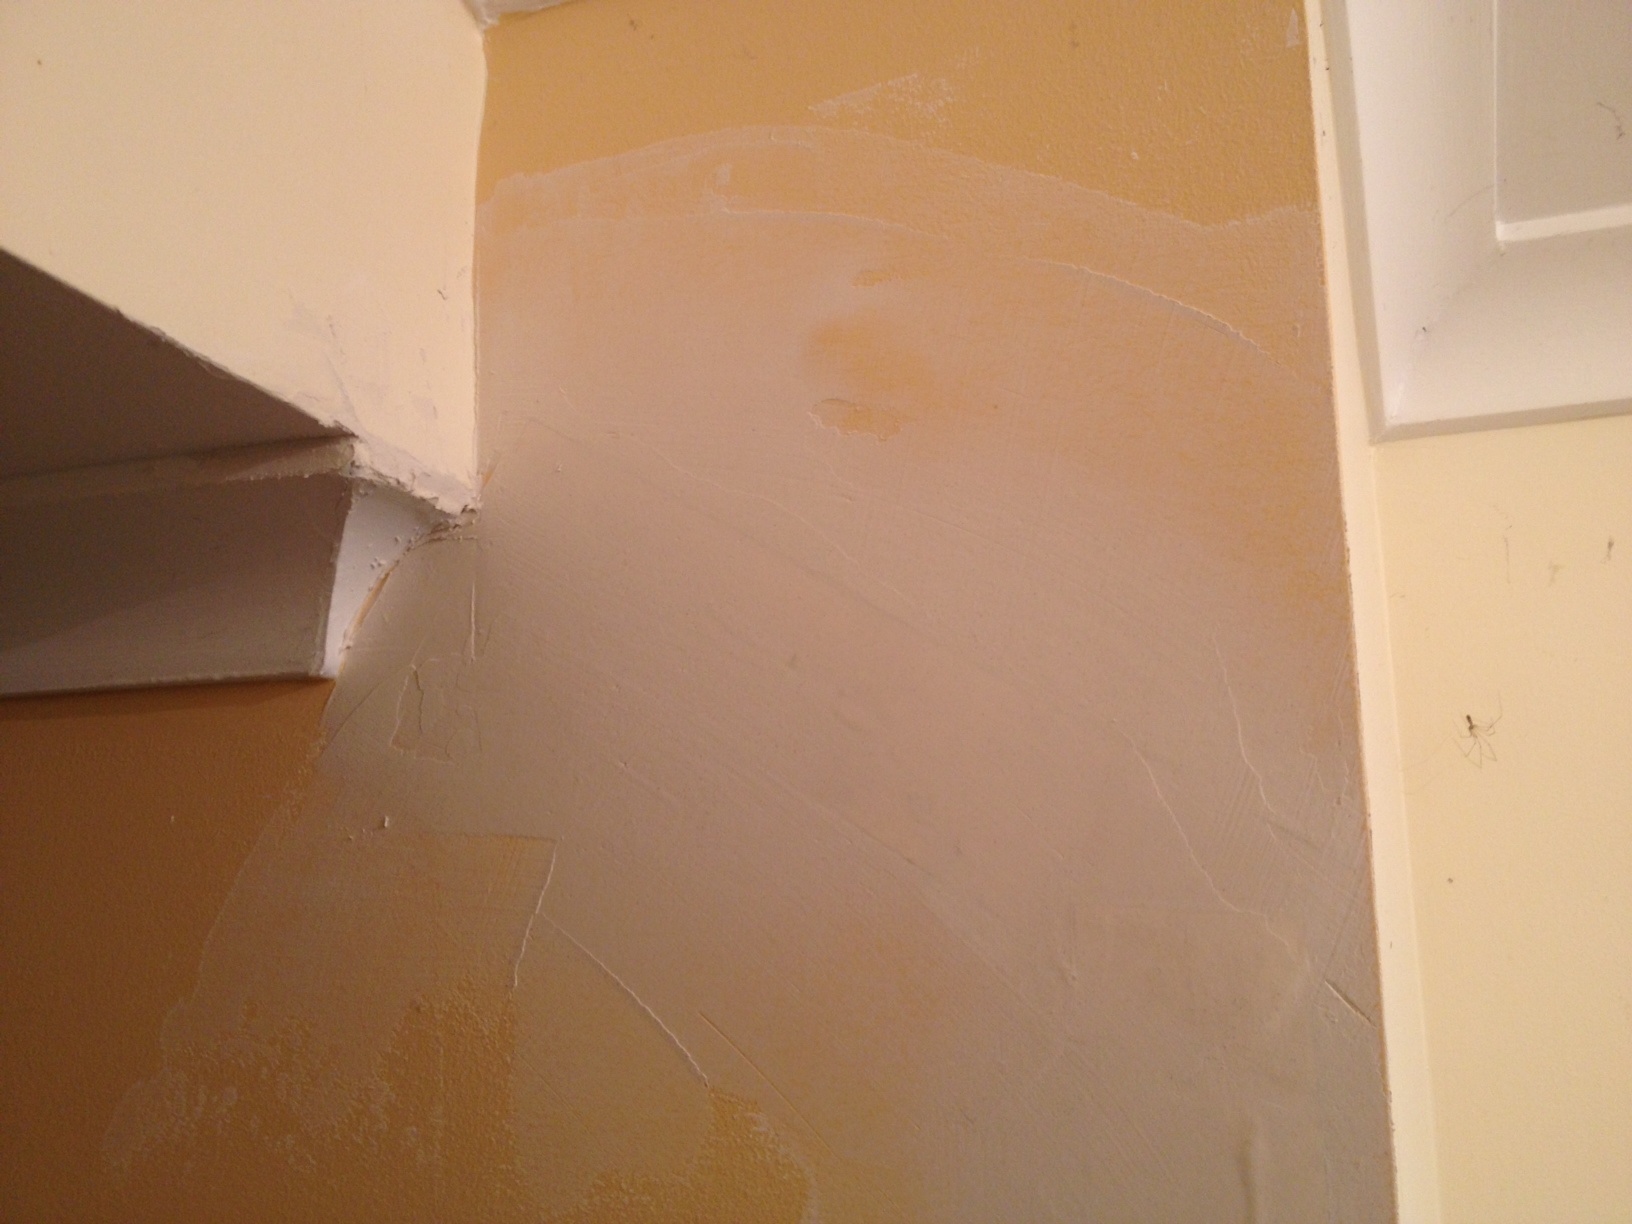
Pic 3 below shows how to apply the paper tape to the mixture. You need to spread the mixture over the join liberally, then place the tape over the mixture and with the spatula evenly remove any excess mixture from the join. If air pockets form under the tape, then not enough plaster mix was applied to the join. Best to remove the tape and start again. With the remainder of the plaster mix, cover over the paper tape to remove the square edges the tape creates as shown in Pic 4. As a rule of thumb, smooth over the paper join as best as possible.

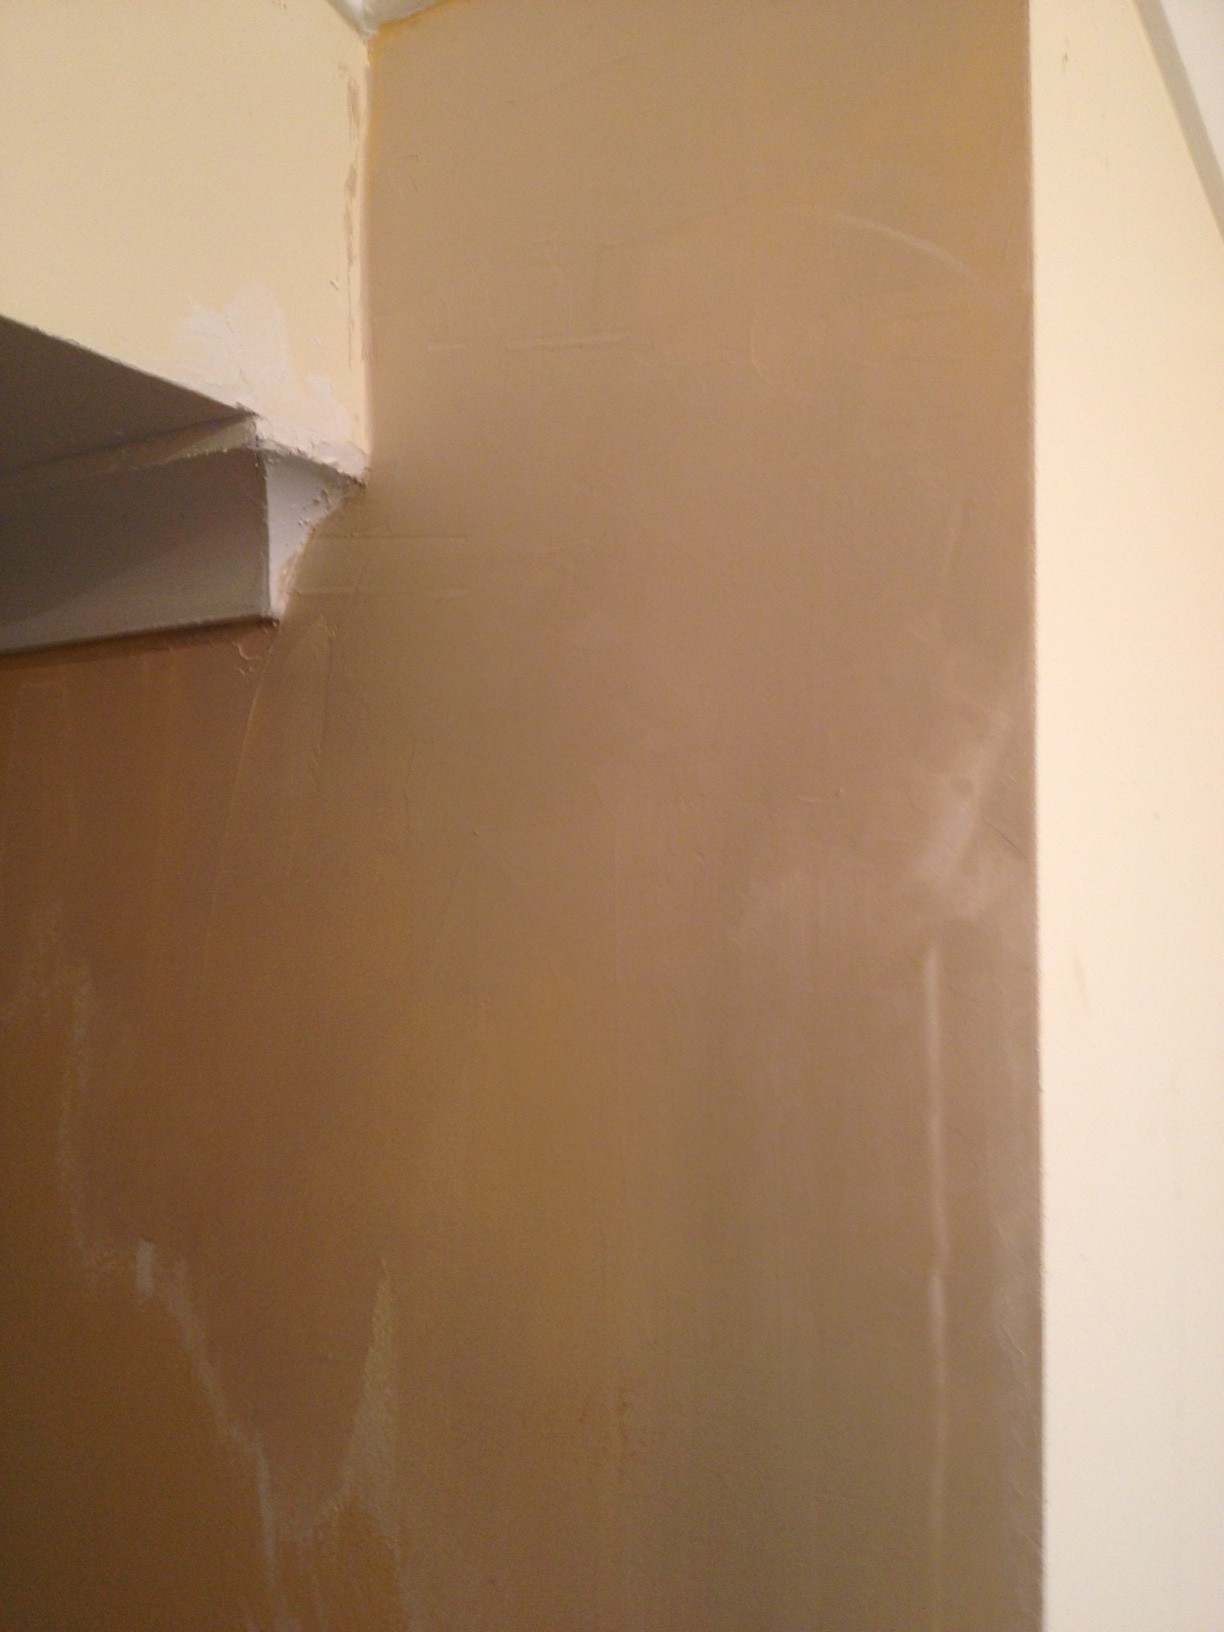
Once the plaster mix has dried, scrape any high edges of the dried plaster with your spatula and apply a top coat of finishing plaster to the join. Finishing plaster is very soft and smooth and will take some time to dry so you have plenty of time to work with it. When applying the finish coat make sure to cover the first plaster mix evenly and try to flare the final coat past any edges as shown in Pic 5. When this coat has dried it is ready for a light sand using a sanding block or sand paddle with paper of about 240 grit as displayed in Pic 6. Run you hands over the join and if you feel any unevenness then apply some more finish coat to the effected areas and sand accordingly. When complete you are now ready for painting of the undercoat and two top coats.

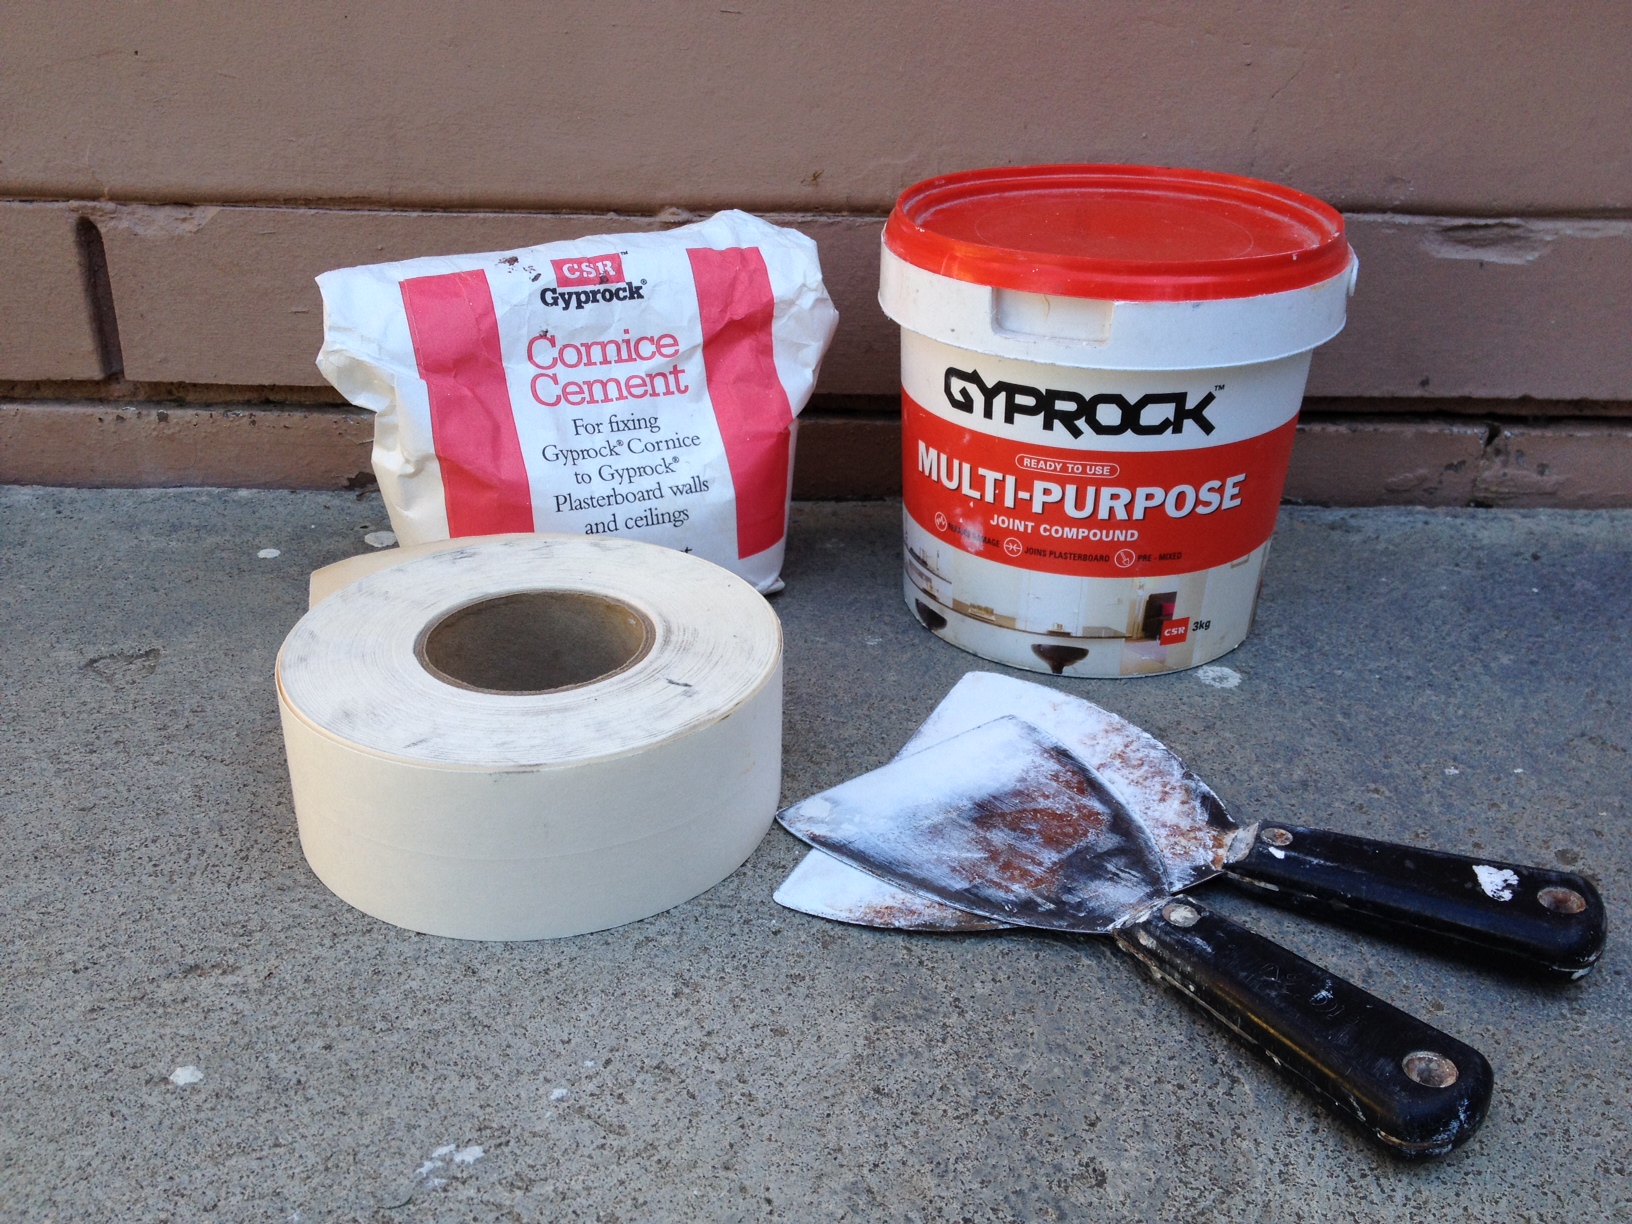
In Pic 7, you will see the Materials and Equipment needed to repair the plaster crack.
- Cornice Cement or Base Coat
- Final Finishing Top Coat
- Paper Tape
- Spatulas