It is common for the pine weatherboards to be sprayed with an undercoat (transit spray), but this does not protect the timber from increased moisture or help it to season. When considering weather boards as a form of cladding to your home, before installing make sure you speak to your builder or carpenter and ask if the boards they are purchasing are seasoned. Knowing where you stand with the quality of boards sourced will help determine the time frame of painting them.
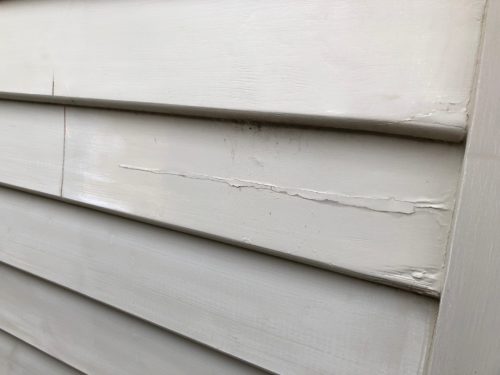
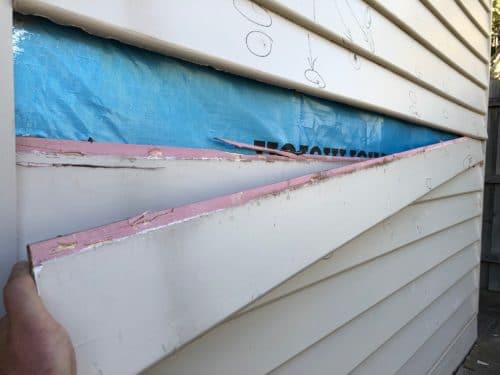
In the picture shown above, you can clearly see the outcome as a result of boards that have not been seasoned. The initial painters, caulked all the gaps on the underside of the boards and painted them. As a result of the boards not being seasoned thus shrinking, you can see that all the no more gaps have stretched and broken away, exposing bare timber. There is no real time frame to when the shrinking will begin or end, but you will notice beginning within several months of painting.
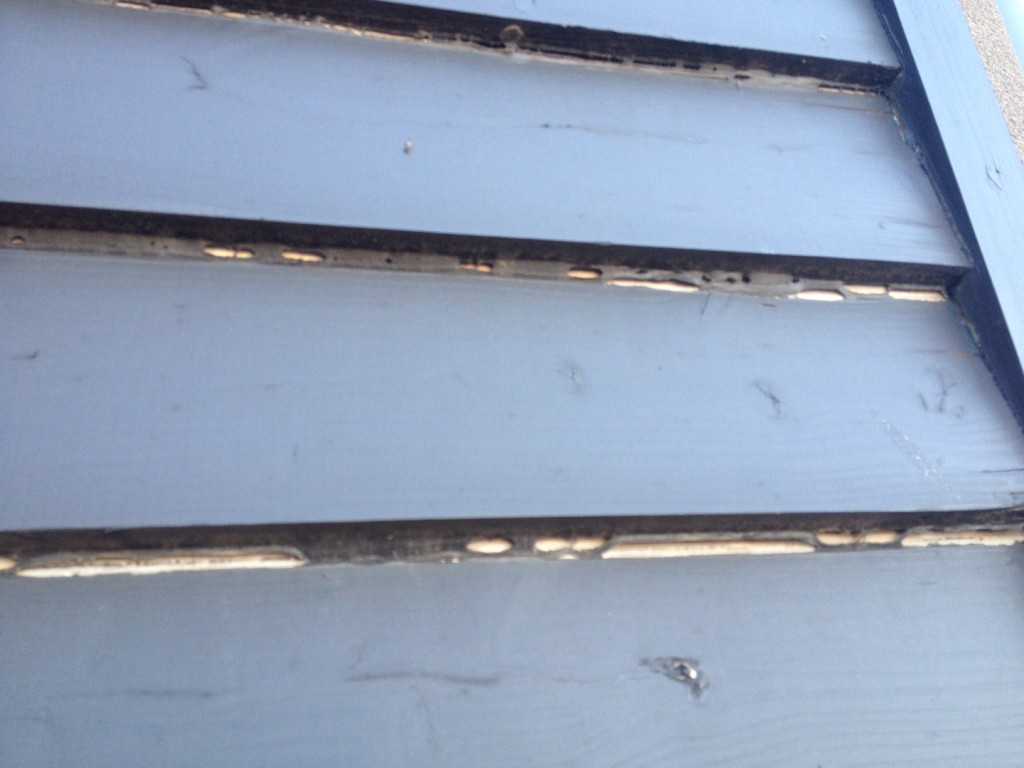
The process of repairing and repainting the boards is quite straight forward. Firstly you will have to remove the initial no more gap filler by scraping the underside edge of the board as shown below.

Once that process is complete use a reputable exterior undercoat to coat the underside of the exposed weather boards and any bare surfaces. As the picture below shows, I have coated the entire weather board wall as the initial top coats were quite thin. I used Taubmans, 3 in 1 exterior acrylic undercoat and tinted it with a couple of drops of black paint to give me a grey coating which will help in the coverage of the black top coats.

I then again caulked, with no more gaps, the underside edge of the weatherboards to cover the gaps and also filled in any nail holes and timber knots and cracks in the weather boards using an exterior filler, in this case Nordjo and where there were deeper holes I used builders bog.

After the fillers and caulking had dried, all weather boards had a light sand and a final coat of exterior undercoat was applied through out the entire wall, ready for the top coats of black colour to be applied.
It is important to mention that using the correct nails to install the weather boards is paramount. Using nails that are galvanised will help to eliminate rust coming through the nail holes and using nails that have a twist shank will help grip the weather boards to the exterior frame thus eliminating the overuse of caulking gap filler to the underside edge of the weather boards. Speak with your builder or carpenter about what processes and materials like type of nails they use before your boards are installed.