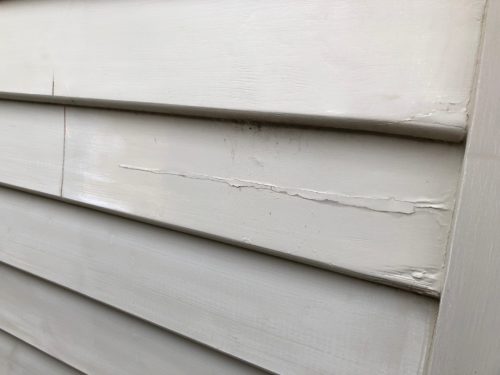
At some point in the life cycle of your weatherboard home, there will be a need to replace a weatherboard that exhibits timber rot. Weatherboards fail for many reasons some of which include; poor installation, incorrect undercoat and top coat painting and the milling of young timber. Left unattended deteriorated weatherboards, over many years, can compromise the integrity and strength of the structure of your home. Replacing weatherboards need not be a cumbersome task and understanding of the process allows you to apply these actions to any weatherboard around your home.
Contents
Loosening the weatherboard
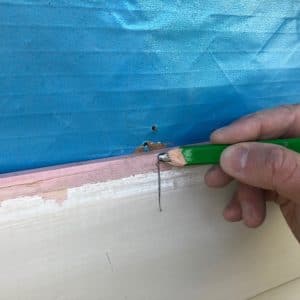
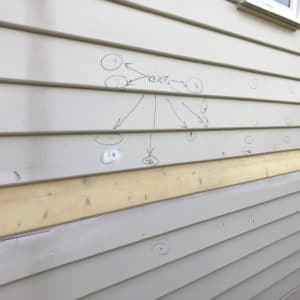
Clearly mark the weatherboard you are going to remove so as to reduce the impact on the boards directly above and below the damaged board
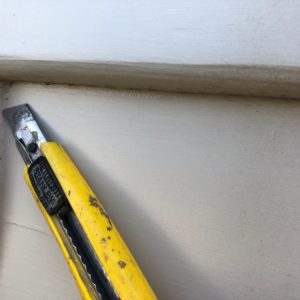
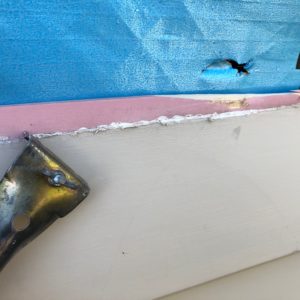
- Using a stanley knife, cut the paint and any gap sealant to both edges of the damaged board. This will help loosen the board and protect surrounding paint surfaces. Apply the same process to the board directly above the damaged board
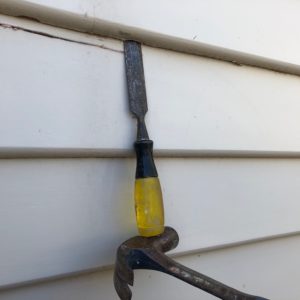
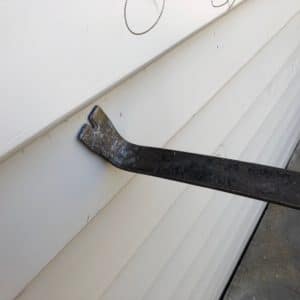
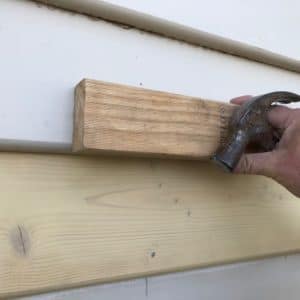
- Take hold of a wide chisel and lightly insert it, using a hammer, along the bottom edge of the damaged board. You want to create a small opening to allow a claw bar to fit. Slowly work along the bottom of the damaged board
- When you have finished with the bottom edge, apply step 2 to the board directly above the damaged board. Remember that this board will not be removed and all we are doing is loosening the board to help with the removal of the damaged board
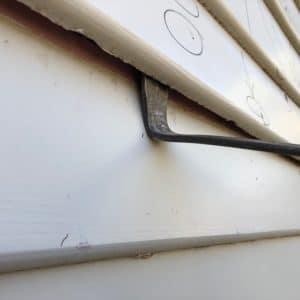
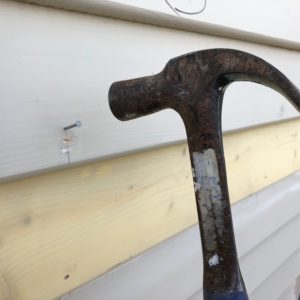
- Place the claw bar into the small openings at the bottom edge of the damaged board and slowly pry the board to help with the loosening of the nails
Handy Tip: When using any claw bar, jimmy bar or claw hammer to loosen the damaged board, place the claw bar as close as possible to where the nails are located. You want to be able to use the leaverage of the wall studs that the nail is attached to in order to help lift the board without damaging surrounding boards
Removing the weatherboard
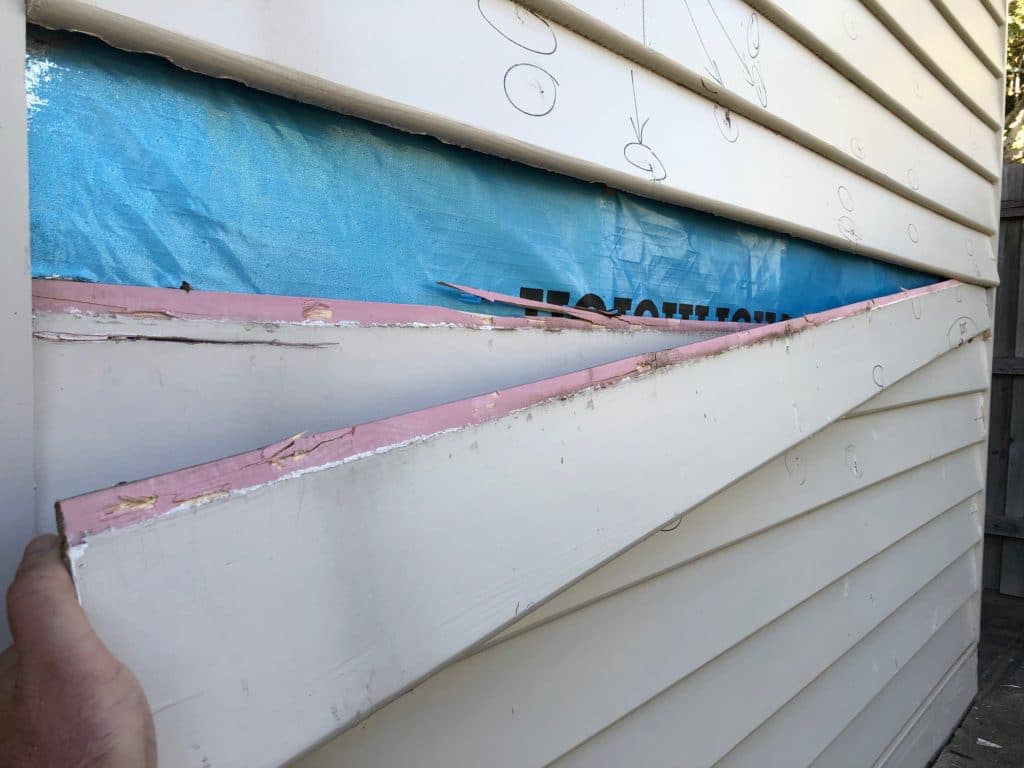
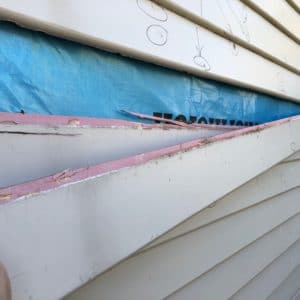
Now that the damaged board has been loosened you can remove it
- Checking to make sure the board is free from all nails, you can now slowly remove the weatherboard
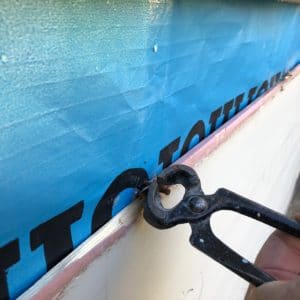
- Remove all exposed nails that once held the board in position
- Using a scrapper or sharp blade clean all timber surfaces that exhibit high spots of paint or gap sealant
- Find the wall studs and place a mark on the existing bottom board
Installing a new weatherboard
Wall length is 2.6 metres and the nearest size board available for this project is 2.7 metres
- Measure length of wall and cut the new weatherboard to size
- Using a good quality exterior undercoat, paint edges of weatherboard to both ends to seal timber grains
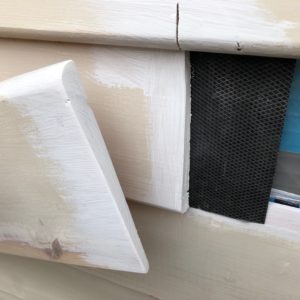
- Place weatherboard into position with a 20mm overlap and nail the bottom edge where your stud marks are located
- The existing board directly above needs to be tapped gently back into position as it was slightly lifted to help remove the damaged board
- Re-nail the board where nails have popped or been removed
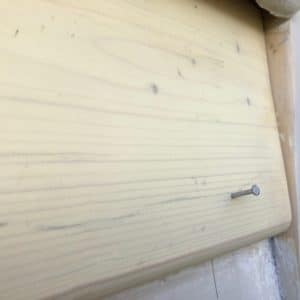
Handy Tip: With a 20mm overlap, place your nails at least 25mm from the bottom of the board. Doing this means the nail will go directly into the wall stud and will avoid the overlap weatherboard behind it
Ready for painting
- Punch all nails slightly below timber surface and fill with timber putty
- Lightly sand the new and adjacent weatherboards to smooth the timber putty and to remove any sharp edges
- Wipe down and/or wash to remove any chalkiness, residue dirt, dust or grease
- Using a flexible gap sealant caulk any gaps to timber corners
- Undercoat new and repaired areas with a good quality enamel undercoat
- Apply two top coats of exterior paint
Final thoughts
This simple step by step process of replacing a weatherboard can be applied to any length wall. This was a 2.6 metre long wall with no joints in it and to keep the same aesthetic it was reasonable to replace the entire board, even though the timber rot was at one end of the weatherboard. Some homes may have multiple joints along any particular wall and you may decide that you only want to replace a small section of that rotted board. That’s perfectly fine, the same process applies as above and I have written an article that will assist you in ‘How to replace a small section of weatherboard’. Good luck with your project!