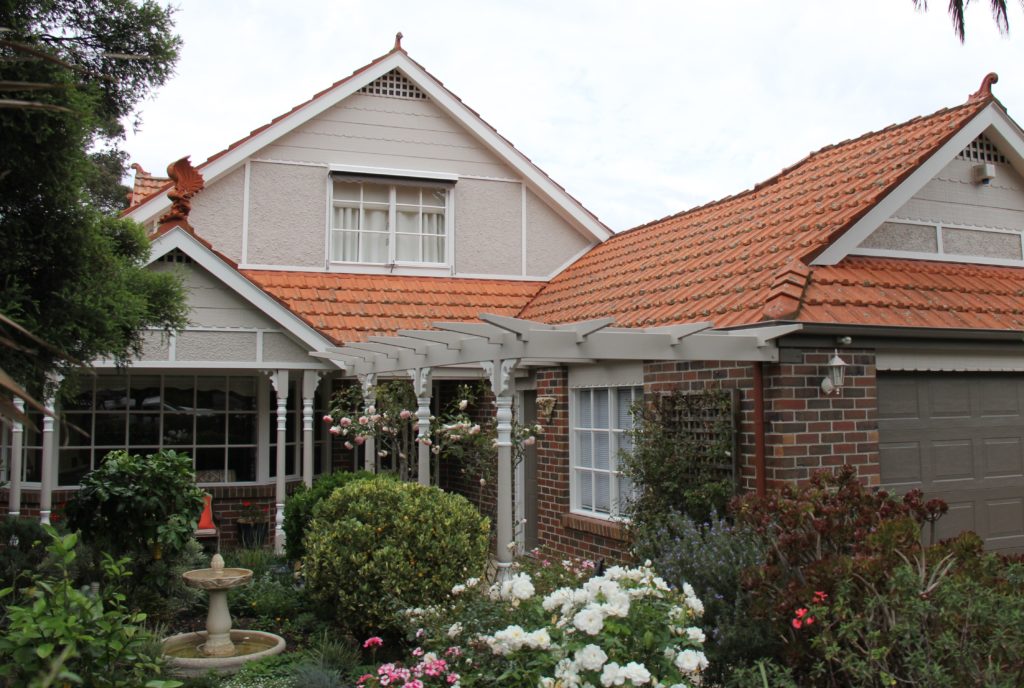
If you want to see how a change in colour can revitalise the look of your family home, then look no further than this fantastic Camberwell home. The ever changing colour trends that clients often have to deal with when choosing to upgrade the exterior painting of their homes, is best showcased here with two very distinct colour schemes 20 years apart. Same block of land, same house, new colours and the result is a new look.
Scope of Works
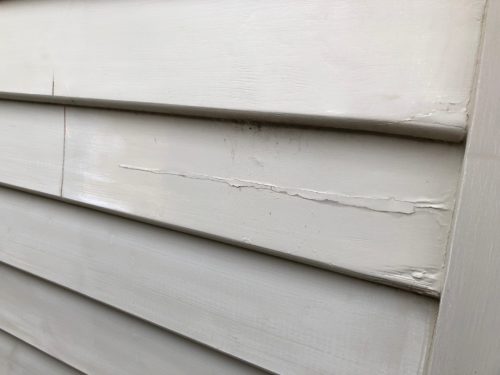
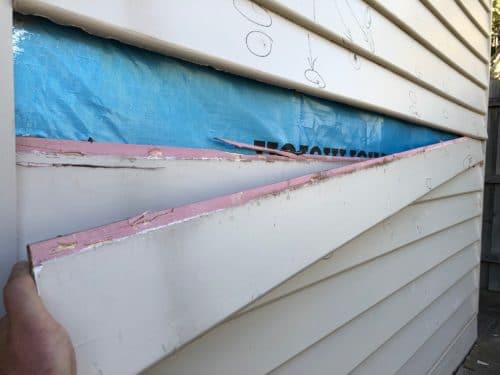
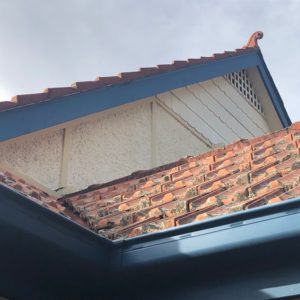
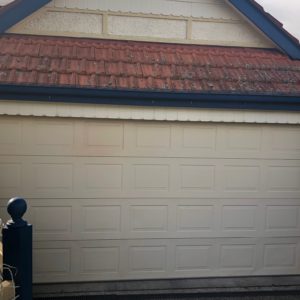
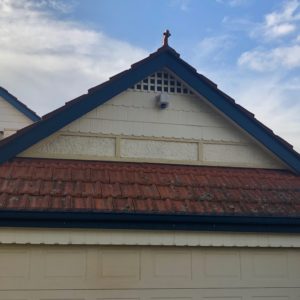
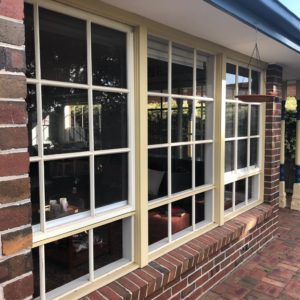
The exterior painting required that all the exterior surfaces were to be prepared and repainted in a new colour scheme. The surfaces included, Fascia, Gutters, Eaves, Shingles, Stucco, Timber straps, Windows, Doors, Downpipes, Verendah posts, Pergola and Garage door. The only item excluded was the front Picket Fence. There was also a need to repair and replace some timber straps that were rotted, replace the timber quads below the roof tiles along the edges of the fascia and to replace the timber beading to windows that had fallen off.
As this was a 2 storey home and access onto the roof was difficult because of a steep incline and the roof having terracotta tiles, the works required the installation of a Pitched Platform Scaffolding system to enable a safe and sturdy work platform to reach the awkward heights.
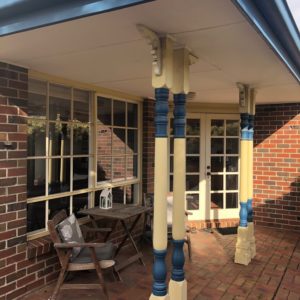
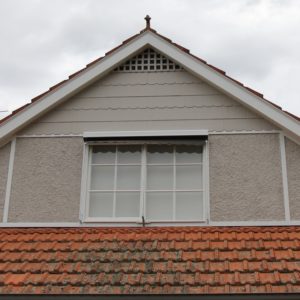
The original colour scheme of the house is shown in the pictures below and it was last painted 20 years earlier when the house was first built.


Preparation
As you can appreciate, the scale of the work was significant and the preparation was equally notable in size due to the many different surfaces and their respective requirements to meet proper standards.
The following is a summarised guide for all the surfaces involved;
- Replacing timber beading and repairing timber rot
- Filling all nail holes and timber cracks and punching many protruding nails around window timber beads
- Removal of any flaking paint and lightly sanding all timber surfaces
- All surfaces were washed with sugar soap to remove chalking, dirt and grease
- All second storey gables were washed with diluted bleach to kill and remove mould as was the front pergola
- Caulking all gaps along timber edges
- Spot priming all repaired timber putty and bare timber
- All gutters and garage door were lightly sanded and washed and undercoated with Dulux Precision Maximum Adhesion
Colour Scheme
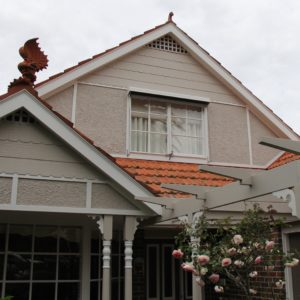
The colour scheme had 3 central colours that were used uniformly around the house and this is the breakdown of the individual colours and the respective surfaces they were put on.
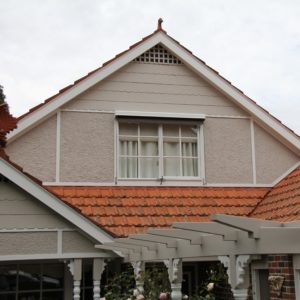
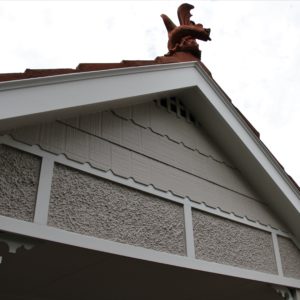
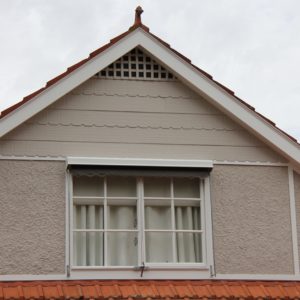
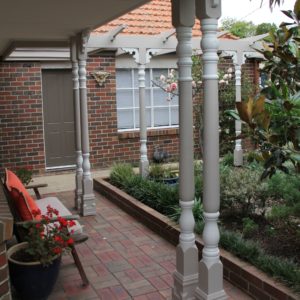
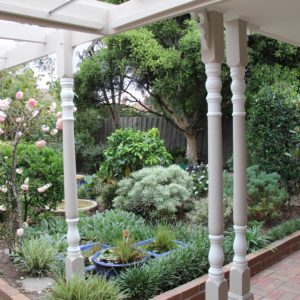
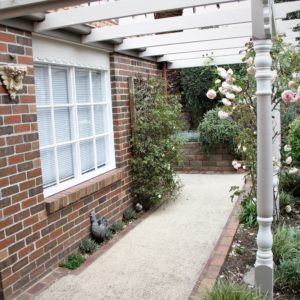
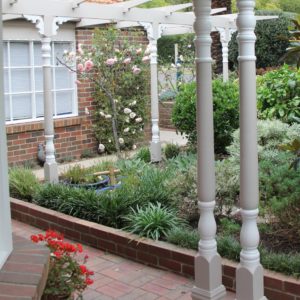
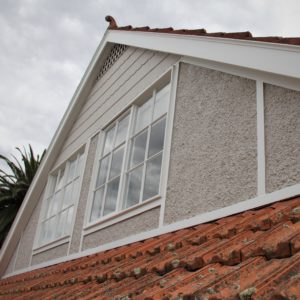
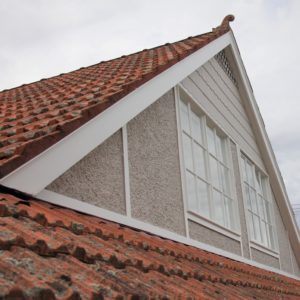
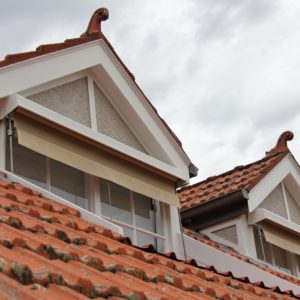
- Dulux Natural Embrace was applied to the second storey gables in particular the shingles and stucco and it was also applied on the front pergola and all verendah posts. The paint used was Dulux Weathershied in low sheen.
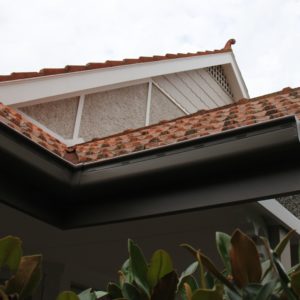
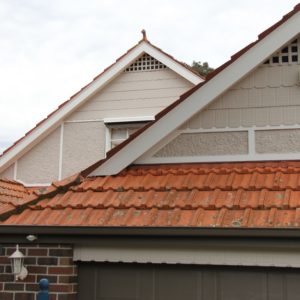
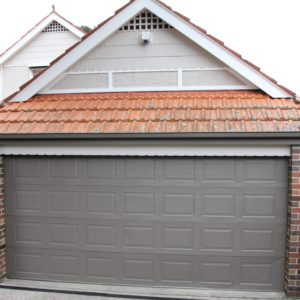
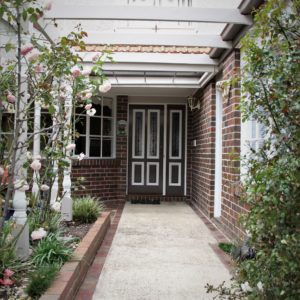
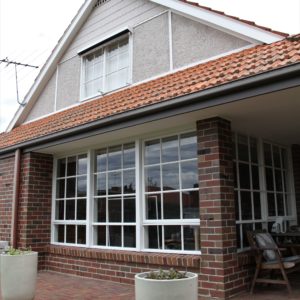
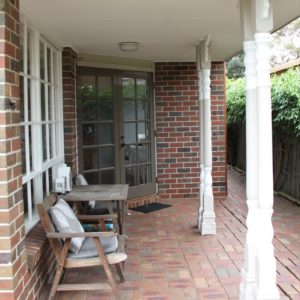
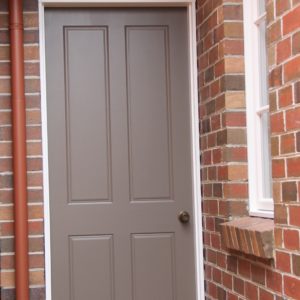
- Colourbond Jasper was applied to the gutters and fascia around the house and it was applied to the garage door as well as the front and rear entry doors. The paint used for the gutters, fascia and garage door was Dulux Weathershield in satin and the entry doors were painted using Dulux Super enamel in gloss.
- Dulux Whisper White was applied to all windows, eaves, door architraves, decorative corbels on verendah posts as well as second storey fascia and timber straps. The paint used for all surfaces was Dulux Weathershield in satin and for the eaves in was Dulux Professional Ceiling in flat.
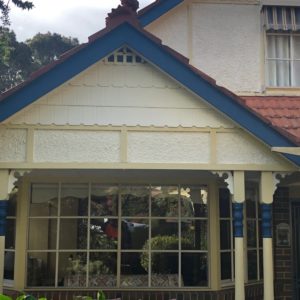
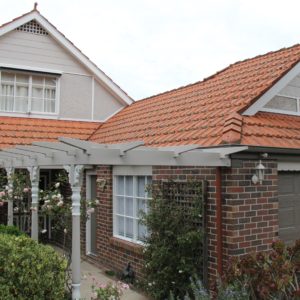
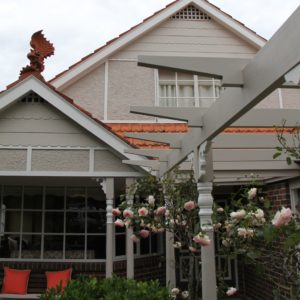
Below are pictures of the completed painting works.
Final Thoughts
The colour transformation of this awesome home is incredible and it was definitely very rewarding to see the final results after several weeks of hard work. This house is only 20 years old and is a shadow of it’s former self when you consider how the change in colour has reshaped this home to portray a more modern and stylish look. The new colours blend in well with the existing brick work and roof tiles and overall, the house compliments it’s vibrant garden and natural surrounds effortlessly. Above all the clients are thrilled with the final outcome and this house has delivered their desired dreams.