Any successful Bathroom Renovation is brought together by it’s fixtures and it’s bathroom painting. Where space can be at a premium, this newly renovated bathroom has combined 2 necessities of modern day living; the first being a modern functioning bathroom and the second being a laundry.
Scope of work
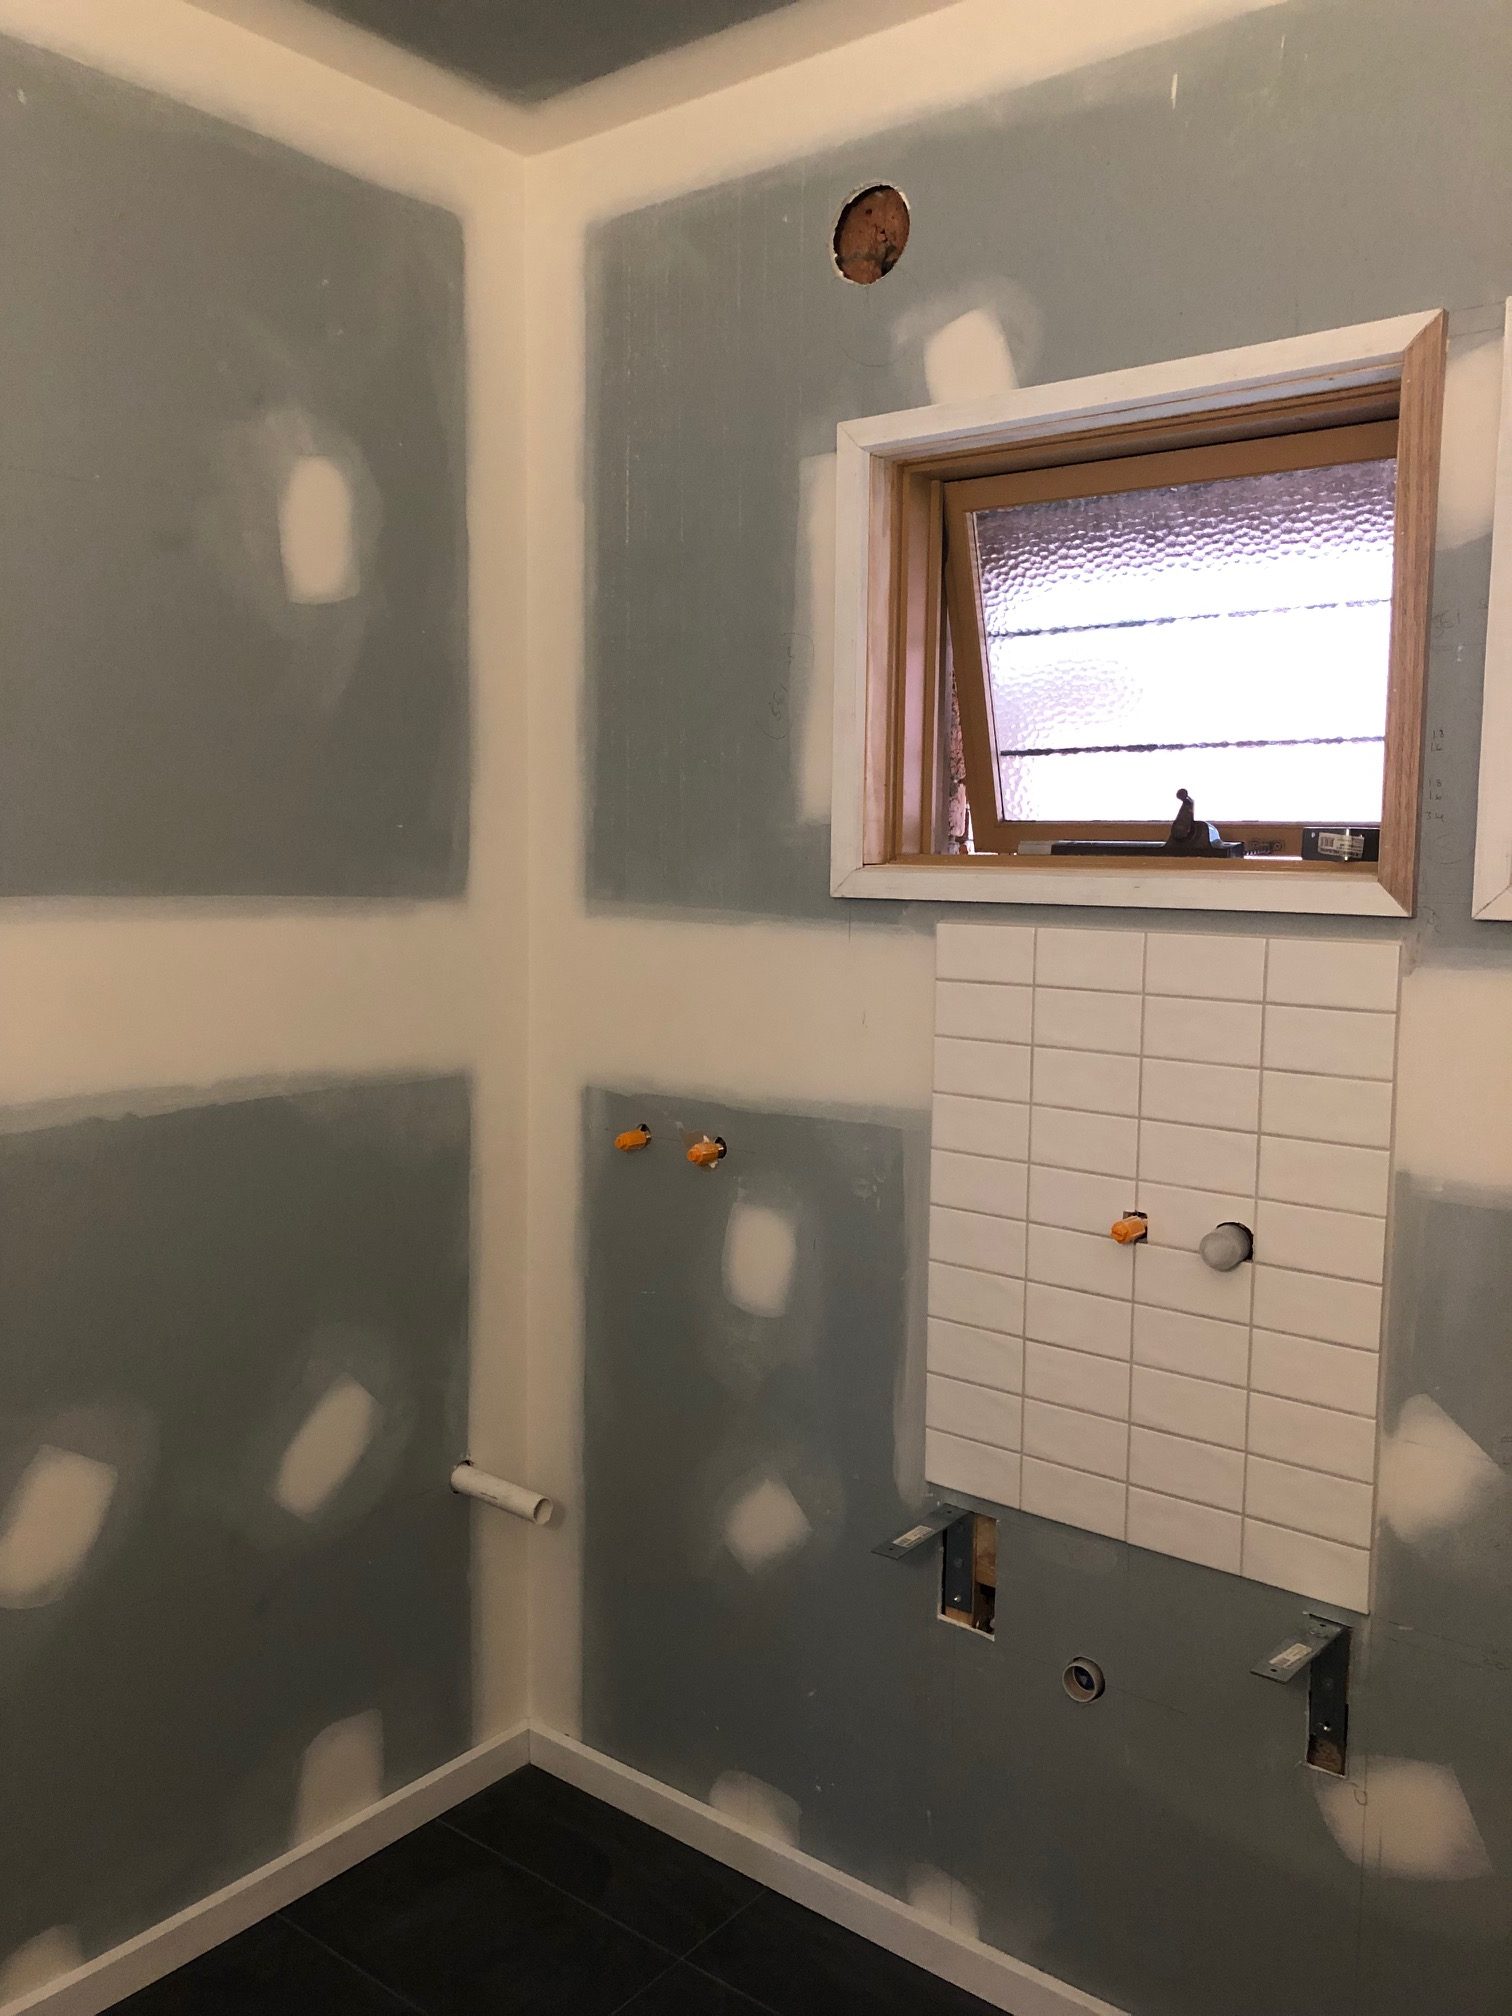
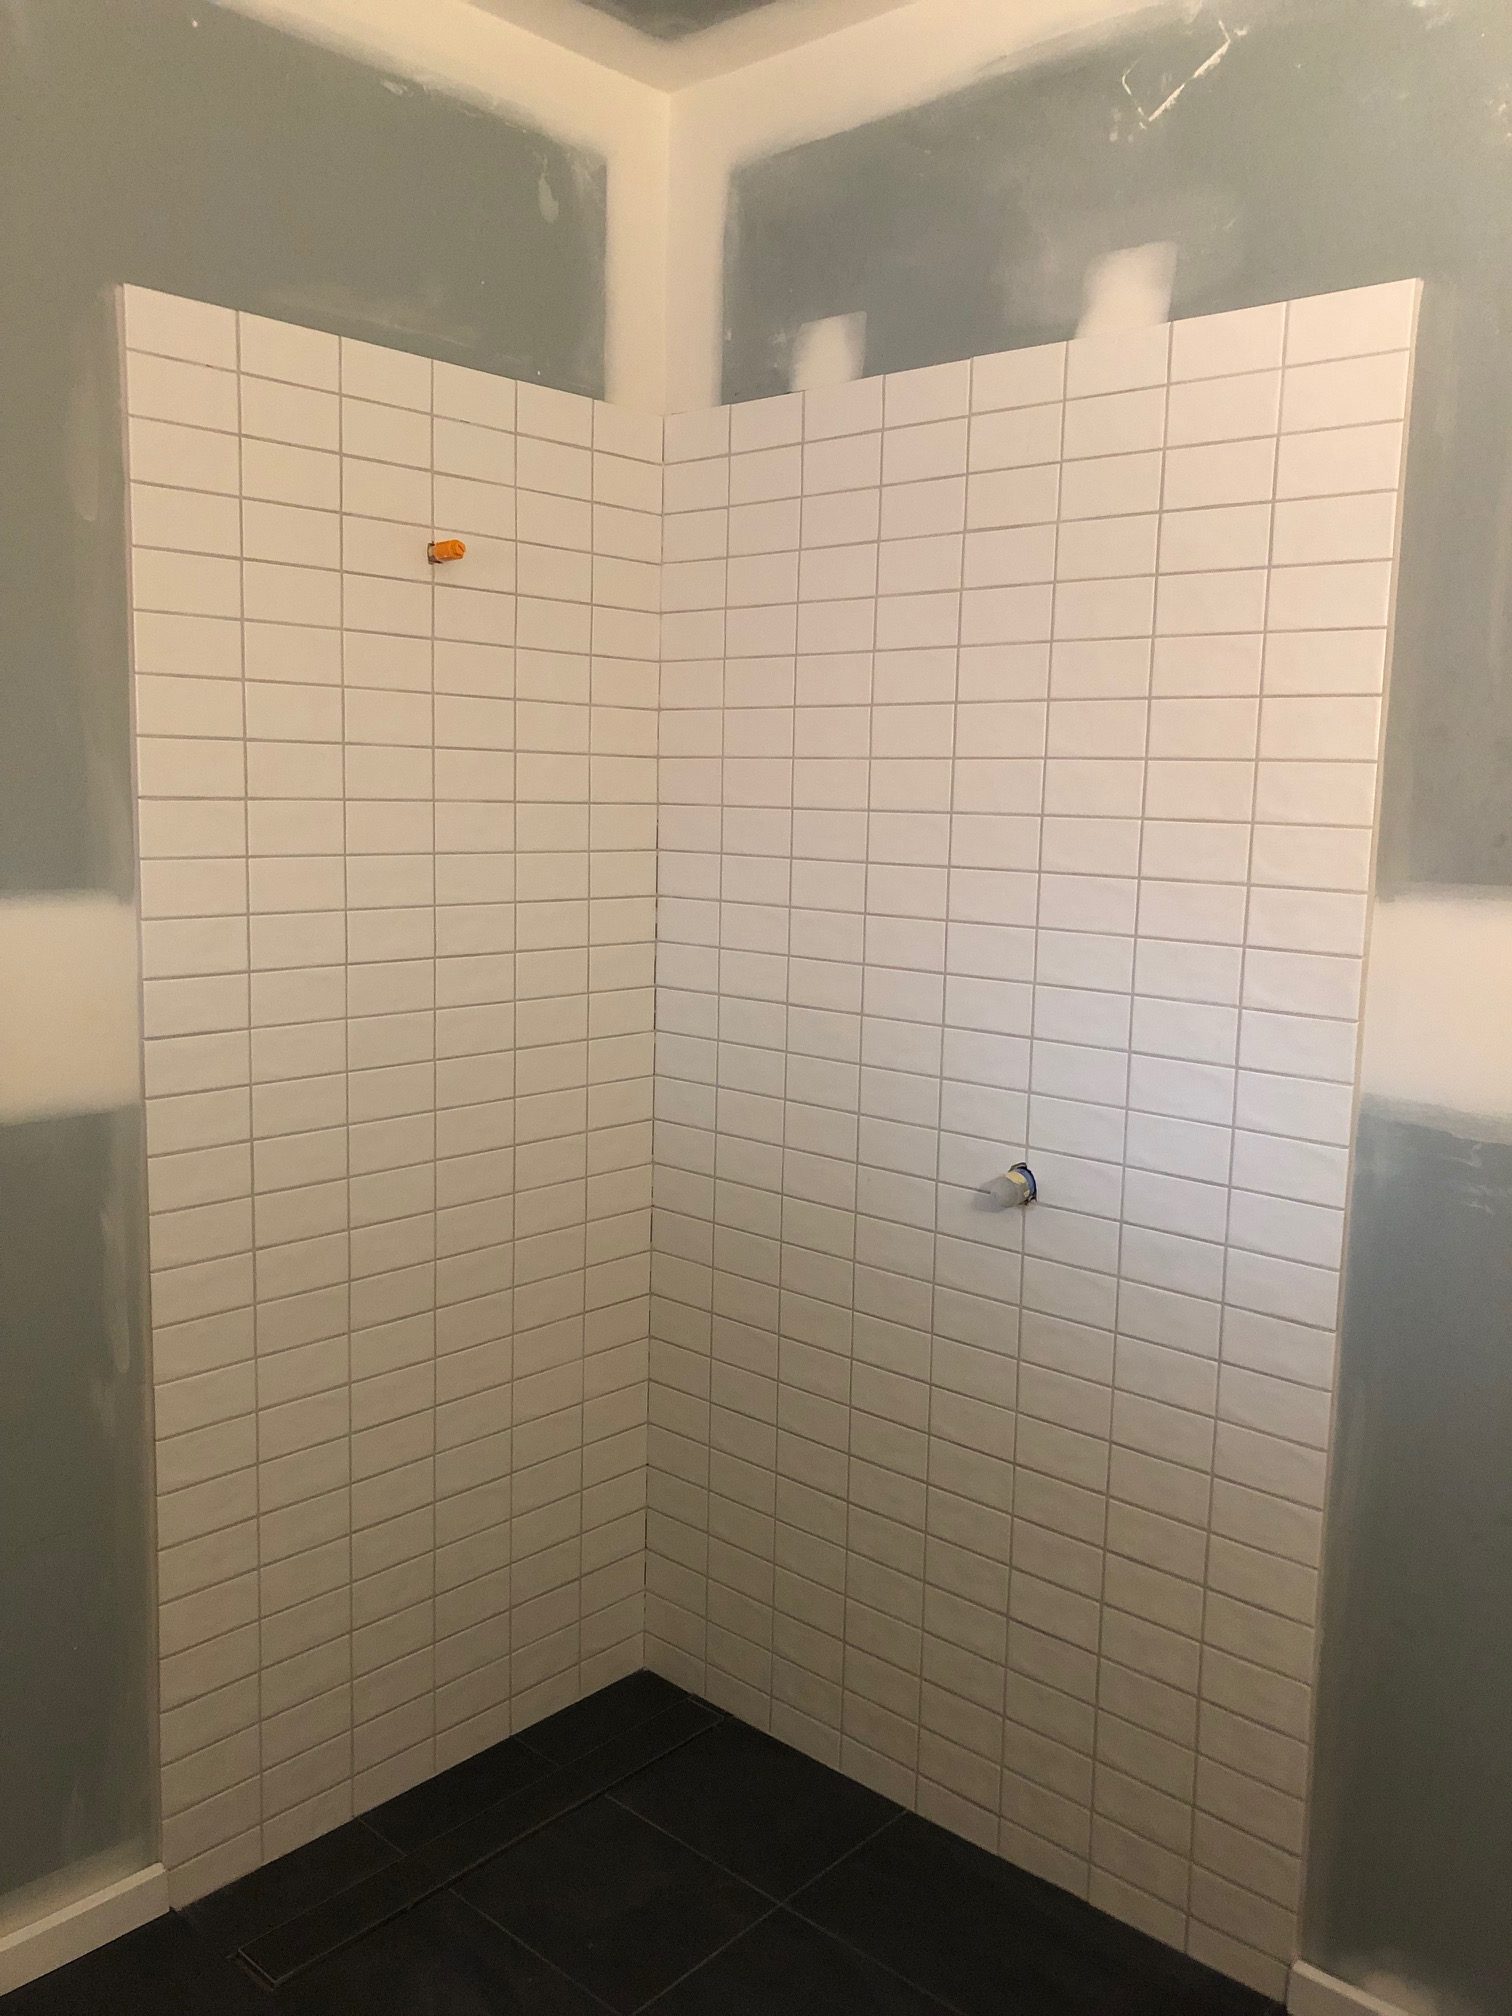
Originally an area that comprised of 3 separate small rooms, the owner decided to remove those walls and create 1 large room to house a new bathroom and laundry area fitted out with modern fittings and tiles.
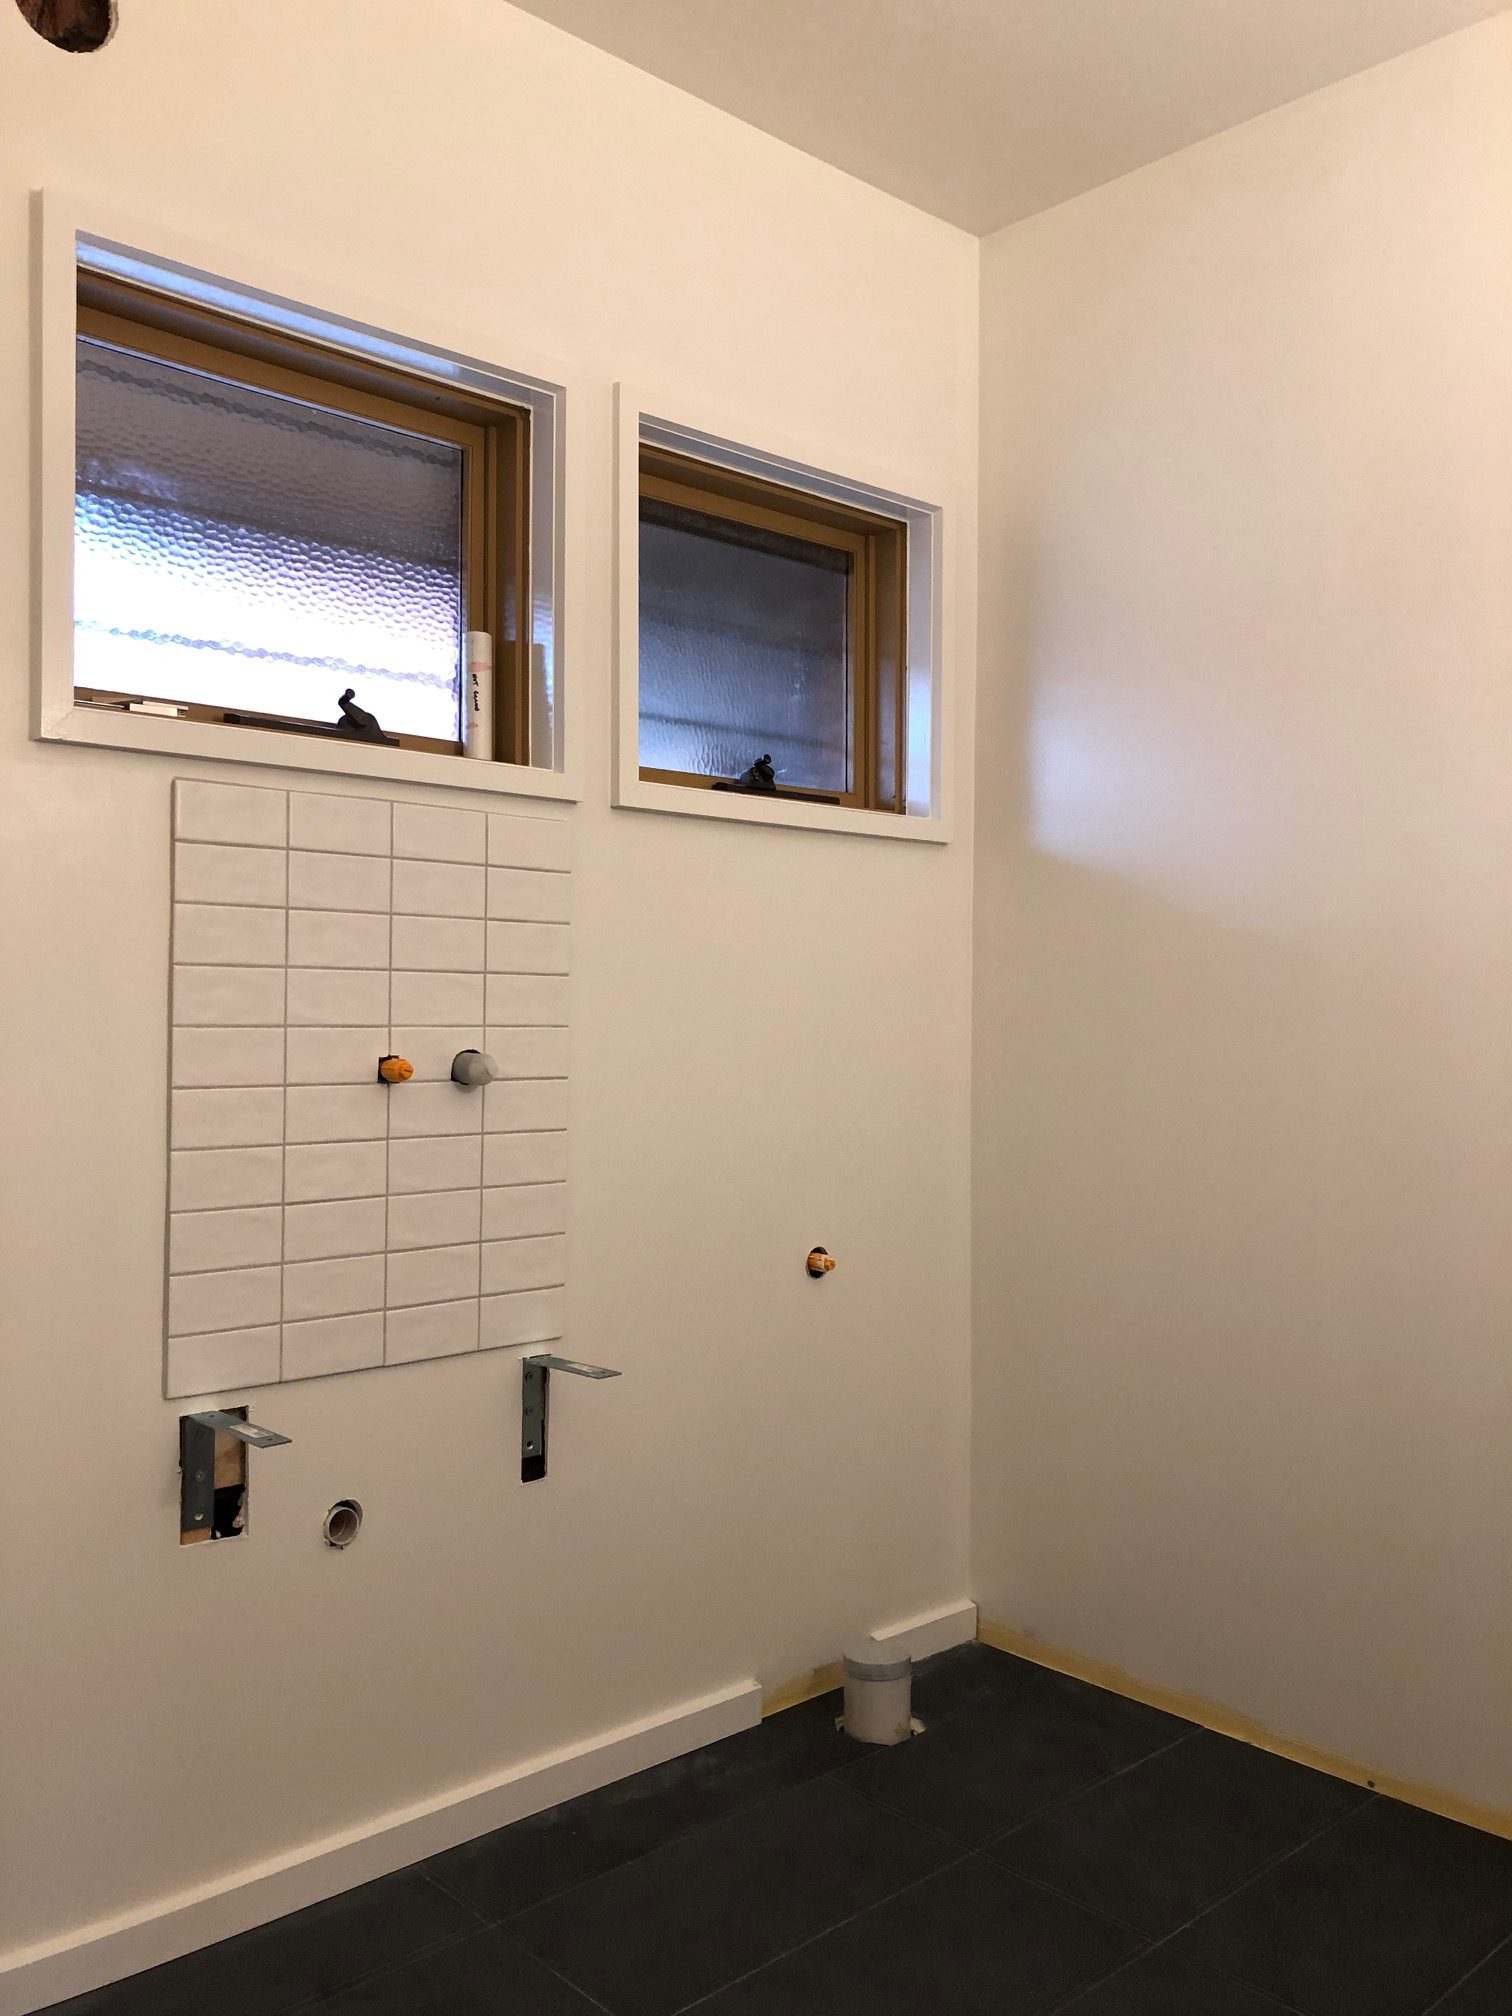
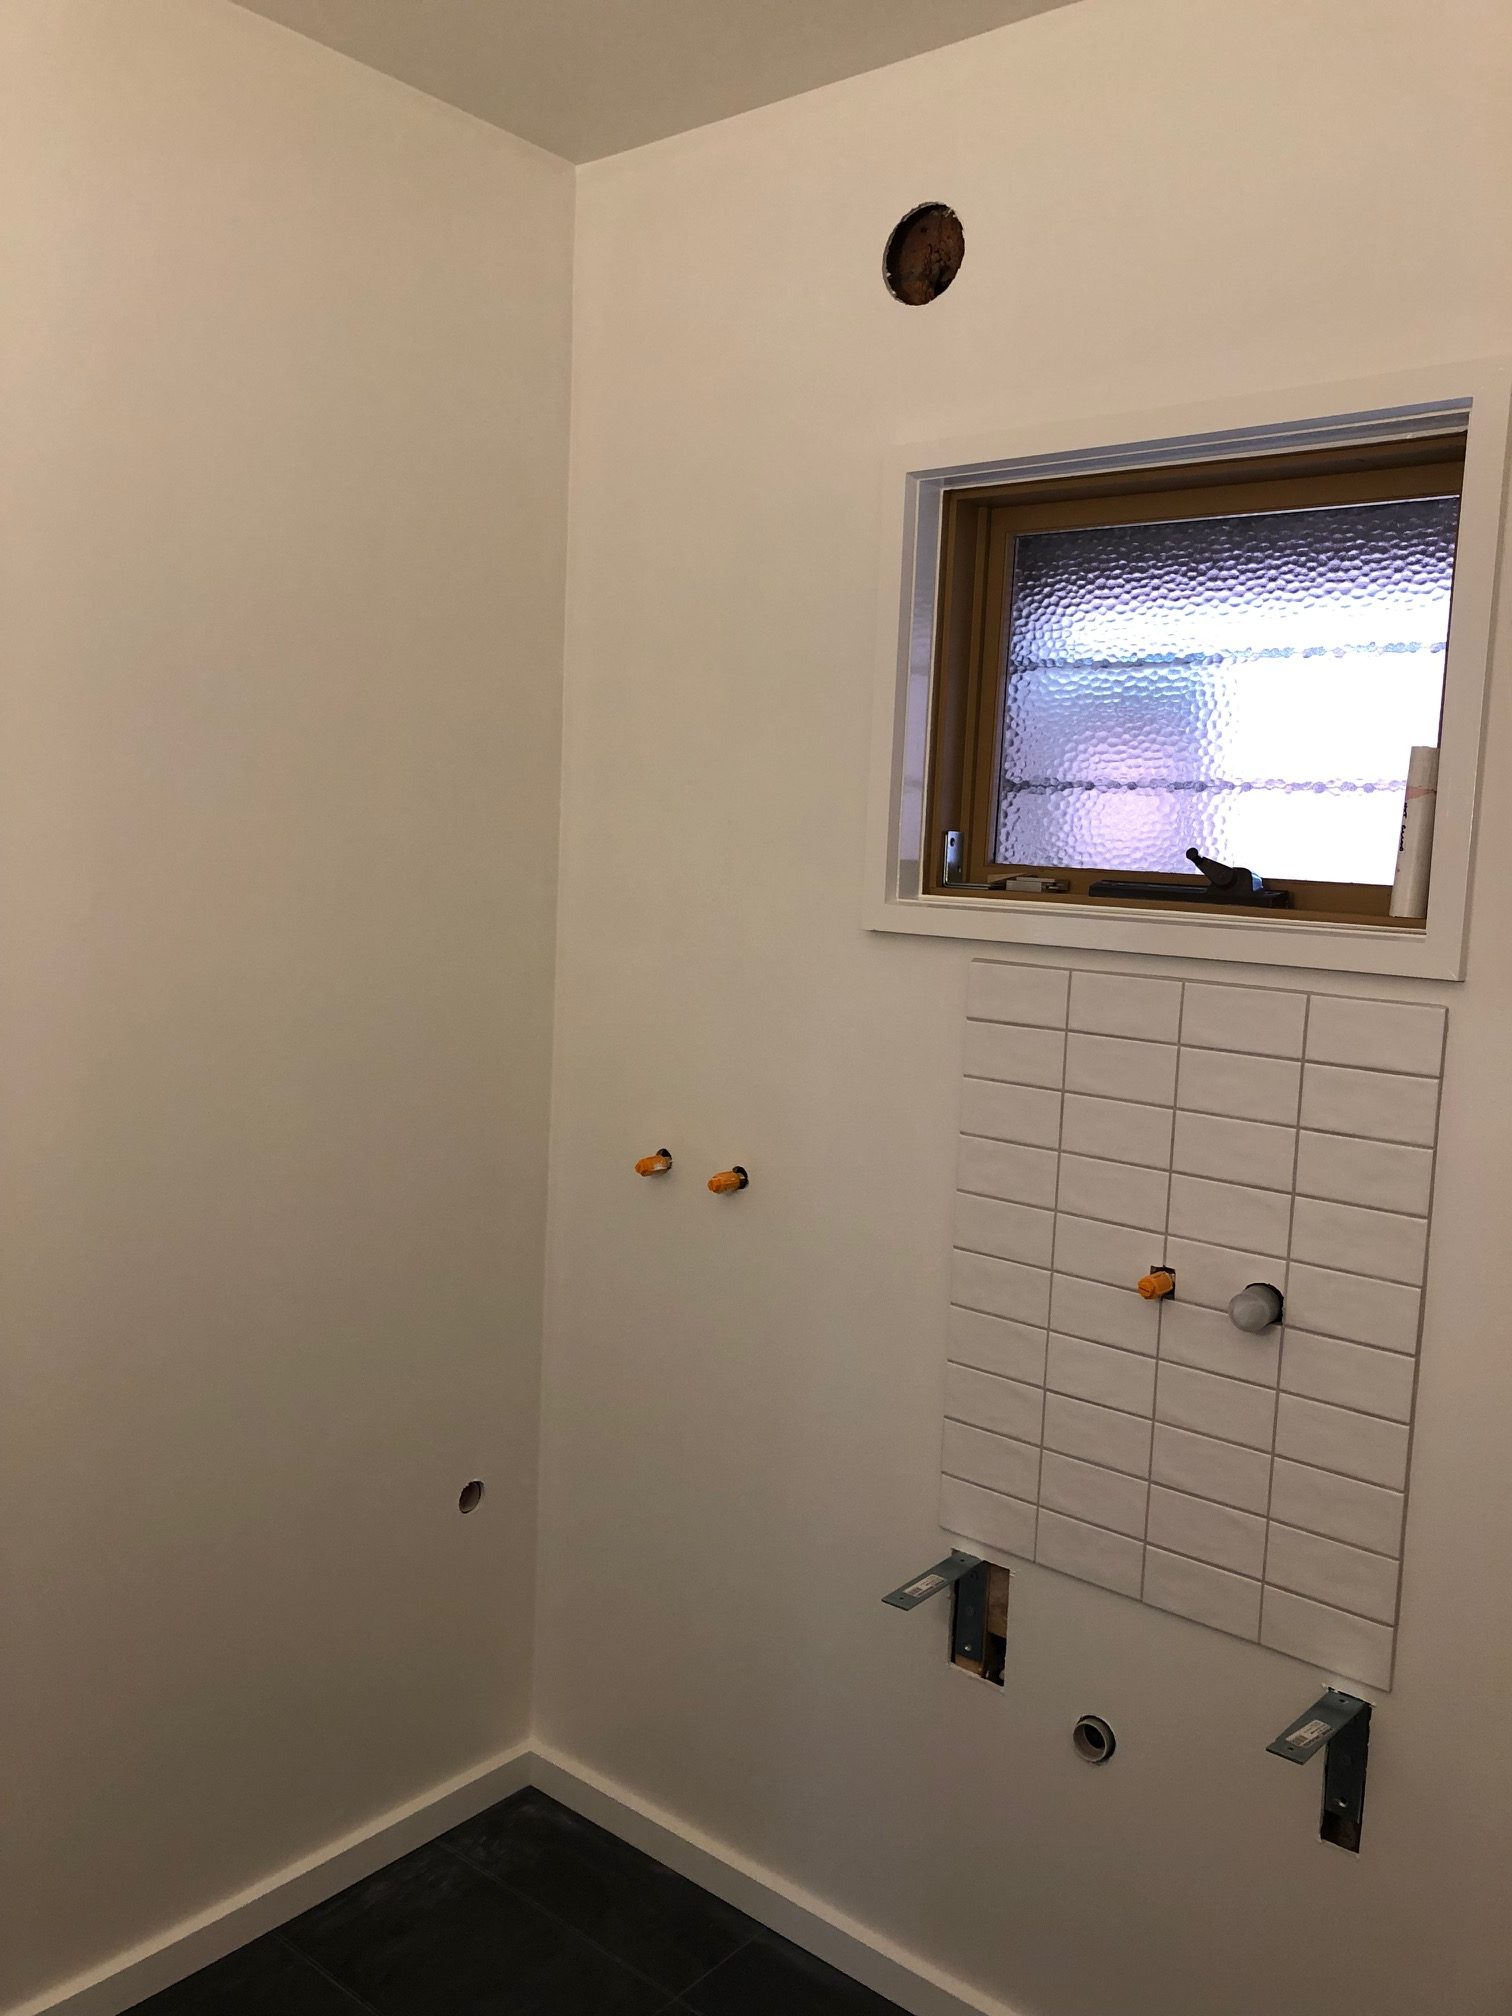
The interior painting of the bathroom, required the ceiling, walls, windows, skirting and bathroom door to be painted.
The colour chosen was Dulux Antique White USA which is the colour that the remainder of the townhouse has been painted with and the owner was happy to keep the colour uniform throughout.
Preparation before painting your bathroom
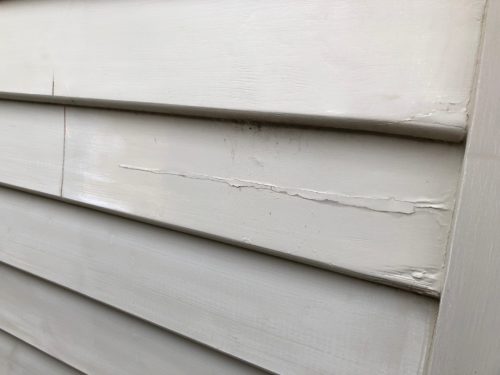
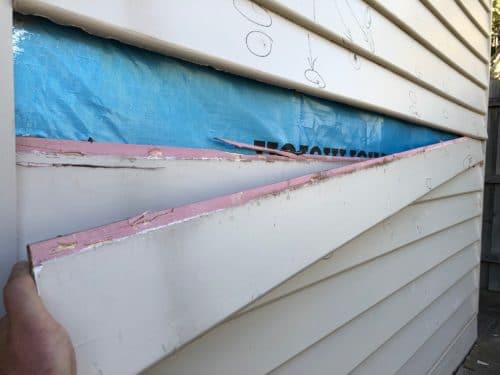
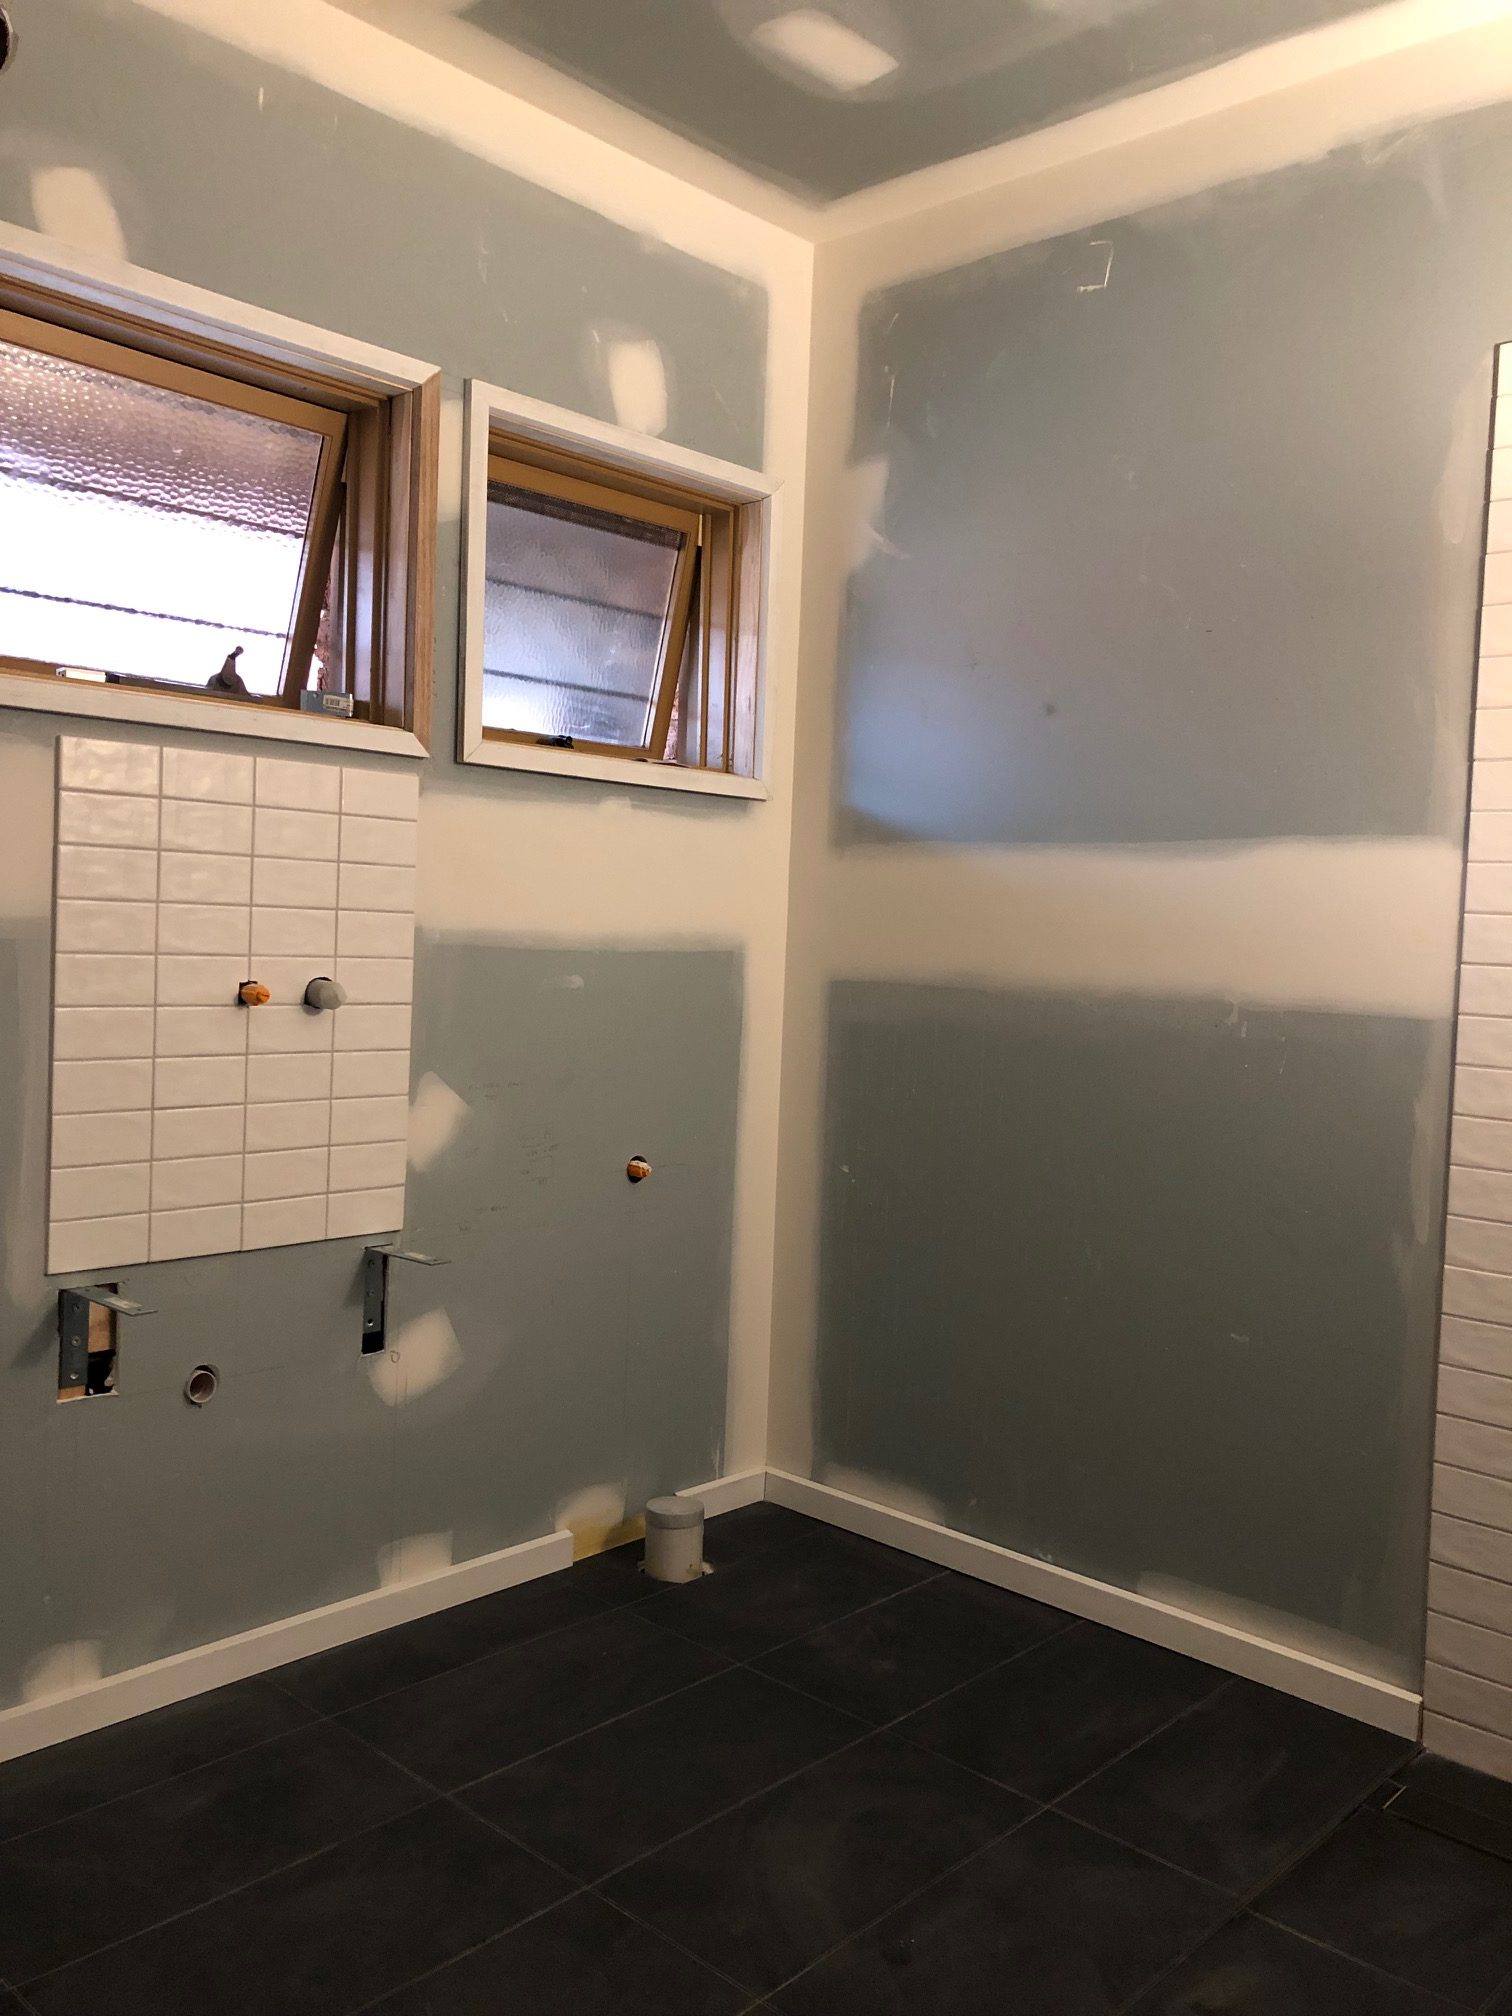
Before you begin painting a bathroom ceiling or painting bathroom walls, the preparation requires that the new plaster boards be undercoated and sealed and that all new woodwork is primed. The existing woodwork is lightly sanded and cleaned prior to painting.
As many of you are aware, when it comes to bathrooms and laundries, if you don’t have adequate ventilation then your surfaces are more likely to develop mould. Gone are the days where bathrooms were painted in high gloss enamel paints that made the surfaces easier to clean without damaging or removing the existing paint.
These days, when it comes to bathroom painting, perspective customers always ask to 2 questions.
- What is the best bathroom paint?
- Is the paint mould resistant?
Dulux Wash’n’Wear 101 Kitchen and Bathroom paint meets both criteria. It provides a finish that allows you to lightly wash and clean the surfaces as well as having a mould inhibitor already added to the paint.
On this project I used the Dulux Wash’n’Wear 101 paint in a low sheen finish and for the woodwork I used a semi gloss enamel that was the same colour as the walls and ceiling.
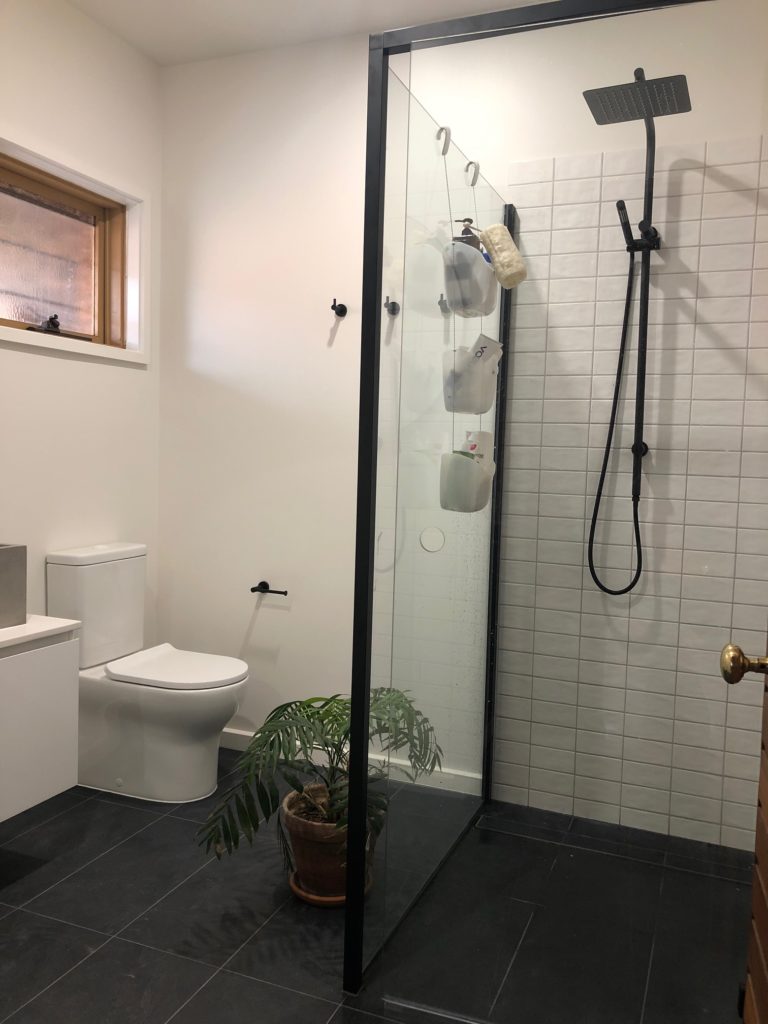
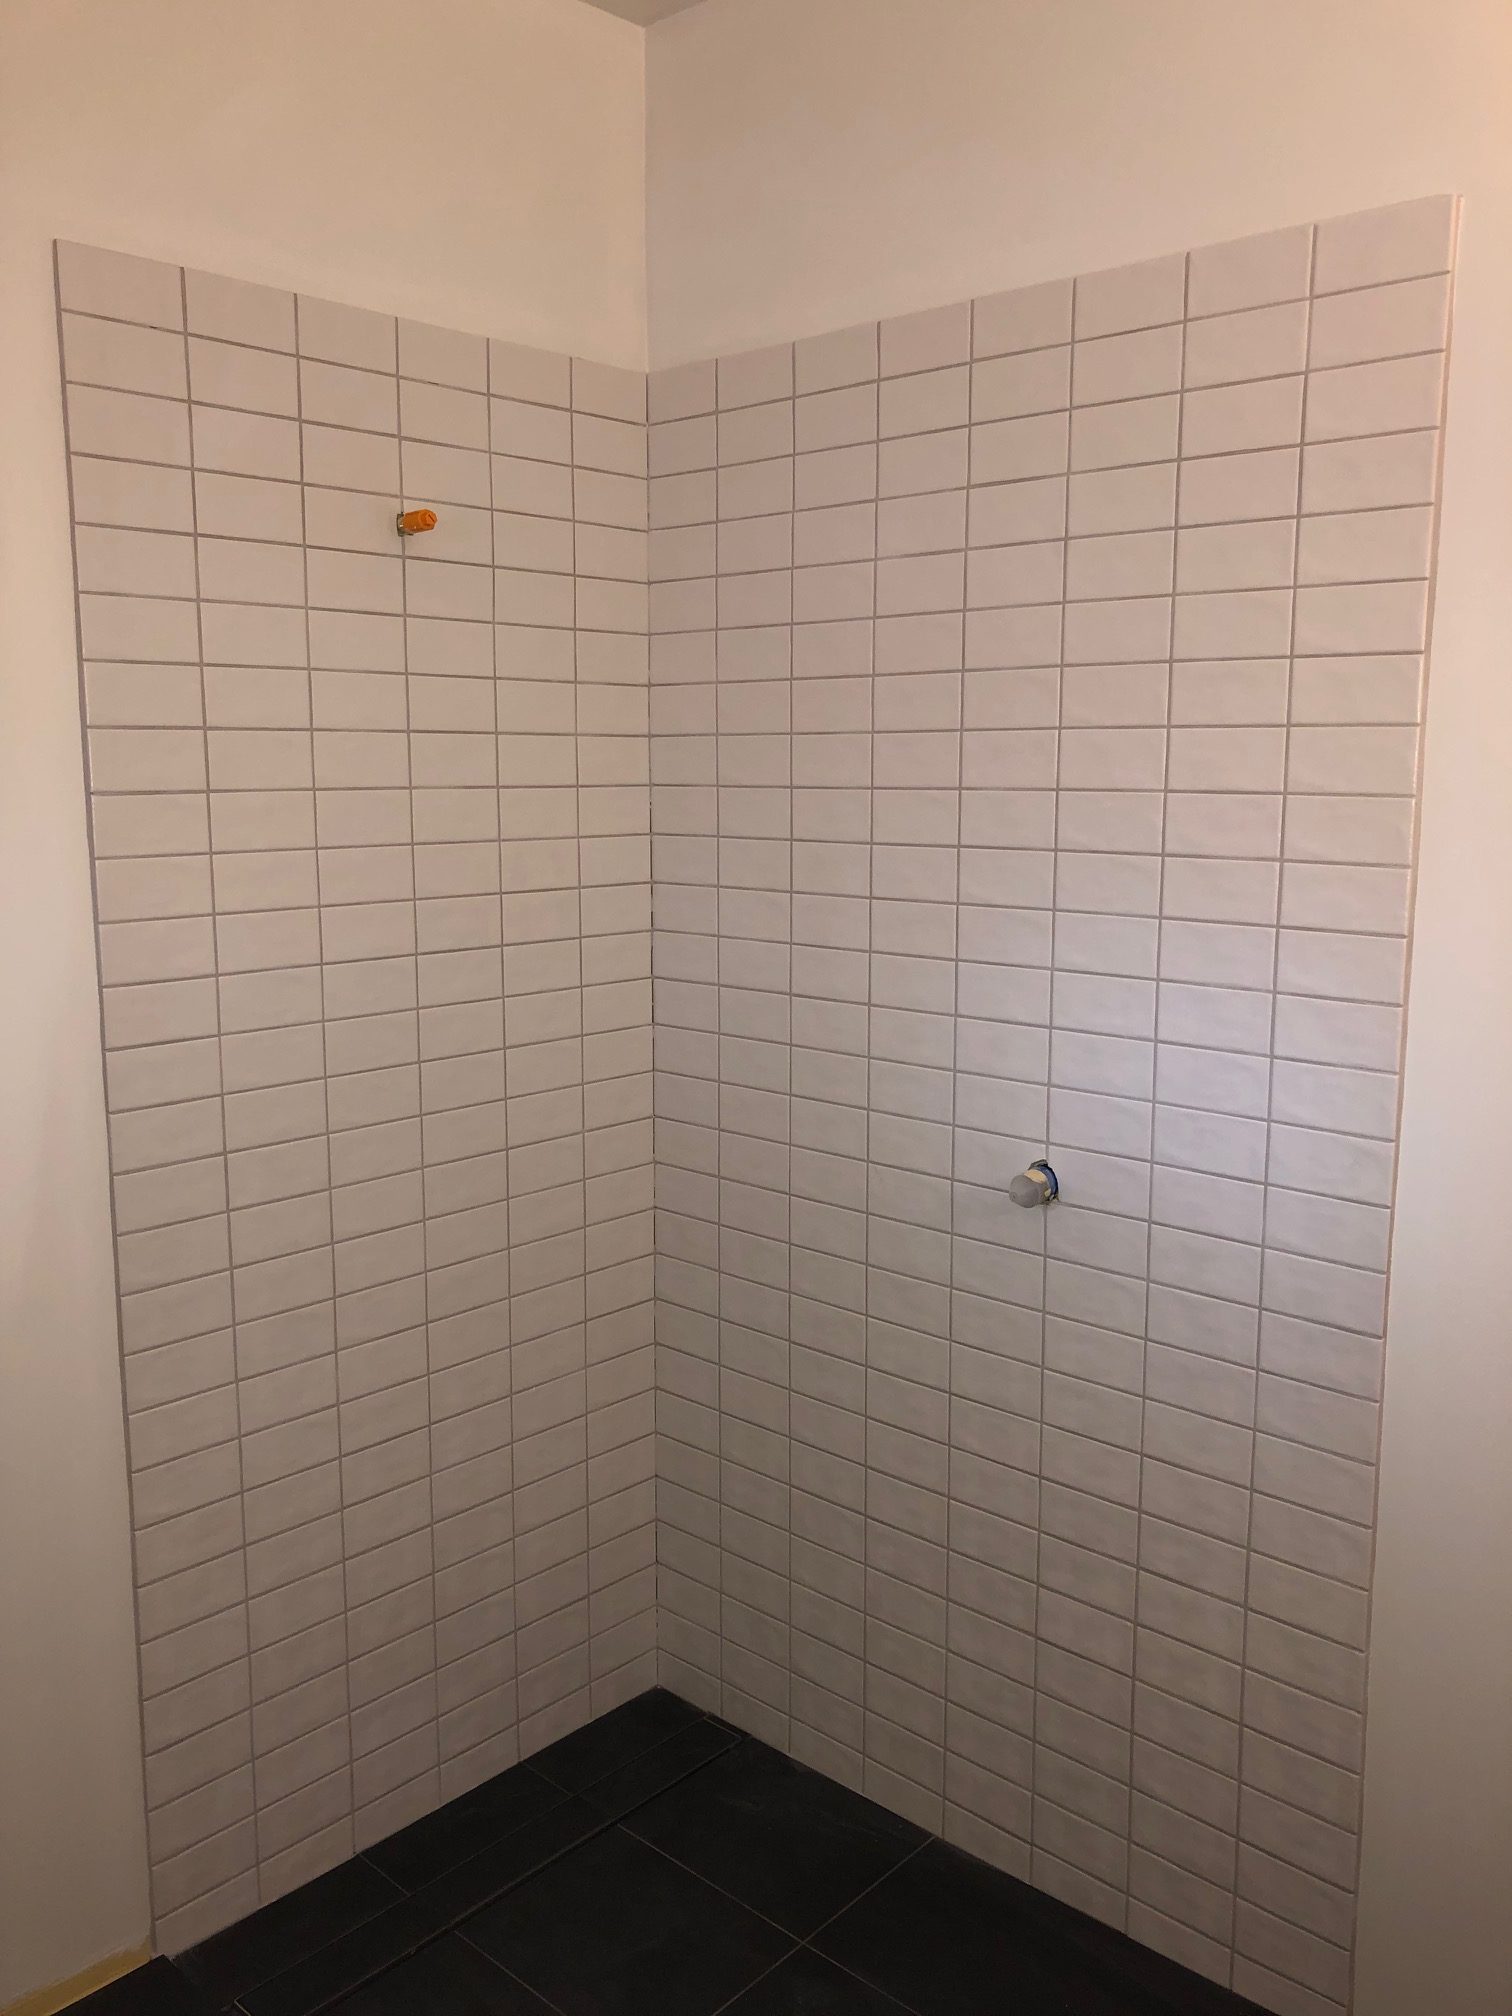
After applying 2 top coats to the ceiling, walls and woodwork, the bathroom was ready to be fitted with the vanity, toilet, shower screen and fittings.
Below are some pictures of the before and after bathroom painting project in Carlton, VIC 3053.
Final Thought
This small bathroom renovation achieved the desired outcome of incorporating a bathroom and laundry in one space. It has made a huge difference to the functionality of the room and as this was Part 1 of the bathroom makeover, the work now proceeds upstairs to tackle Part 2 which is the larger bathroom renovation.
You can read the article for Part 2, larger bathroom renovation here.